This is my 1st how to on replacing the weather stripping on a 1999 Pontiac Sunfire convertible. I’ill start on the side strips and save the best for last, i.e. the front top seal.
Let’s jump right in, shall we?
Materials needed:
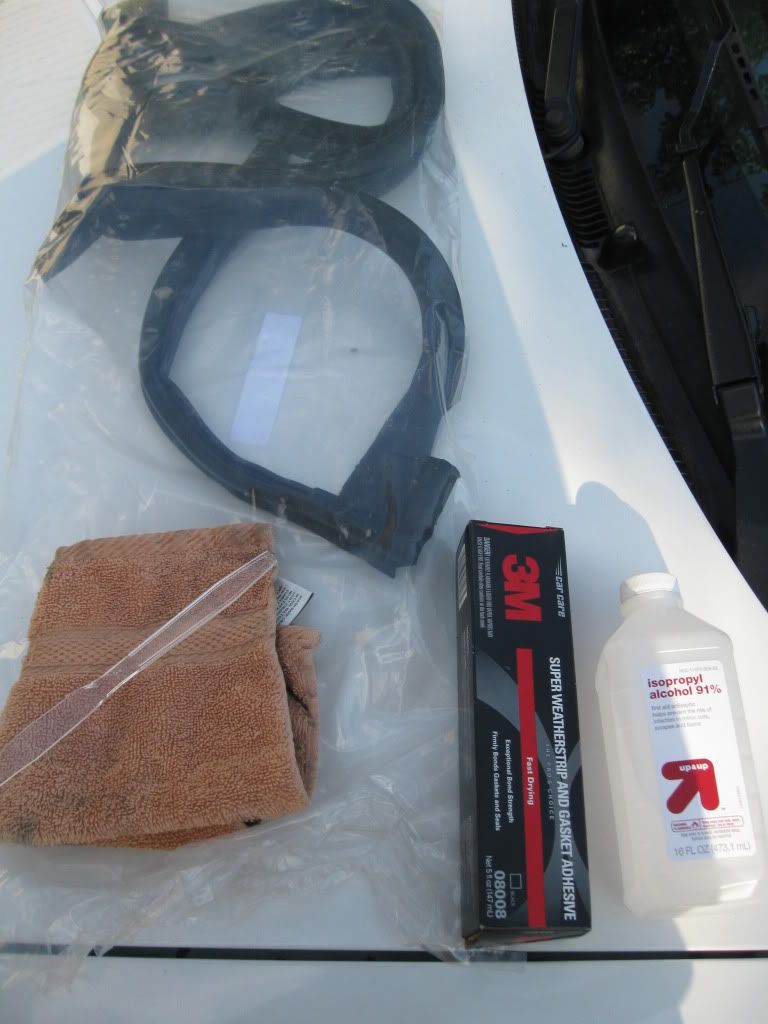
• new weather stripping
• weather strip sealant
• rubbing alcohol
• plastic picnic knife (color optional)
• thick washcloth
• lots of time.
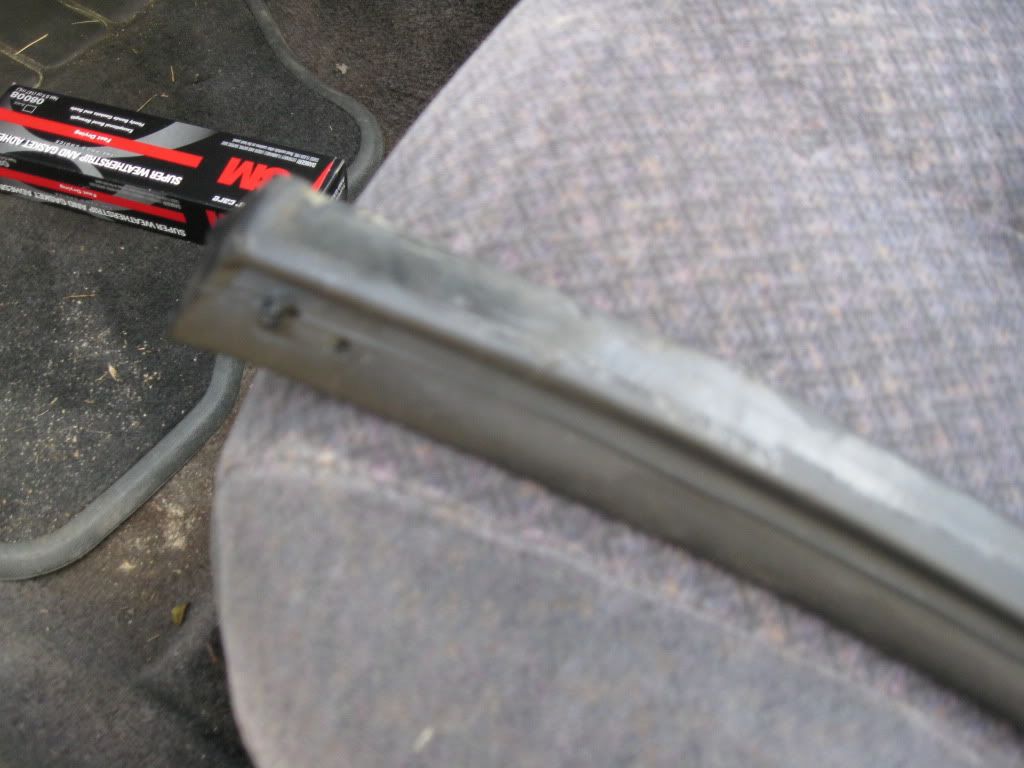
The photo above shows the new seal for the middle driver’s side seal. The side seals are side specific, also notice the new middle seal has a dimple on each end. I started here because it was the easiest place to start. Carefully peel away the old seal. Go slow and get as much as possible. To assist in getting it out, I used a picnic knife and cut off the blade end square. This fits real well in the groove and helps to release the sealant.
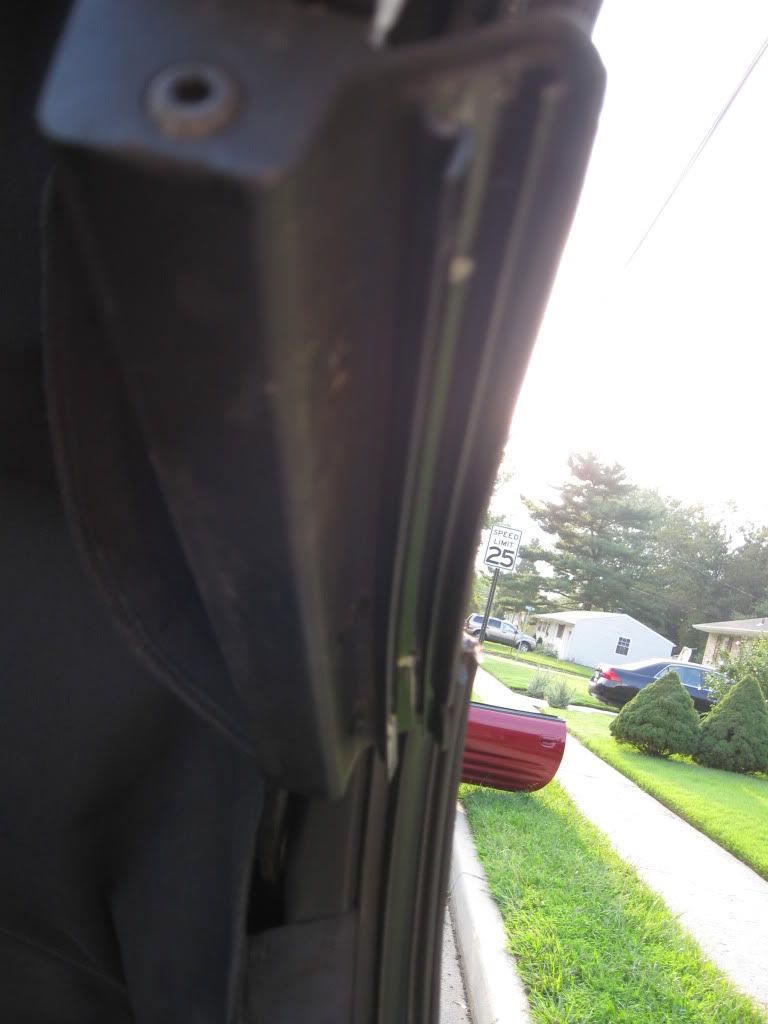
After the bulk of the weather stripping has been removed, wet a section of the washcloth with alcohol and clean the remainder of the sealant off. For some of the thicker bits of sealant, I used the knife wrapped in the wet washcloth to pry it off. The plastic knife won’t damage the paint as long as you use the flat side of the blade.

Above I compared the new weather strip to the old to be sure of the correct replacement. You can also notice the 2 dimples on the parts to assist in alignment. I checked the fit and then ran a thin, continuous bead of adhesive from one end of the track to the other. Next was to install the new seal being careful not to get adhesive anywhere except where it needed to contact the seal. I cleaned the plastic knife and used that to carefully get the seal into the grooves. Let me say it again. “Carefully get the seal into the groove.” The rubber seal is very soft and can be damaged very easily so be careful not to pinch or rip it.
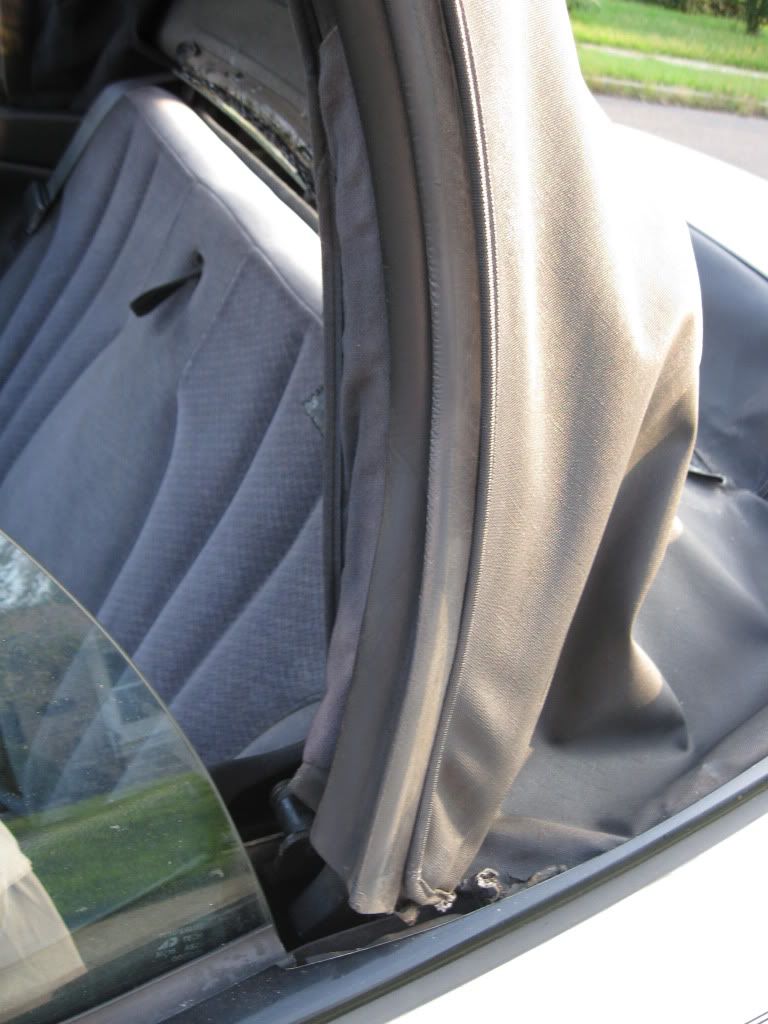
Follow the same procedure for the rear side window seal. This seal is curved and has a square end. Once again, try to get the old one off in one piece to compare to the new one.
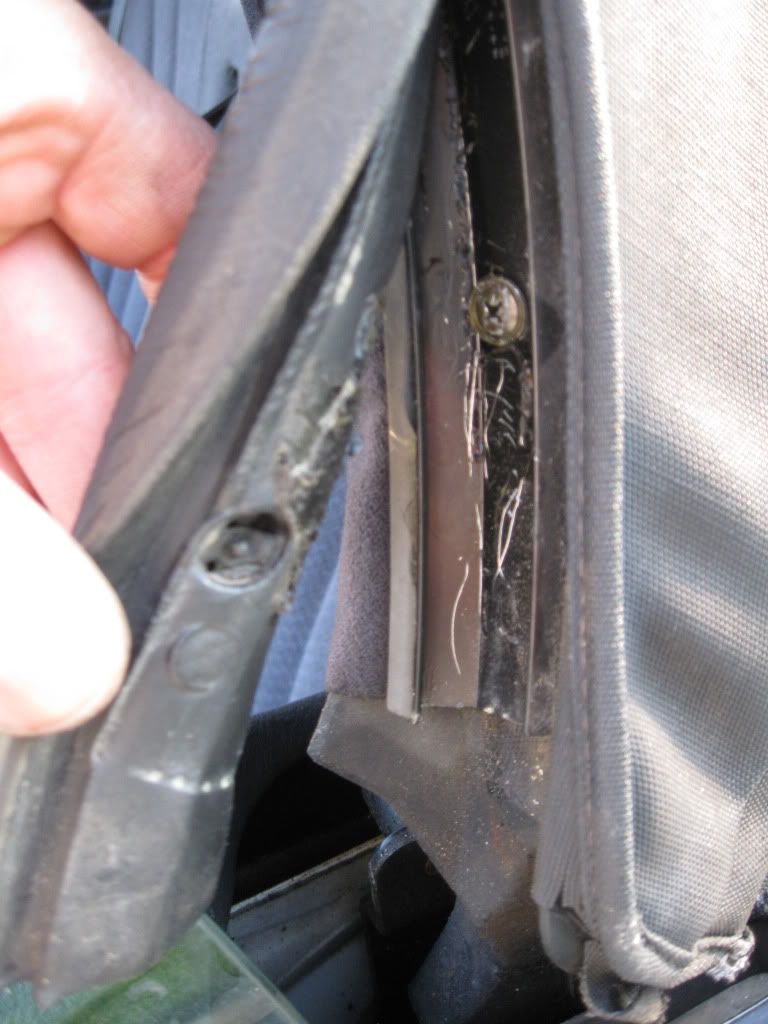
Notice on the rear window seal, there is a place for the screw to fit so the seal sits flush.

First 2 seals installed. Fits well! Now for the last seal on this side, the one above the driver’s door. This was the worst one of my seals and used to drip on me while driving in the rain.
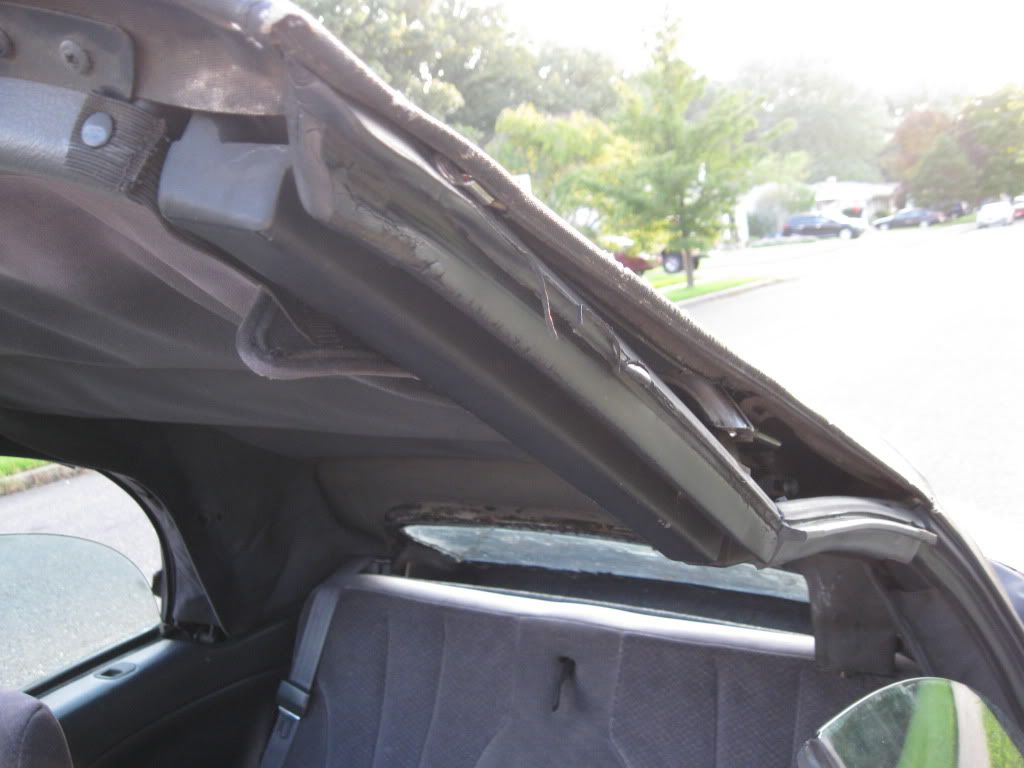
Notice how pretty it is? No wonder I was getting wet. This seal also has a dimple for alignment in the front. Make sure it is attached when installing the new one. The photo below shows the dimple and the alignment hole top center.

And now for the finished product.

Tada!!!
I closed the top, raised all the windows and let it sit for the night to let the sealant cure.
The next day I tackled the other side. Total time spent for both sides, 3 hours, most of which was spent removing the old sealant.
Next .. Part 2.. Replace the front seal.
Questions? Suggestions for improvements?
i would change your title. this will work for 95-00 jbody convertible

Of course there would be spelling errors noticed after I hit post..

I didn't mention the weatherstrip tape needed in case you happen to unscrew the black metal weatherstrip retainers on the side. You will need foam tape .125 x 1.0 wide to replace them.

Would love to but not sure how to do that..

I don't see an edit on here..

once you get the front done let me know and if you dont mind to let me use the info i can finally finish the .pdf for vert info im working on

Sure.. Actually the front is almost complete.. I spend a good amount of time on prepping it for the new seal today. I have more pics too but didn't want to take up too much space.

Tabs: ever install a new top? I've been debating on it.

tops a pretty simple tabs did a semi write up on the tops. if not a full one

Cool! Then this will be my next project.. is it posted here or is this what he's working on?

your the first one ive seen that put the rails on so far

the header was the only one i did..
rails are cake. header is what could possibly be tricky, although i doubt its actually too bad. waiting on pics and write up to confirm

Working on header as we speak.. I had to do a bit of searching for the weatherstrip tape (also called "dum-dum" ) This is needed to seal rails to the body before installing the weatherstripping. I have the start of part 2 I can write up soon.

like a schmuck, i posted part 2 under the wrong posting.. it's here..

looks nice. thanks. keep it up

Damn! wrong link posted... should be here.
right link

So I got a problem, we just did my seals today but I realized after the fact we switched 2 around like the drivers side is on the passenger side and vise versa. How hard is it to take them off and put them on the right side being they r new and not all used and coming apart?
Didn't notice the dimples on the seals? Best bet is a pliable plastic knife and lots of patience.


I think they did fit up though idk they might actually be on the correct side but my door will close and the seals don't line up right. I do t har the time to physically go an get them fixed up right now sadly I'm almost thinking about taking it to a dealership n have those redone. The car didn't leak last night coming home in a rainstorm though. If I can get pictures I'll get pictures up then
I've been putting off this purchase for a while due to the price. Just found Soffseal 8701 (header) and Soffseal 8702 (6 piece set) weather seals on www.carparts.com for $260 total shipped! I used the 5% off coupon code "CPAFF8." Can't wait to install!

I've been putting off this purchase for a while due to the price. Just found Soffseal 8701 (header) and Soffseal 8702 (6 piece set) weather seals on www.carparts.com for $260 total shipped! I used the 5% off coupon code "CPAFF8." Can't wait to install!


