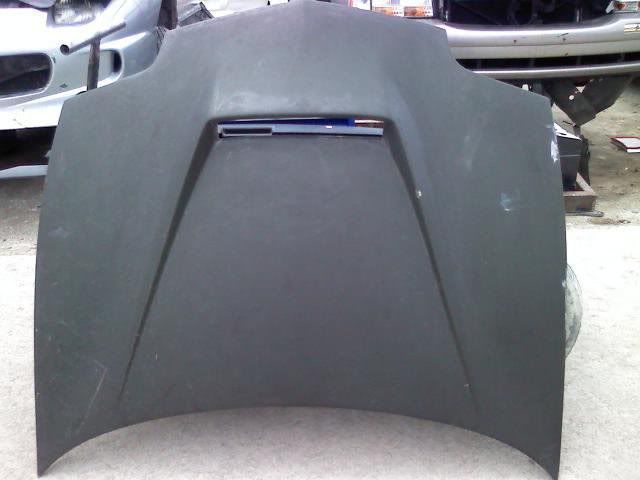
Alright guys I have a simple question. I was browsing local classifieds and to my luck I found an Invader CF hood for $120. I called and the guy told me its condition. He said its good except for a few small cracks in the gel coat. Thats no big deal cause even if I have to repaint over it that will not bother me. Always wanted this hood and for the price its a steal. My question is how would I be able to repair the small cracks? Steps and instructions is all I am asking for. Nothing more nothing less.
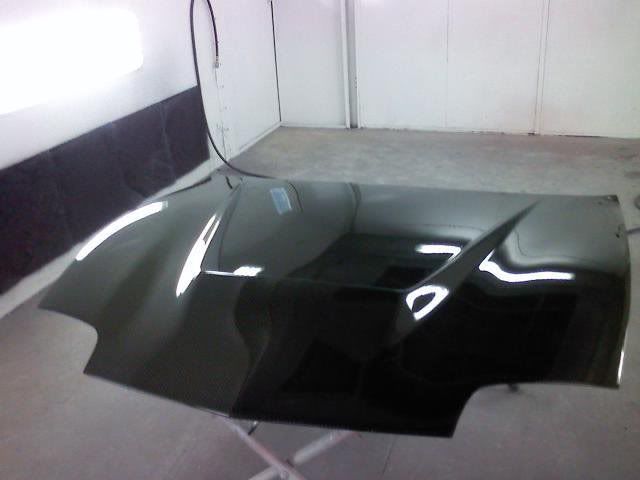
my body man was able to repair the one i got fro teh salvage yard. I had a chunk missing from the resin and you cant tell it was even gone. Finished it off with 3 layers of auto clear, better than new.

Spencer wrote:my body man was able to repair the one i got fro teh salvage yard. I had a chunk missing from the resin and you cant tell it was even gone. Finished it off with 3 layers of auto clear, better than new.
Would you happen to have a pic of it before and after?
You can repair as long as the cracks are only in the resin, and the actual carbon fiber cloth is not torn.
Step one. Sand the cracks. I would start with 80 grit, and just open up the crack a bit...like sand a "valley" into the cracked area, but feather out the edges going away from the actual crack. You will need to sand as deep as the crack is, just be sure not to hit the cloth under the bottom layer. If you hit the cloth and distort/rip the weave, you cannot fix it other than fill it in and paint over.
Follow up by sanding with 120, 180, and 220. Most epoxy resins will fill in 220 sanding scratches, though some may want you to sand up to 320. I use US Composites Epoxy Resin with Medium Hardener, and have also used US Composites Kleer Koat epoxty resins. Both are great products and fairly priced. I have also read that people have had success with small repairs like this using Parks Table Top/Bar Top Epoxy, available at Home Depot.
Before applying, clean the area well with Prep Solv, and let dry. Mix your epoxy resin, and pour into the repair areas. Epoxy resin is self leveling, you don't need to "dab" it on like polyester fiberglass resin. I like to overfill repair areas just a bit, and sand off the excess, rather than have a low spot and need a second application.
Once the epoxy is cured (usually 24 hours), I level it out with 220 dry, then start wet sanding with 320, and work up ti 400 and 600 grit....at this time you should be trying to feather the new resin into the old resin. Once you hit 600 grit, your "blending line" should be pretty much gone. Keep wet sanding to at least 1500, maybe 2000 if needed. When you are wet sanding, sand an area slightly bigger than the actual repair area, so that it all blends together.
Hood will need to be re-clear coated afterwards,
If you are painting over the damaged areas, you can simply just sand into the cracks, apply body filler, level, block sand it. prime and paint.

EVILution (Now with 4 doors!) wrote:You can repair as long as the cracks are only in the resin, and the actual carbon fiber cloth is not torn.
Step one. Sand the cracks. I would start with 80 grit, and just open up the crack a bit...like sand a "valley" into the cracked area, but feather out the edges going away from the actual crack. You will need to sand as deep as the crack is, just be sure not to hit the cloth under the bottom layer. If you hit the cloth and distort/rip the weave, you cannot fix it other than fill it in and paint over.
Follow up by sanding with 120, 180, and 220. Most epoxy resins will fill in 220 sanding scratches, though some may want you to sand up to 320. I use US Composites Epoxy Resin with Medium Hardener, and have also used US Composites Kleer Koat epoxty resins. Both are great products and fairly priced. I have also read that people have had success with small repairs like this using Parks Table Top/Bar Top Epoxy, available at Home Depot.
Before applying, clean the area well with Prep Solv, and let dry. Mix your epoxy resin, and pour into the repair areas. Epoxy resin is self leveling, you don't need to "dab" it on like polyester fiberglass resin. I like to overfill repair areas just a bit, and sand off the excess, rather than have a low spot and need a second application.
Once the epoxy is cured (usually 24 hours), I level it out with 220 dry, then start wet sanding with 320, and work up ti 400 and 600 grit....at this time you should be trying to feather the new resin into the old resin. Once you hit 600 grit, your "blending line" should be pretty much gone. Keep wet sanding to at least 1500, maybe 2000 if needed. When you are wet sanding, sand an area slightly bigger than the actual repair area, so that it all blends together.
Hood will need to be re-clear coated afterwards,
If you are painting over the damaged areas, you can simply just sand into the cracks, apply body filler, level, block sand it. prime and paint.
Thanks a lot bro, just the kind of information I needed. Ill be getting the hood this Saturday.
No prob!. Also check out
fiberglassforums.com, tons of great info on there, and I think they now have a section dedicated to just carbon fiber.

before

after

my $30 junk yard CF hood.


yeah it turned out very nice, too bad it didnt fit my car lol. It resides on my gf's car as of now, it looks good on silver with black wheels.


