These pictures are from "after the fact" I wanted to photo-document some of the install so that I could share it with J-Body.
This is what I started with, my "
truck-stop" LED taillights. They are listed as "2.75 LED Turn/Stop TRK" which I assume stands for
TRUCK. The retail price probably varies, these were 14.95 CDN each.
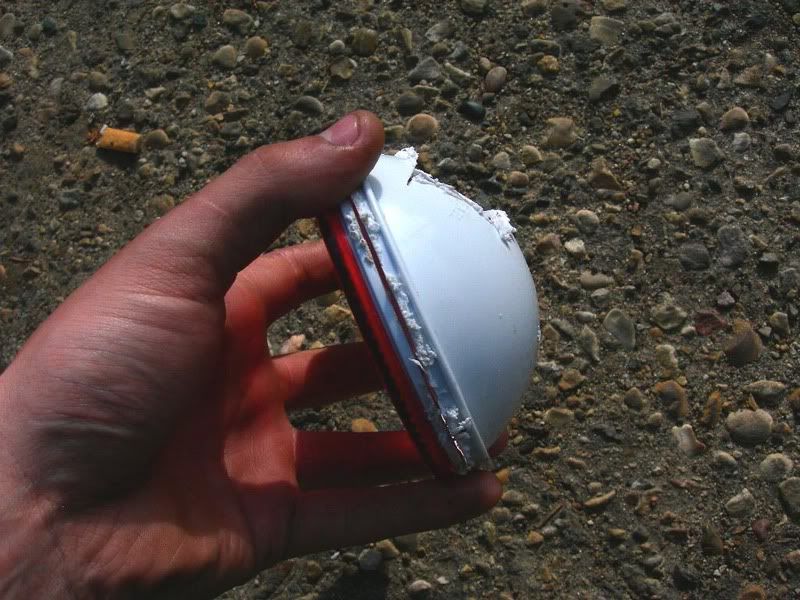
I cut out the lense, staying about a 1/4 inch away from the red lense part and unscrewed the LED matrix. which stood mounted atop those 4 screw posts.
Then I cut away the back part there, initally because I wanted to use the pigtails (also found at a truckstop) to intigrate it into my stock harness.
Later I discovered that I could use the existing light bulb, as my intigration point, and ended up lobbing the wires, and soldering them
to the cut off light bulb filiment leads instead.
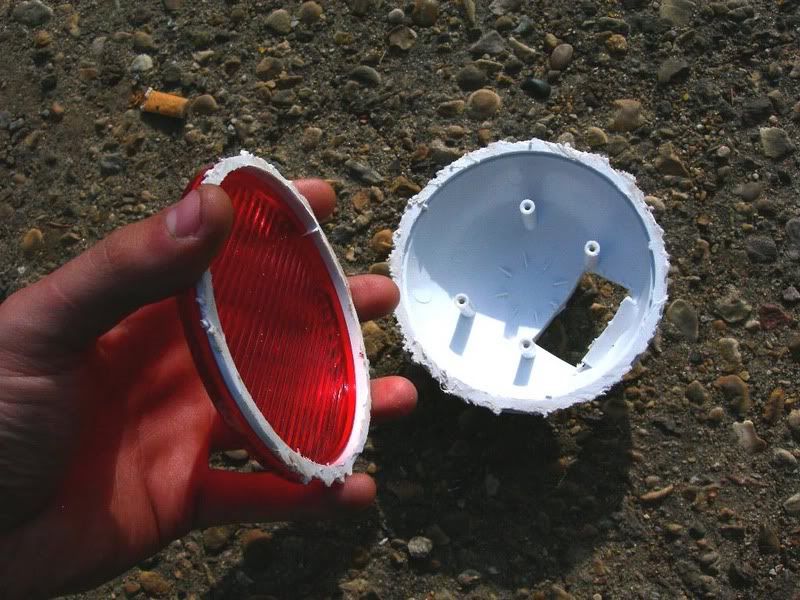
With my LED matrix and whatnot all figured out, I then turned to the scrap LH taillight I had kicking around.
After studying it closely I realized that there was only one way I could get the LED matrix inside the housing "WITHOUT":
-Cutting the stock lense off
-Screwing up how the housing mounts to the car
-Generally MESSING everything up (also why I chose the busted light to practice on too)
This is where I finally cut into the housing.

Theres a flat spot on the top of the taillight assy, which makes for easy cutting and in no time at all, I had the LED Matrix inside
and was busy trying to figure out the best way to align it so that the LED's projected straight back into traffic (preferably I would think for
safety purposes

)
After getting everything sorted out, I went to work on the "good" taillights.
4 hours and a couple of tube-steaks later.. voila..
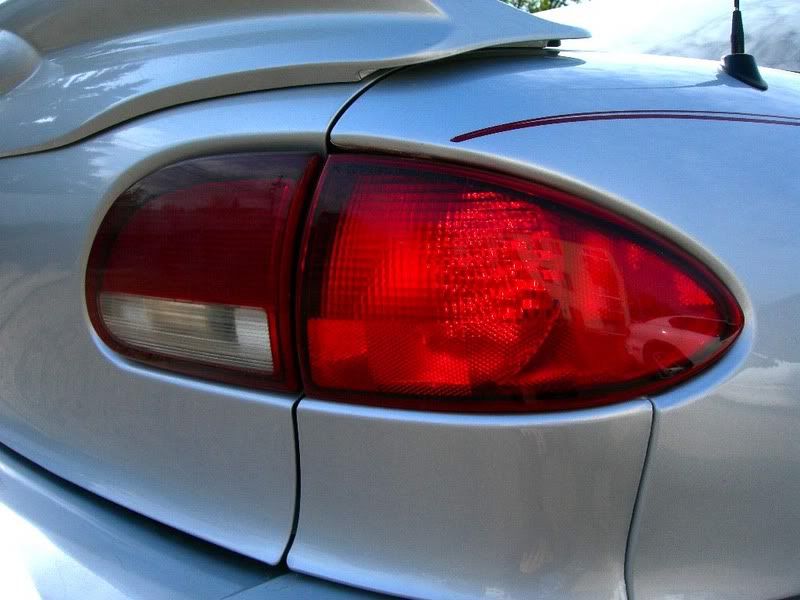
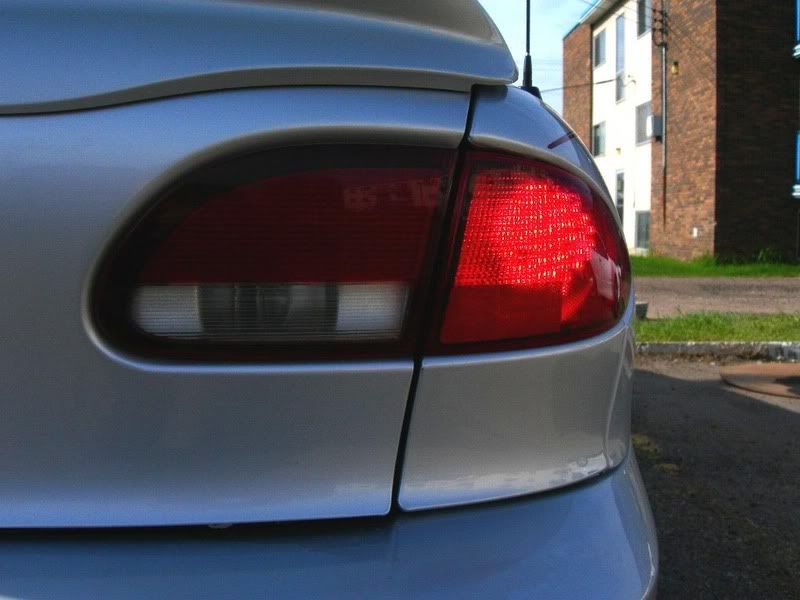
The LED matrix actually hides very well, due to the circut board in which theyre soldered to.. its a silvery white..
This photo is with the running lights on. It was taken this morining (allong with all the photos) broad daylight.
The photo below is a shot of the same taillight, only from a more conventional position.
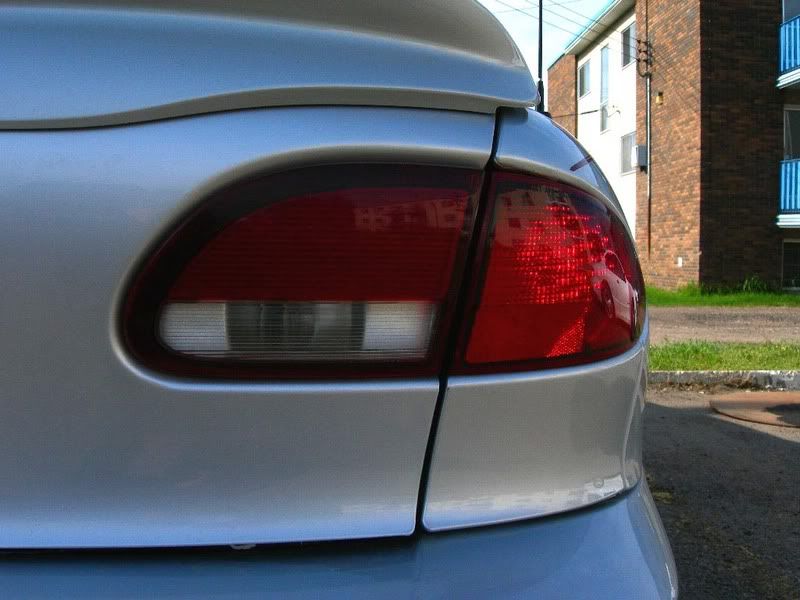
..And this is when the brake or signal is applied.
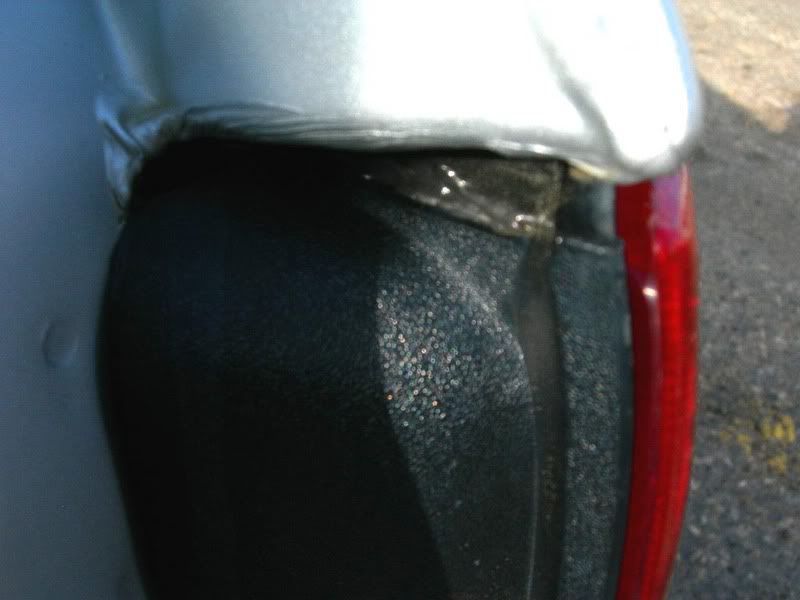
I sealed the whole in the top of the taillight using "black" RTV sealent, and the leftover piece of plastic I had, when I cut the
hole initially.. you can see a bit of it in the photo below.
If you want more pictures, let me know, and If theres enough response, I will use the old taillight housing, and
do a step by step process.
I think all in all, It went together really easy. Using the stock red diffuser gives it an "ANTI" altezza look, but updated functionality.
I also wanted to get that "custom but stock" look. Its been 2 days, and allready I had someone follow me into a gas station to ask me
where I got my taillights.

that makes me feel good.
now about that trick flasher..
No.. I would rather not go that route. I like that fact that when a flasher goes in my car, I can go down to the local parts-source and pick up an OEM
flasher for 10.00 rather than buying a 50.00 fancy flasher. I argue that there has to be some way to fool the stock flasher into thinking that
the taillights have the same resistance it had before.
Not when a pack of resistors is $1.50 and its nothing to solder a connection.
In the words of Ernest P. Warrell...
"...know what I mean, Vern?..."


