Aight first things first, PLAN AHEAD,make sure you have at least 2 days free that you dont need the car or another valve cover.
Step 1:
Remover the 4 (10mm) bolts holding the idi cover

Step 2:
Slide throtle cables out and remove 2 (10mm) nuts on theside of the valve cover holding the fuel rail

Step 3:
Remover the 10 (10mm) bolts and rubber washers on bothe sides of the valve cover

Step 4:
Remove the idi cover and take out the 4 (10mm) bolts and rubber washers in the middle

Step 5:
Grab a pry bar and insert it into an area where you removed one of the bolts and rubber washers, not touching the valve cover gasket, and gently seprerate it.
When you have them appart slide the valve cover back to the left a little bit to remove the ground cable bolt with a wrench which is on the drivers side.

Step 6:
Take that cover off and and replace it with another valve cover or a clean trash bag
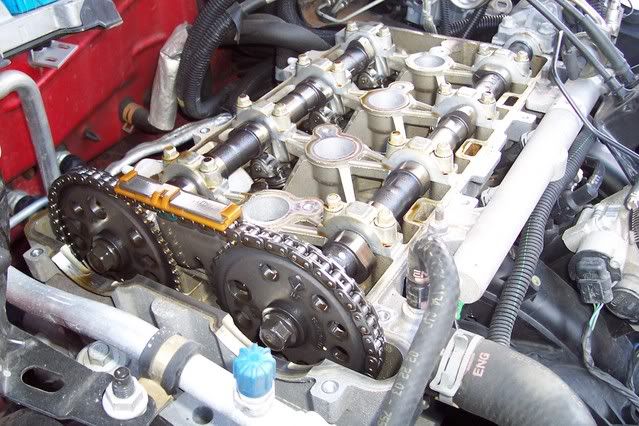
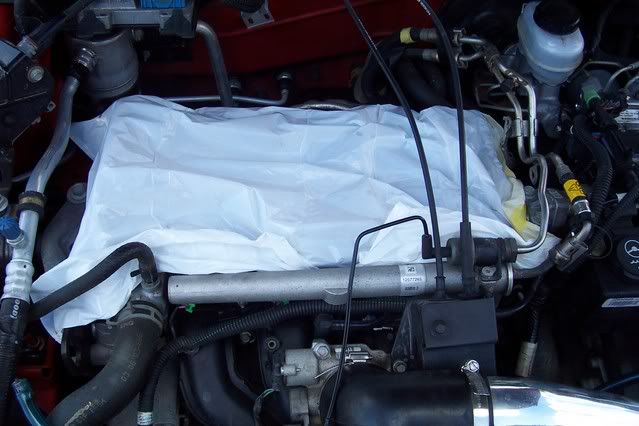
Step 7:
Time to wear that arm out sanding
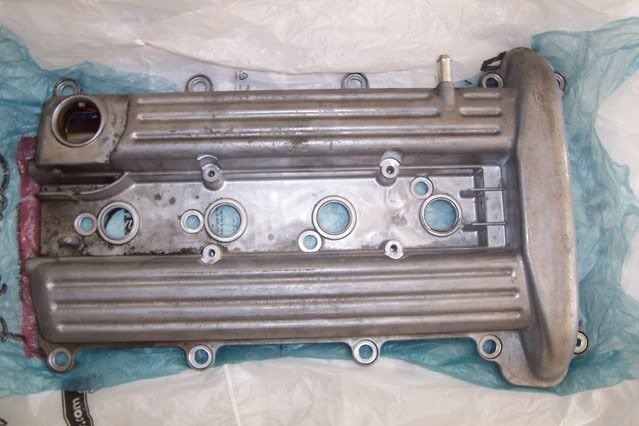
start with a low grit if you have lots of bubbles and stains 100 to 400. You want to spend a good amount of time doing this because the higher grits are just going to removing the scratches made by your lower grits. It should look something like this when done.
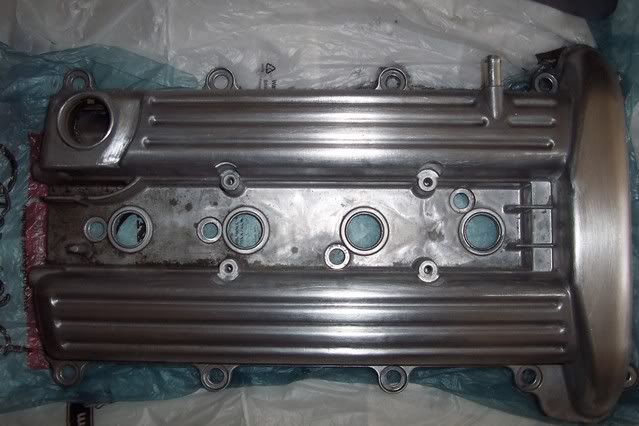
Step 8:
Move up in grit to 600 then up to 800 and remove the scratches from the lower grits.
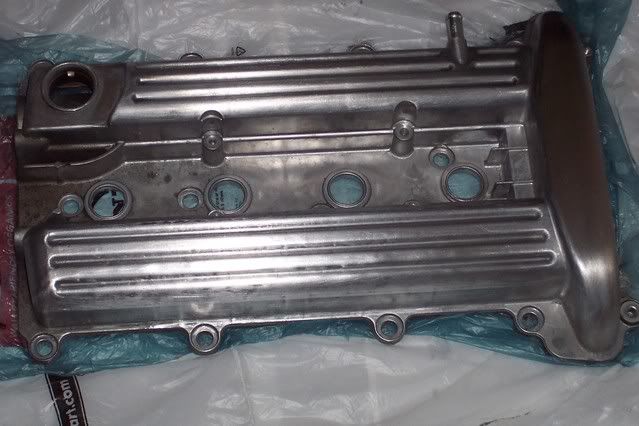
Step 9:
Put it in the sink and wet sand with running water with 1500 grit and move up to 2000 grit.
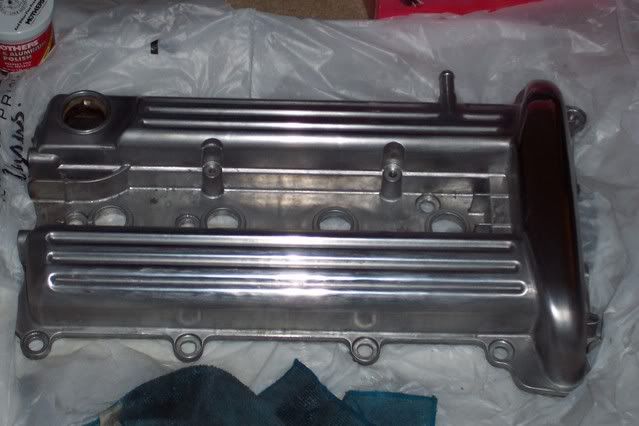
Step 10:
Grab the mothers aluminum polish and follow directions, do it a couple times.
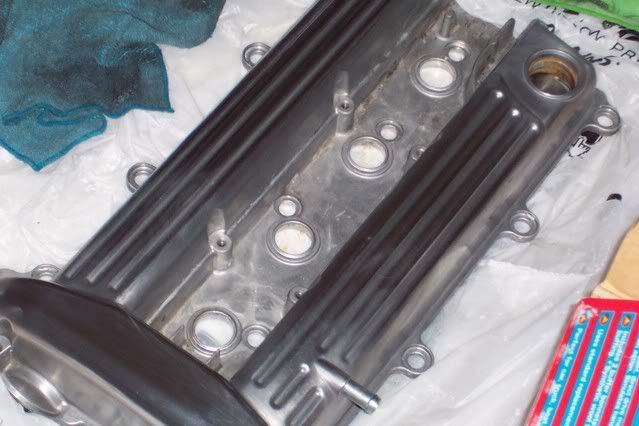
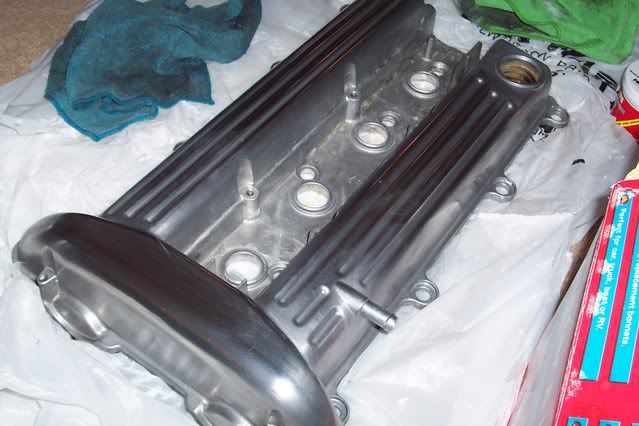
Step 11:
Replace Ground wire and throttle cable bracket bolts. Replace valve cover and tighten down going in one direction so there are no bubbles left in the gasket. Replace idi cover and bolts.
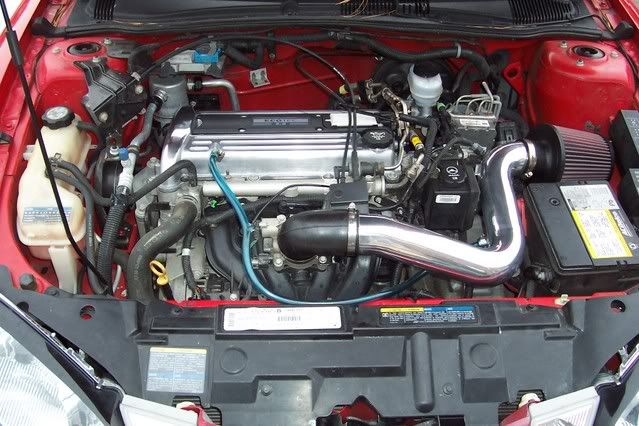
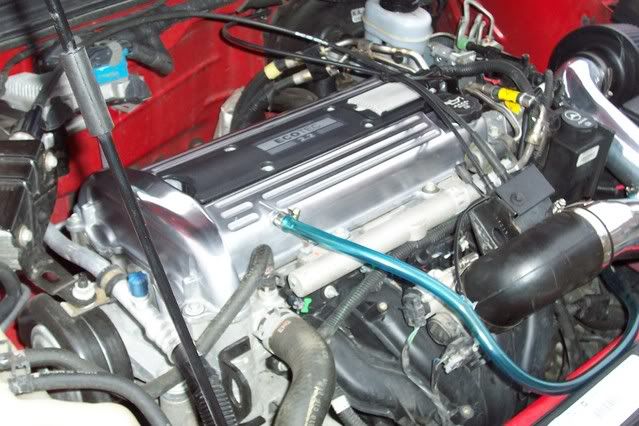
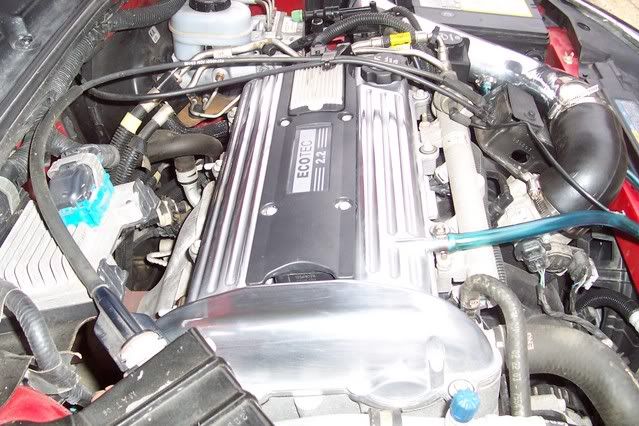
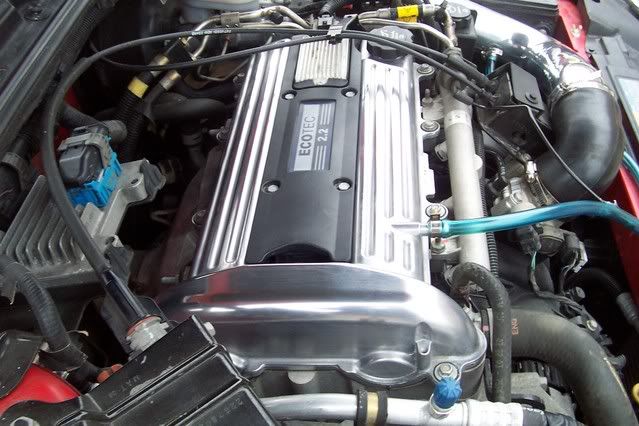
***BLING BLING***
Kill list:03 eclipse, 06 GTO, 04 Mach 1 Mustang

Nice, I was planning on doing this shortly to paint the Valve Cover to match the Exterior Paint (Victory red/black/silver engine bay), it's a nice little heads up for what to be careful about as I'm pulling up the cover.
Thanks man, good stuff!

what kind of gasket is under there? rubber glue? a big rubber piece? looks like a good idea, i have a turbo but dont want anything leaking after
you should be ok to re use the gasket, just be careful, i have had mine off twice and no problems leaking.

sticky?

Kill list:03 eclipse, 06 GTO, 04 Mach 1 Mustang

ok, so i took mine off last night, started sanding and wetsanding. but i was wondering, after the 2000grit wet sanding, it it possible to spray a couple coats of clear coat over the valve cover so u dont have to polish it all the time?
ive heard of some people doing that it wouldnt hurt to try use a high heat type, if it dosent work u could always just sand the clear coat off and polish again
Kill list:03 eclipse, 06 GTO, 04 Mach 1 Mustang

yea i guess, does anyone recommend a certain product that works well? (clear coat)
There's that clear coat enamel for engines at any auto store. Same aisle as the spray paint. Just
look for the clear top.
will the clear coat stick to it if there is polish on it?
yea it should, once its back on and dryed and u drive it around for a min it sould be baked on, just dont touch it for a while
Kill list:03 eclipse, 06 GTO, 04 Mach 1 Mustang

nice woork
 www.MRZ Performance.com
Sales@mrzperformance.com
Custom performance and appearance mods that really Stand Out from the Crowd.
-------------------------------------------------

sorry to bring this back but what kind of polish would you use? aluminum polish or would neverdull work?
03 cavalier
us amps 100hc running at .5 ohms
digital designs 3512
yellow top g34
kenwood ddx-8019
For aluminum, Mothers Mag & Aluminum Polish works much better than Neverdull.
Jim
97probe wrote:For aluminum, Mothers Mag & Aluminum Polish works much better than Neverdull.
X2, when I did mine I used it with a mini Mothers powerball and it came out great

locdizzel wrote:sticky? 
yeah right they havn't stickied anything lately theres been 3 topics plus this that should be stickied and it hasn't happened
good post tho and the pics help out the poin tof these stickys is to cut down on regular post made about a certain topic and this should help
i know i will have a rear disc topic to sticky in the next couple months but i likely wont post the how to because it wont get stickied
JBO since July 30, 2001
NOTa2_4 wrote:locdizzel wrote:sticky? 
yeah right they haven't stickied anything lately there's been 3 topics plus this that should be stickied and it hasn't happened
good post tho and the pics help out the point of these stickys is to cut down on regular post made about a certain topic and this should help
i know i will have a rear disc topic to sticky in the next couple months but i likely wont post the how to because it wont get stickied
it should just go into the how-to section that has never been updated either.
____________________________________________________________________________
my carDomain updated 5/8/09 Goal to be forged by Labor Day!


Just FYI the same process works on 2200 heads polishing wise. Its what I did.

Not bad but you get better results if you use a multi-step polishing compound system. If you do it right you only need to hand sand up to 1000 grit and then you switch to bushing wheels with different compounds on them.
Here is a fuel rail I did for my Firebird.
Start
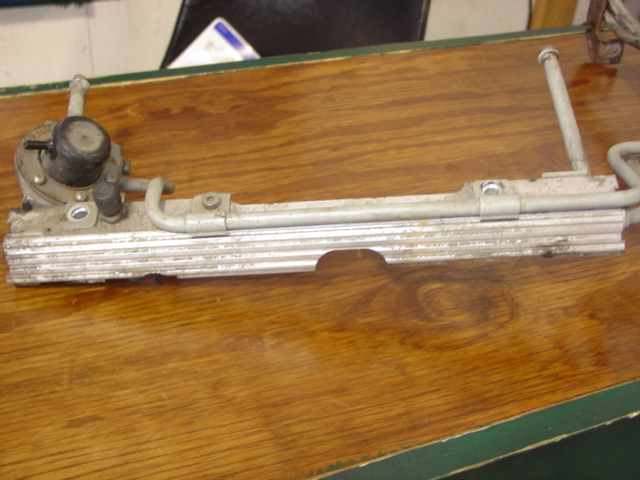
End
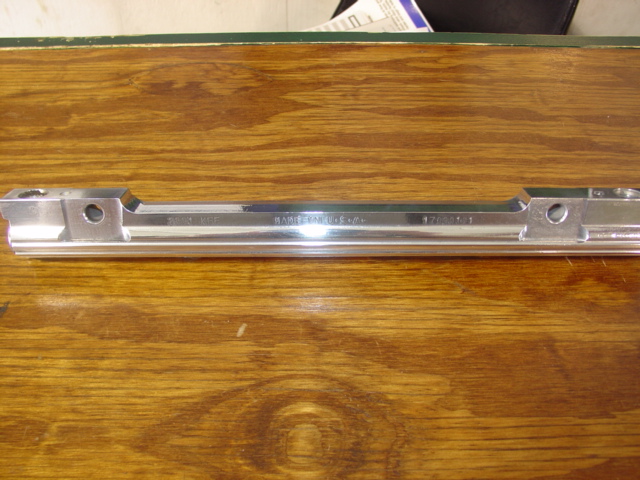
I used Tripoli compound on a tight buff wheel and white rouge on a loose wheel. No need for anything else except a light coat of wax.
97 Cavalier 2.2 5-speed, 88 Camaro IROC-Z 5.7 auto, 91 Firebird Formula 5.7 auto, 88 Conquest TSi 2.6T 5 speed, 93 Silverado ECSB 5.7 auto, 83 Mazda RX-7
would this method work on a 2.4 valve cover? ive been wanting to get that stupid grungy thing shiny again but if i can do it myself like this thatd be awesome. I'm just curious cuz it has texture to it so this might not work as well


