Hello everyone,
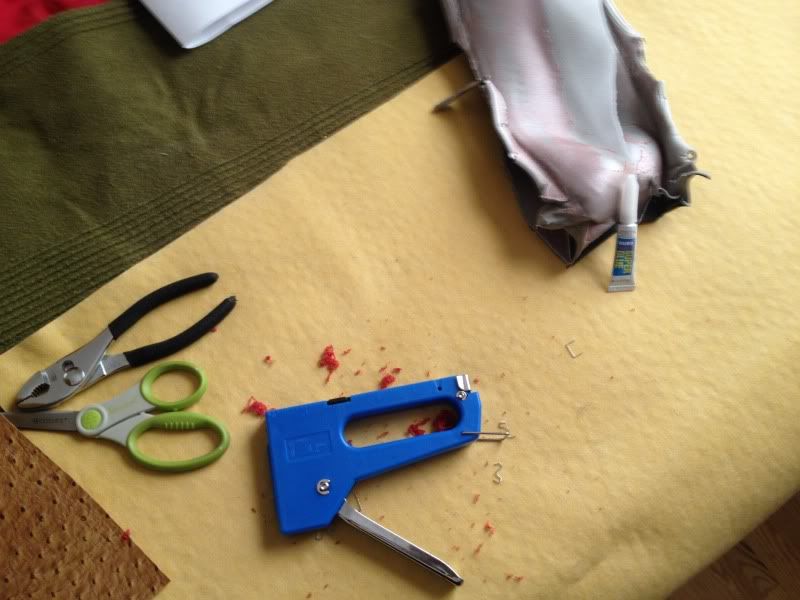
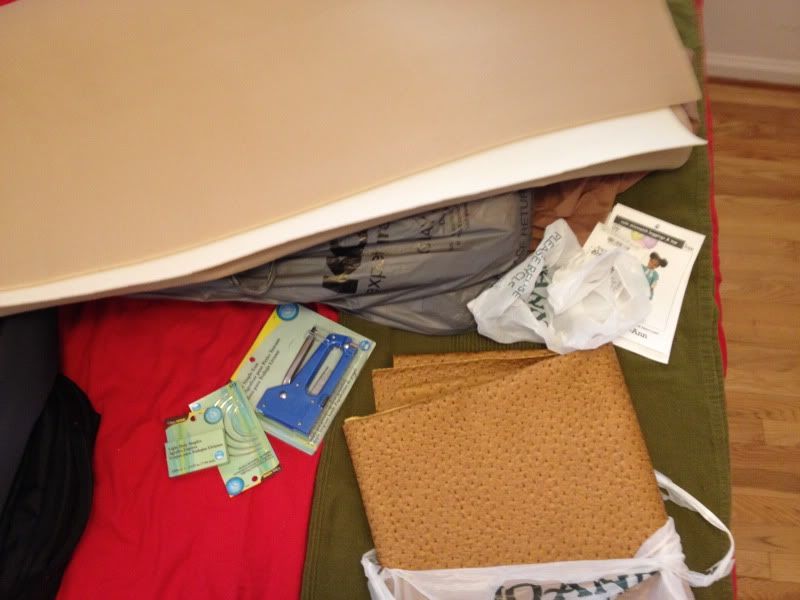
I've been a follower of JBO since last September (2013) and its so much information on these forums. Thank you. So, I've been able to tackle a few projects lately on my Cavy. I am planning to do my Rear Deck & Headliner soon as this Michigan weather clears up. (Hopefully) Here is a few pics of my purchases from JoAnn Fabrics today:
Levi Weuve wrote:Im tuned in
Cool. Its been weird weather here in Michigan these past few weeks, so Im waiting for a break of warmth before I continue. It's been rain and thunderstorms today. Hopefully I'll be able to at least remove my rear deck and bring it inside the house tomorrow depending on the weather.
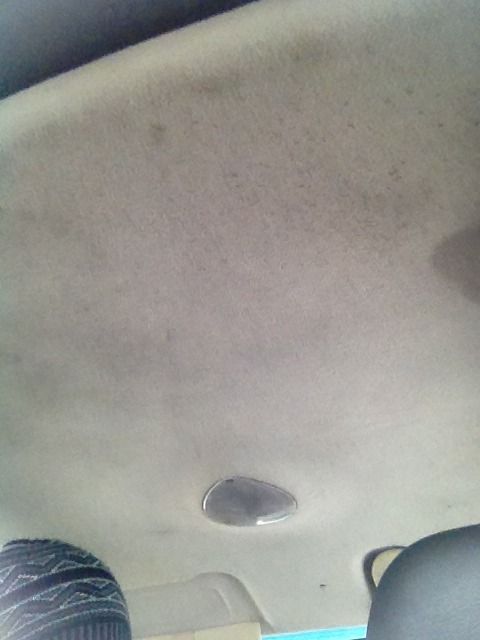
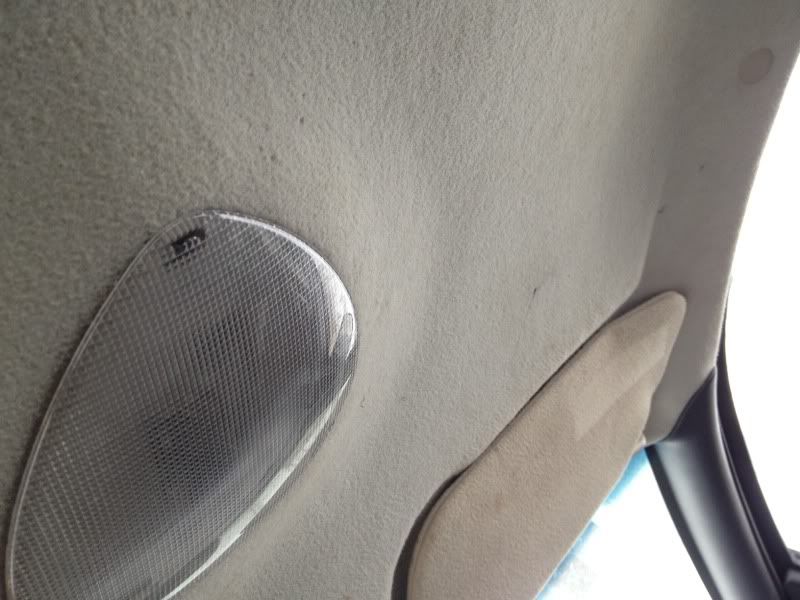
Today's update: A few assessment pictures of my current headliner's condition and layout of it.
My buddy is a camo guy, i helped him re-do his upholstery a few years ago. But he didnt have enough fabric to do his visors, lol. We did a bad job at the seam, but he didnt care


- Attachments
- blob (672k)
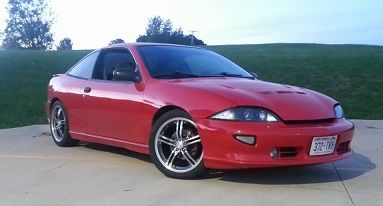
"If I'm not back in 5 minutes...just wait longer"
this is bad ass, i was thinking about doing something like this, only with white felt or something.
i wanted to go along the lines of UV LED's on the interior to make it "glow" sort of. and this helps. im tuned in.
also where at in michigan are you from?
im in the bay region.
deffinetly looking for project idea's/swapping.
Cavalier Zzzz...24 wrote:My buddy is a camo guy, i helped him re-do his upholstery a few years ago. But he didnt have enough fabric to do his visors, lol. We did a bad job at the seam, but he didnt care
lol Pretty nice.
chris meyers wrote:this is bad ass, i was thinking about doing something like this, only with white felt or something.
i wanted to go along the lines of UV LED's on the interior to make it "glow" sort of. and this helps. im tuned in.
also where at in michigan are you from?
im in the bay region.
deffinetly looking for project idea's/swapping.
Yeah, those UV LED's would be nice in there. I'm going for a more neutral look. I have Emu material along with a Beige headliner. The weather here is horrible lalely. -8 for today's Record breaking low since 1994. I'm near Detroit and Royal Oak.
ahh, yes the weather has been extreme.
i've been having troubles finding a good how to for the 2000-05 cluster lighting.
it CAN be done, but is a problem apparently lol. may attempt it, but probably going to work on other interior lighting and the upholstery. im glad i found this post.
chris meyers wrote:ahh, yes the weather has been extreme.
i've been having troubles finding a good how to for the 2000-05 cluster lighting.
it CAN be done, but is a problem apparently lol. may attempt it, but probably going to work on other interior lighting and the upholstery. im glad i found this post.
Indeed. lol It snowed last night...smh I think I seen a tutorial on changing the lighting inside one of those clusters awhile back, but I don't remember where. Upholstery is what I want to continue working on as soon as the weather clears up a bit.
yea true, ive been wanting to do both since ive gotten the car. but hell even with a heated the garage it's still to damn cold to willingly want to work on my car.
apparently the weather isnt even gunna break until after april -.- which would suck
that camo headliner is bad ass haha
Update: Sunday March 16, 2014 (The Weather is worthless, but I made it happen anyway.)
Rear Deck Removed
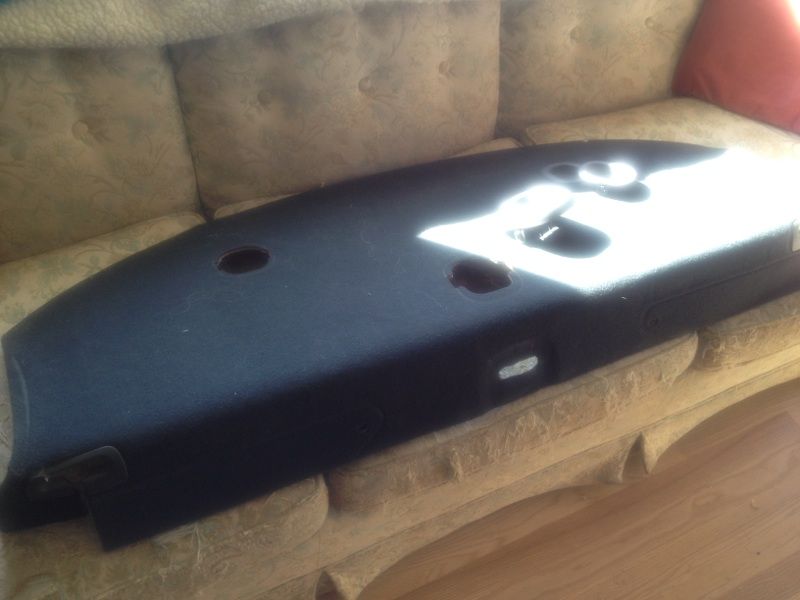
Naked Rear Deck
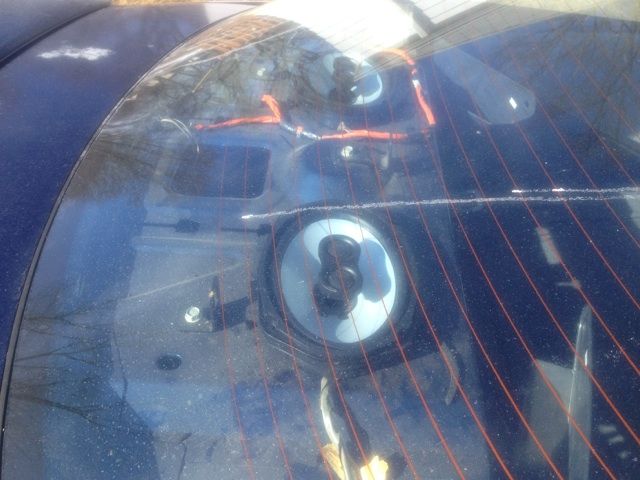
Naked Rear Deck 2
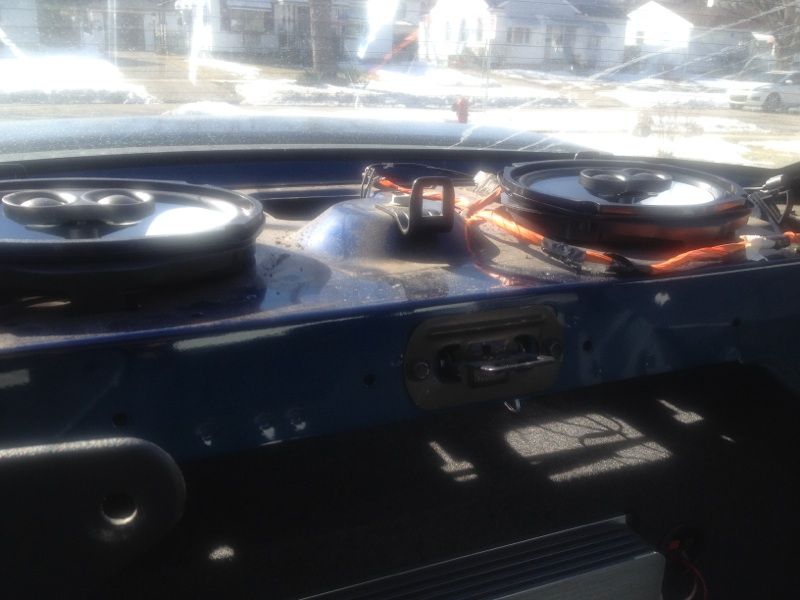
Naked Rear Deck 3
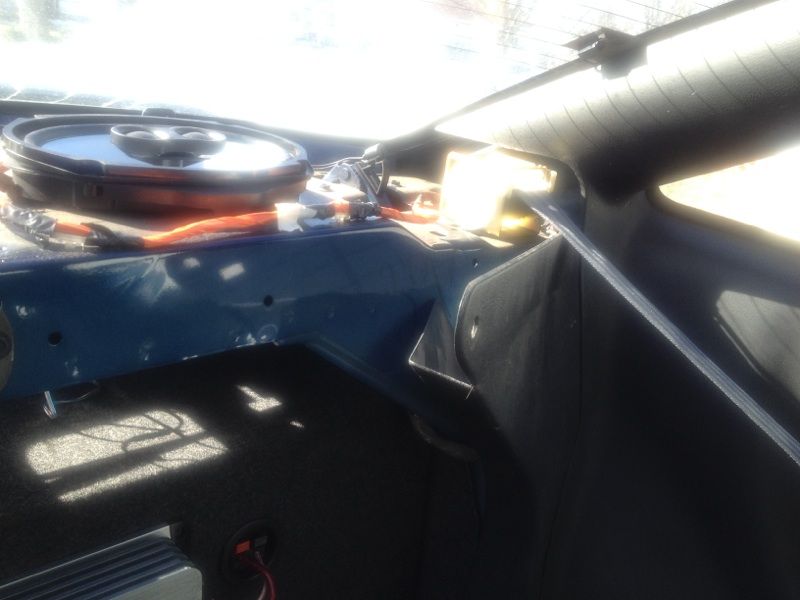
Naked Rear Deck 4
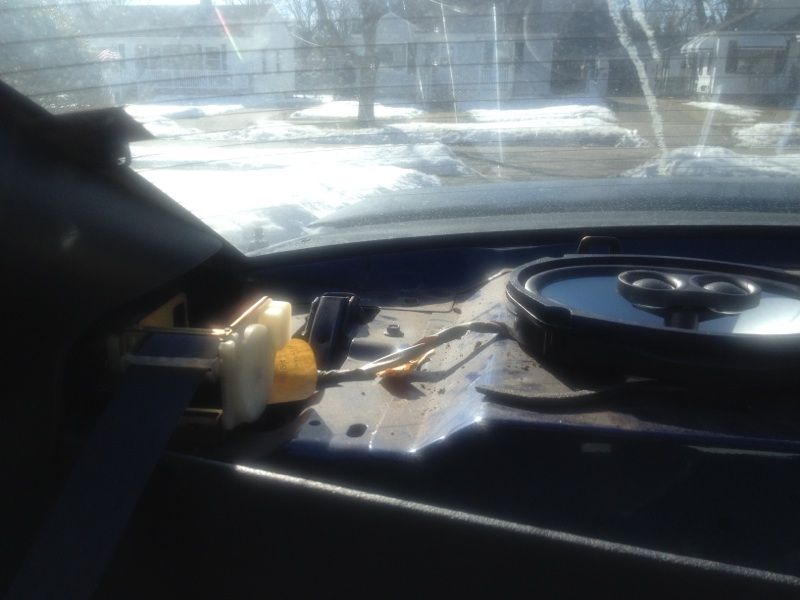
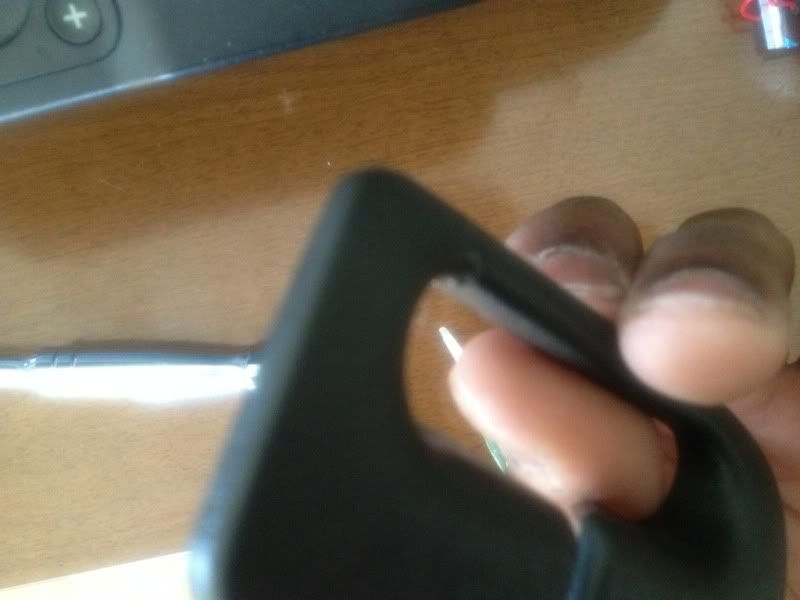
Broken Seat Belt Guard
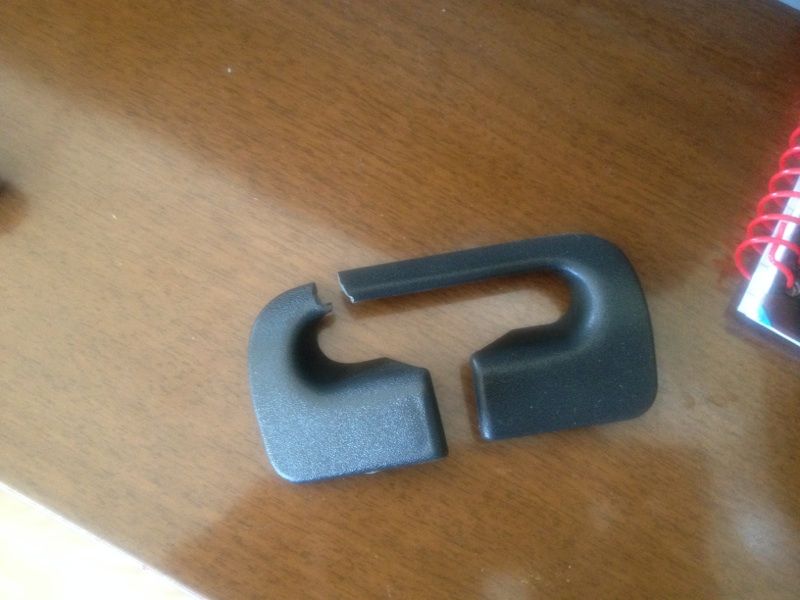
Broken Seat Belt Guard 2
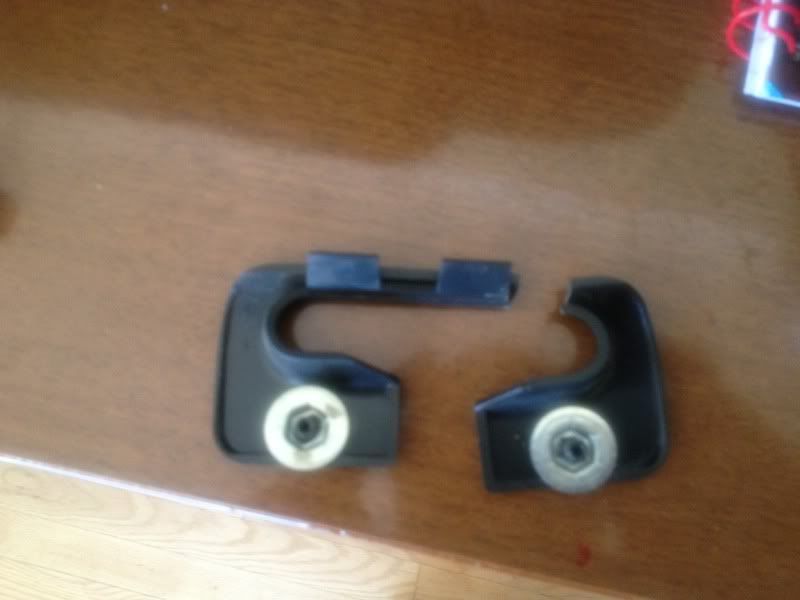
Broken Seat Belt Guard 3
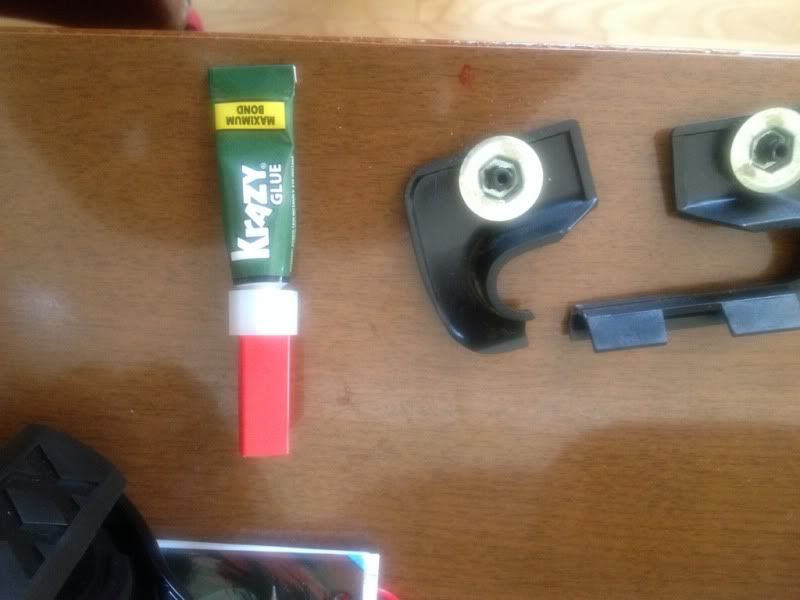
Broken Seat Belt Guard 4
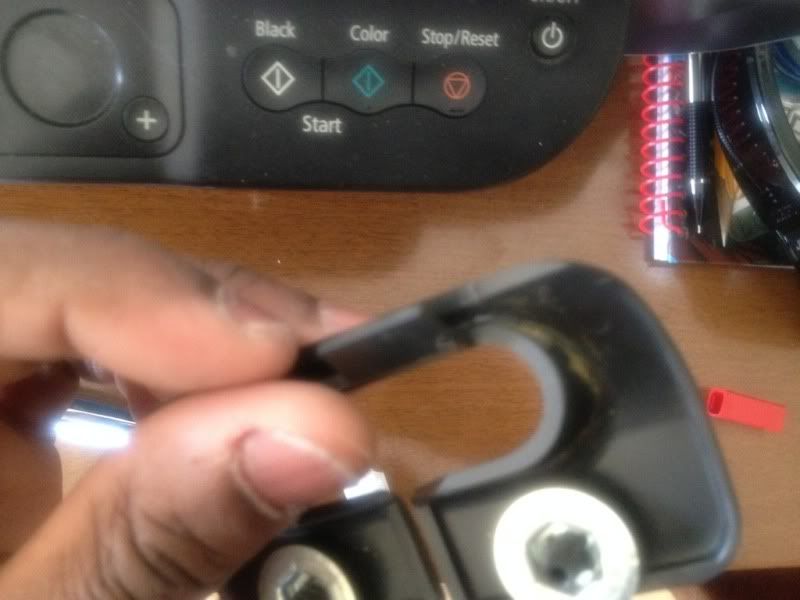
Broken Seat Belt Guard 5
Rear Deck Prep
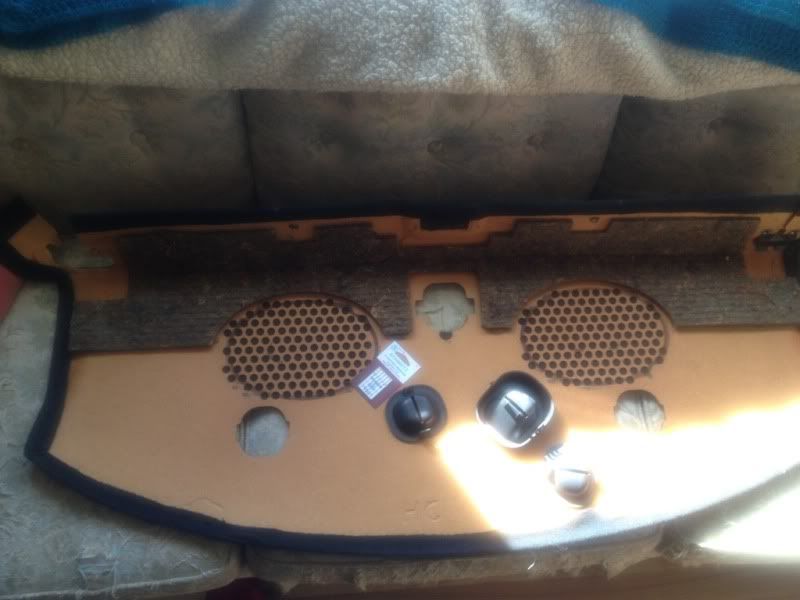
Rear Deck Prep 2 (Broken Corner)
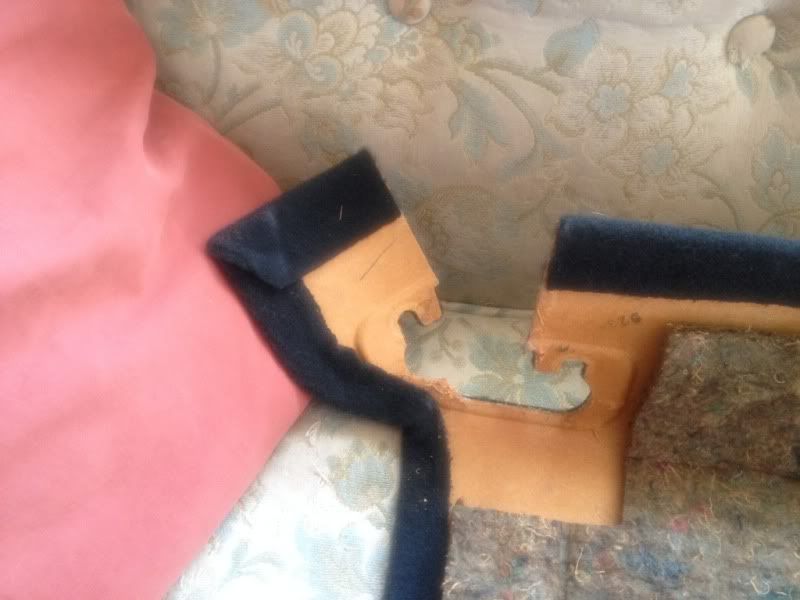
Rear Deck Parts
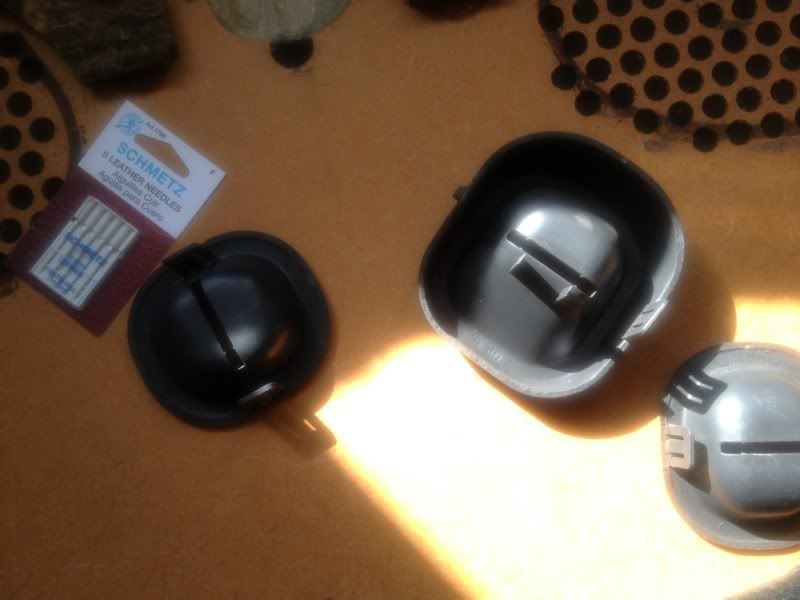
Rear Deck Prep 2
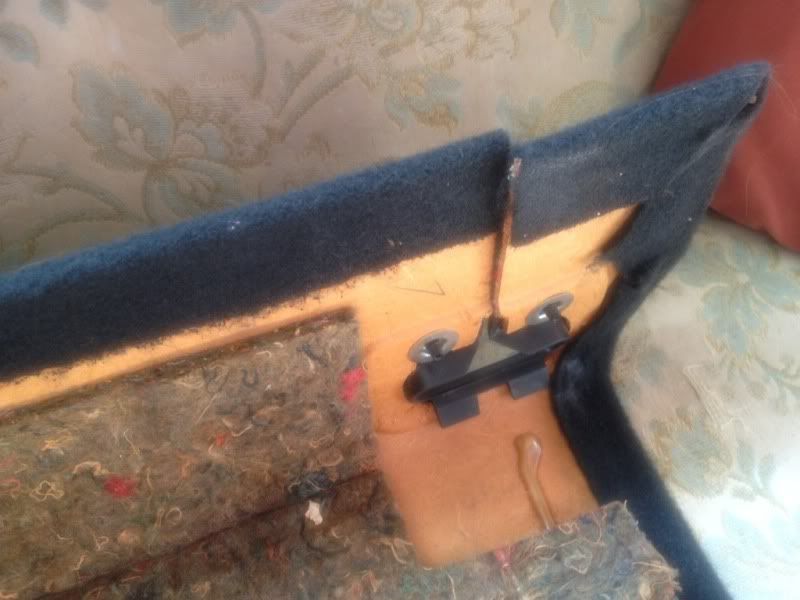
Rear Deck Prep 3
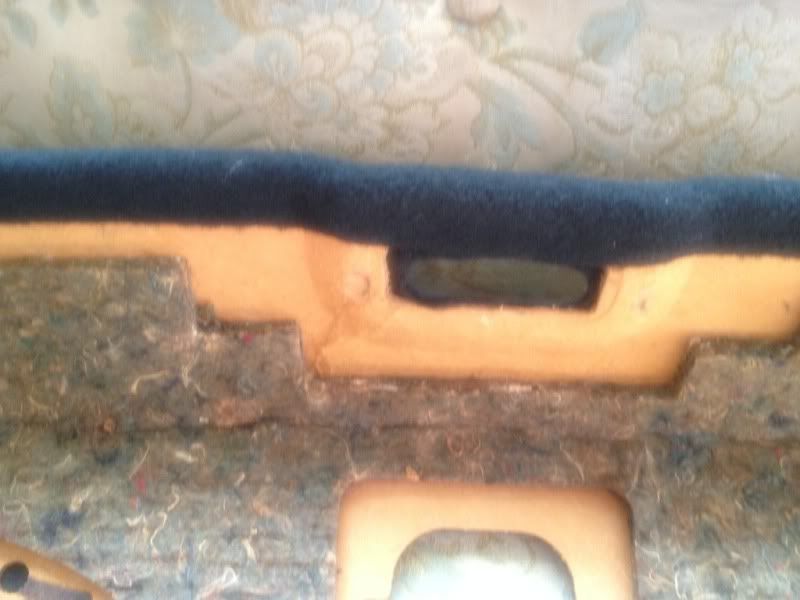
Completely Removed Fabric
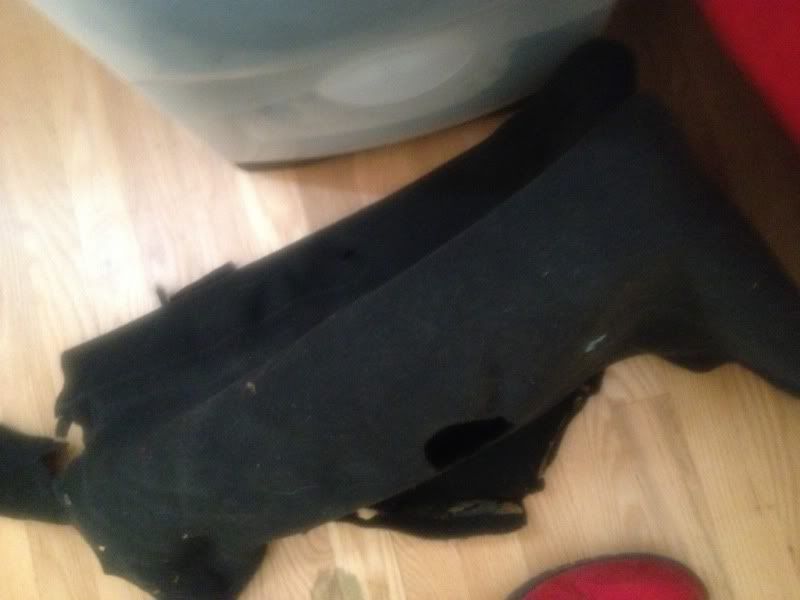
Test Cut
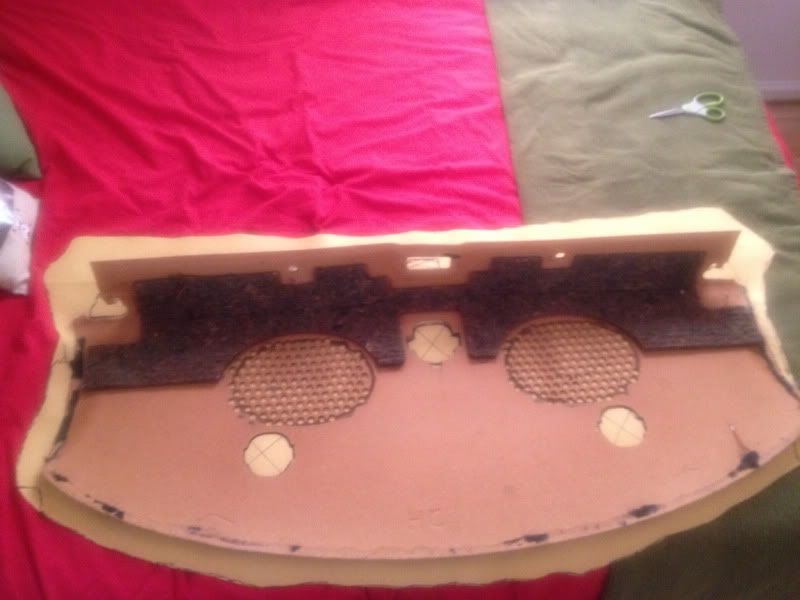
Applying New Emu Fabric
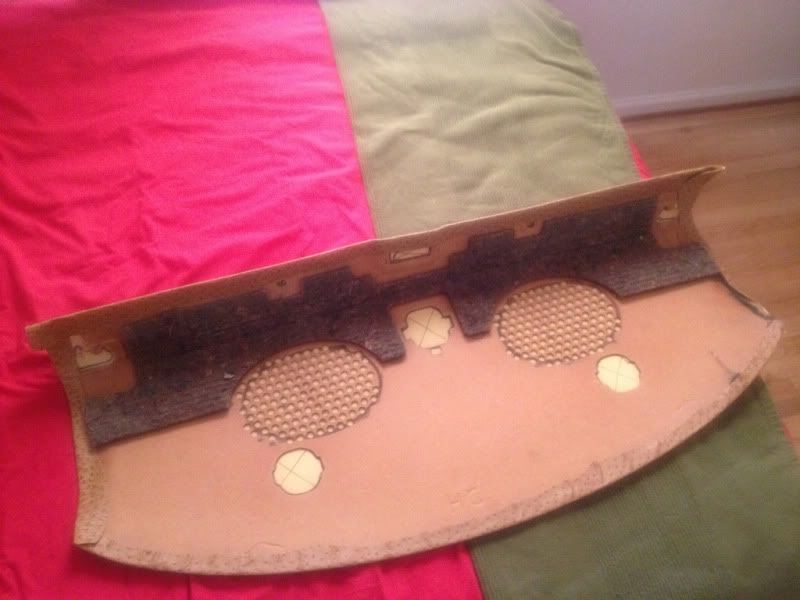
New Fabric Before Cutouts
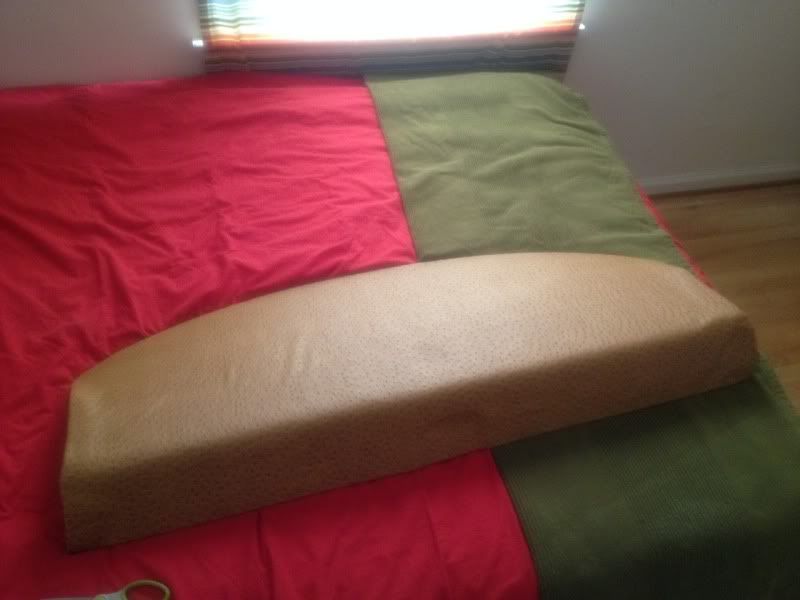
Seat Belt Cutout
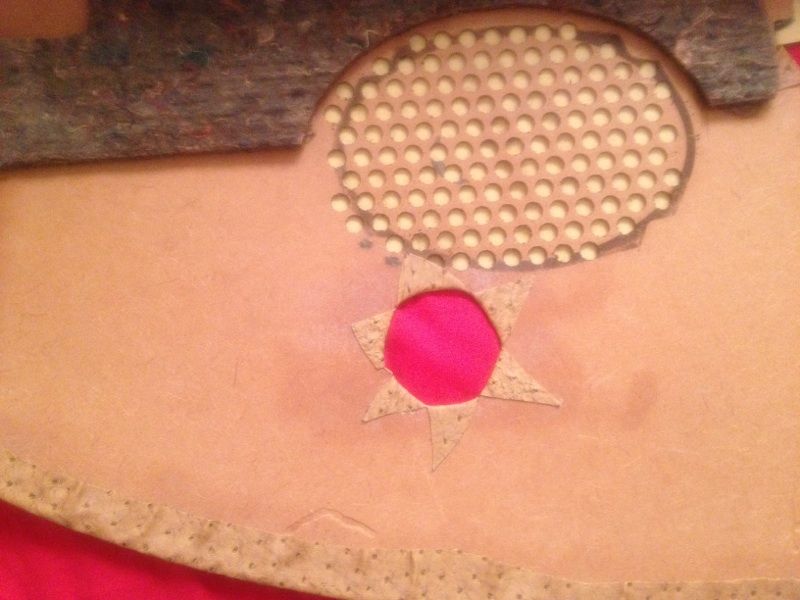
Center Cutout
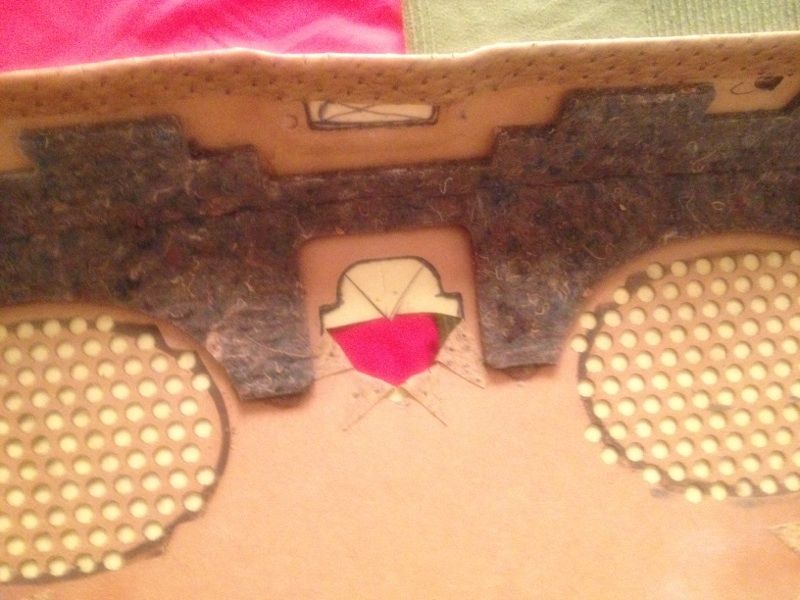
Right Seat Belt Cutout
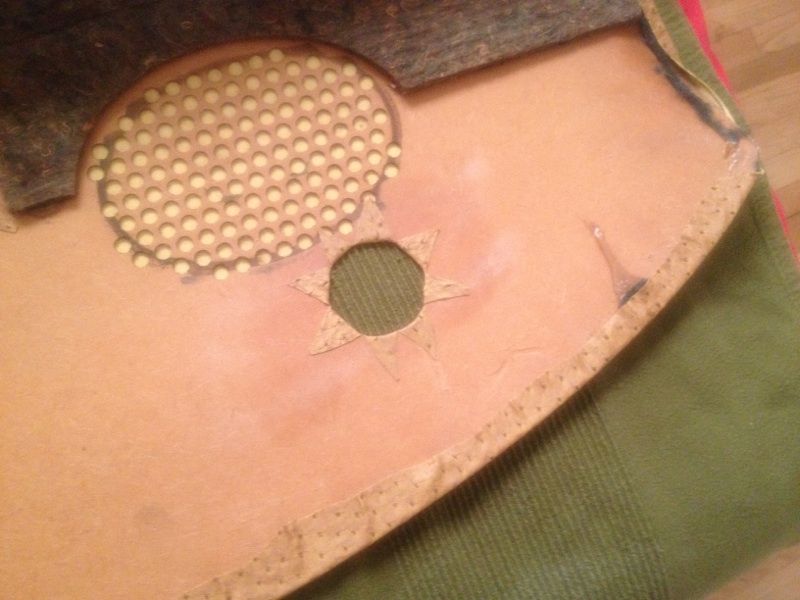
Cutout Overview
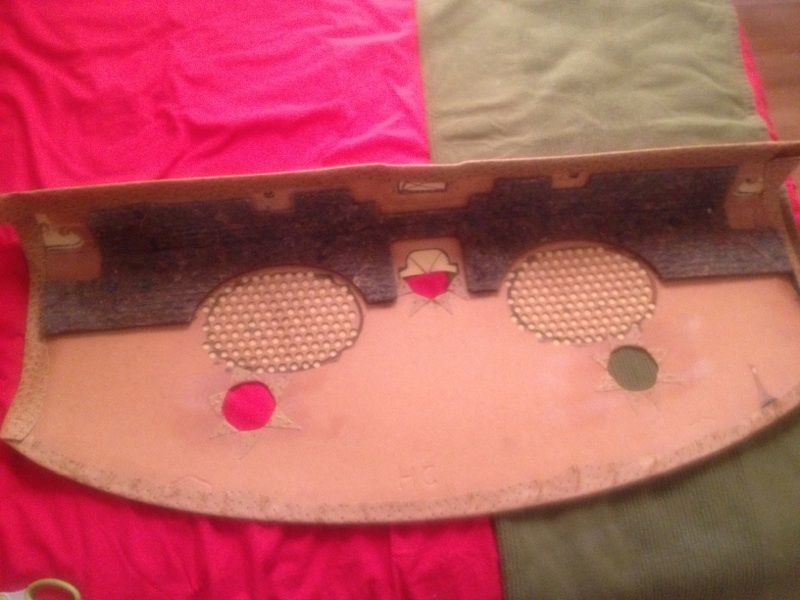
New Emu Fabric Overview
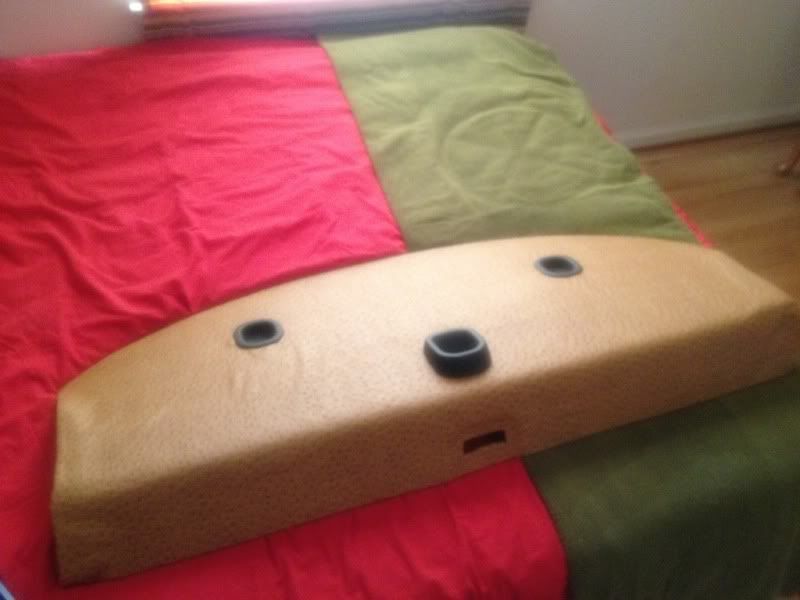
New Emu Fabric Overview 2
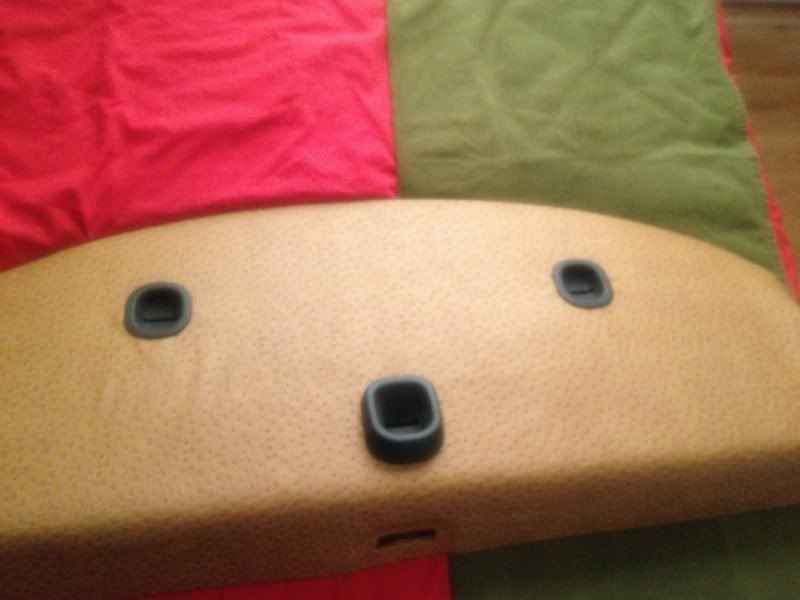
Installed View
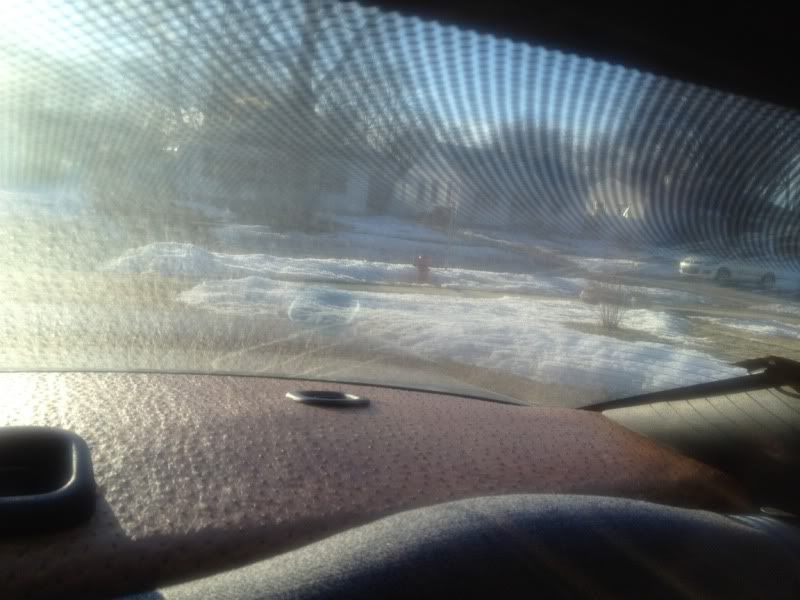
Installed View 2
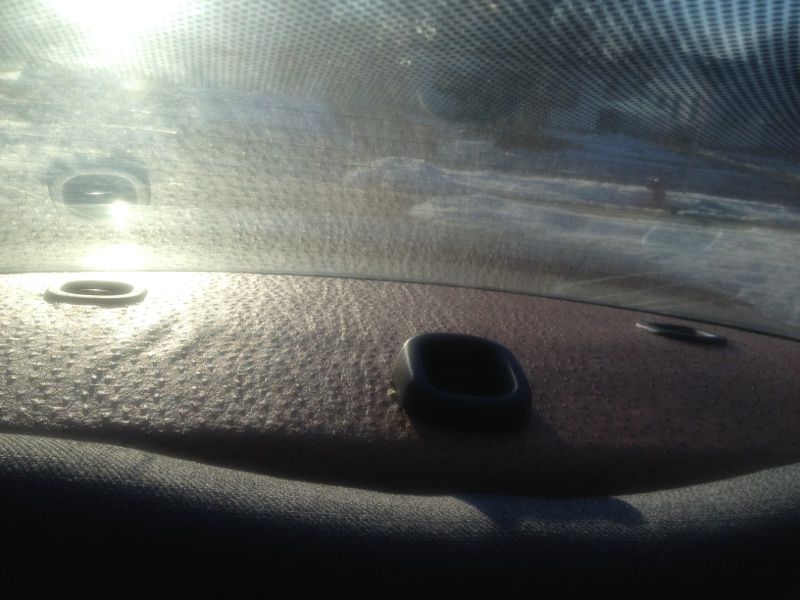
Installed View 3
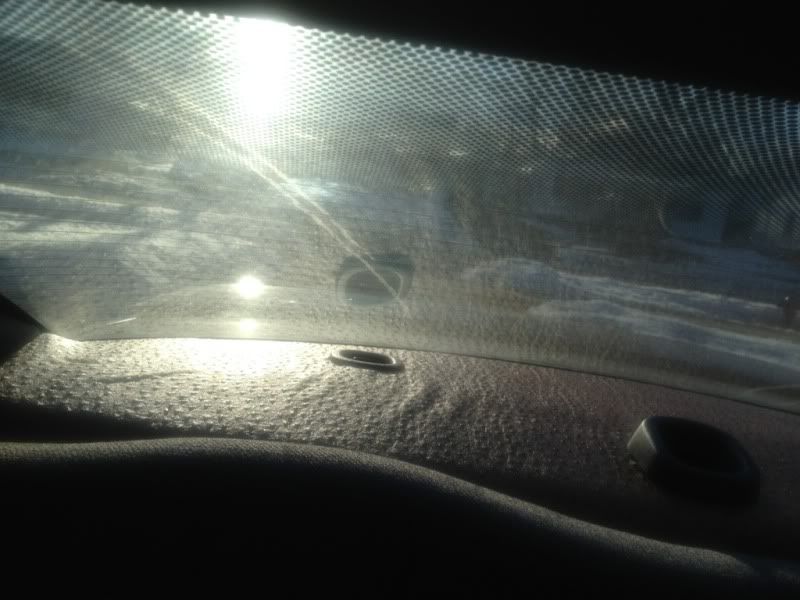
Installed View 4
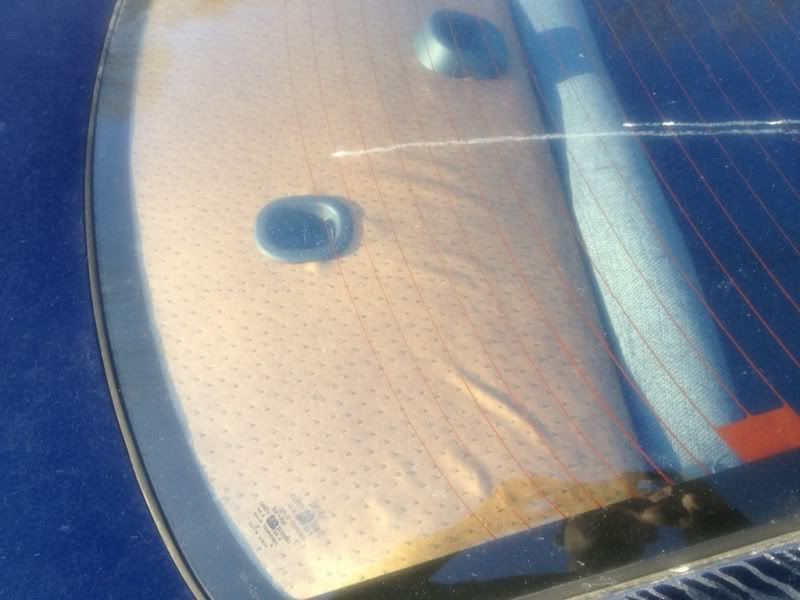
Installed View 5
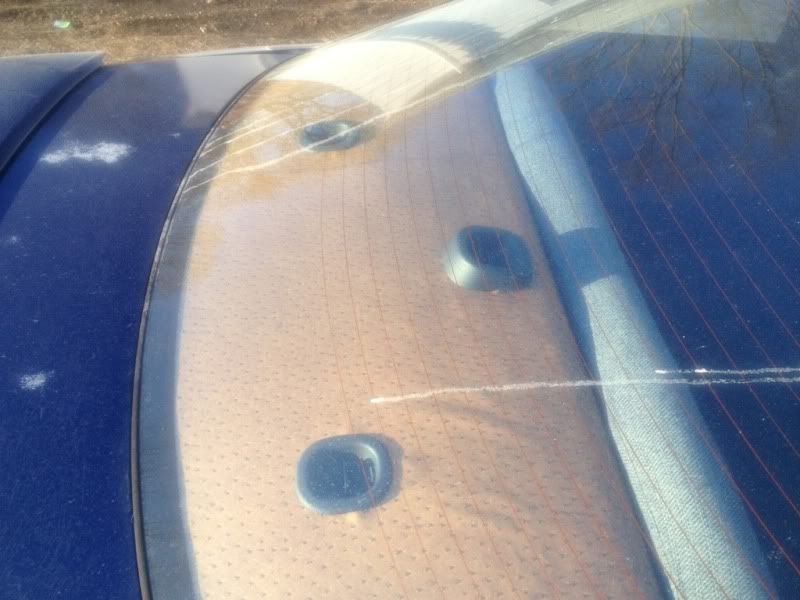 I'm very happy with my work and the results of my project. I think it turned out nice.
Not bad, although a little more care taken during wrapping would have helped in getting the top completely smooth.
How do the speakers sound through that fabric? I personally would have put some speaker grill fabric over those spots and cut ovals out of the top fabric, but I'm curious how it works.

Mr. Quick wrote:Not bad, although a little more care taken during wrapping would have helped in getting the top completely smooth.
How do the speakers sound through that fabric? I personally would have put some speaker grill fabric over those spots and cut ovals out of the top fabric, but I'm curious how it works.
lol I knew there would be a guy who's into detail like me and would point that final layout out...lol Man, I tried to readjust it twice and the tacking of the Loctite Adhesive and fabric was no match to take light...lol I have RE 6"x9" speakers in my rear deck and they are very loud. I wanted to cut out the spot for them on the particle board so I can mount the covers over them that were included with them, but I'll so that at a later date. Thanks for your input and liking my results.
chris meyers wrote:looks good man, been curious as to how to get the deck out without braking things.
i personally have been having problems getting my rear seat out. i cant get the passenger side latching thing to give. drivers side is broke so i dont have to worry about that.
ill post some pictures of mine when i get it done aswell, and maybe a how to for the rear deck as to i havent been able to find one.
Thank you for your input also, but I need you to NOT post pictures of work in my thread. Instead you should start your own thread. I broke several pieces during this project, but I like my results for now.
Infamous Ob wrote:lol I knew there would be a guy who's into detail like me and would point that final layout out...lol Man, I tried to readjust it twice and the tacking of the Loctite Adhesive and fabric was no match to take light...lol I have RE 6"x9" speakers in my rear deck and they are very loud. I wanted to cut out the spot for them on the particle board so I can mount the covers over them that were included with them, but I'll so that at a later date. Thanks for your input and liking my results.
No problem. I'm a bit of a perfectionist, which causes me to drive myself nuts with stuff like this. LOL
A bit of advise, with something like this you don't really need to cut the shape out to start. What I do is to cut a piece a good deal larger, in this case I would just do a rectangle, and then trace the shape on it so that I know where to spray the adhesive. Spray both pieces well, and let them tack up good for about 5-10 minutes, then very carefully lay the piece across, starting at one end and stretching it slightly. If the adhesive has tacked properly, it won't move again. Let that dry, then trim the outter edges and wrap them, using the same tacking time. After all of that has dried well (overnight is what I usually give it), then cut out the spots you need to, and wrap them.
Overall, it came out pretty decent. Believe me, I know what happens when the glue is tacked up and you get a ripple. Hahaha. I've torn stuff off plenty of times because of that.

Mr. Quick wrote:Believe me, I know what happens when the glue is tacked up and you get a ripple. Hahaha. I've torn stuff off plenty of times because of that.
LMAO! Man, lol I've been riding to and from work all week with my new layout. The sound of my rear deck 6"x9" speakers is definitely muffled due to the new fabric. So, back to the drawing board. I'm going to have to pull out my Dremel and get this project in order.
Update: Saturday March 22nd, 2014 (Rear Deck Sound Improvement)
Rear Deck Layout
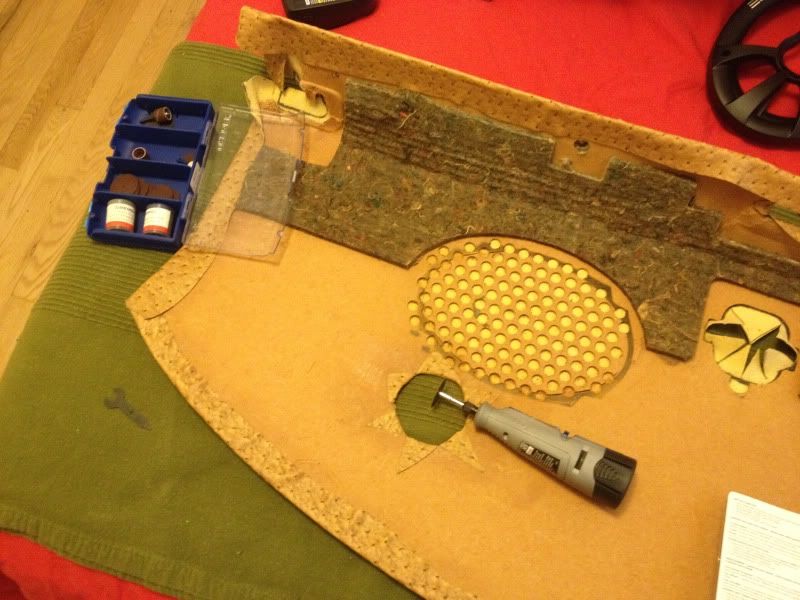
Speaker Grille Cutout
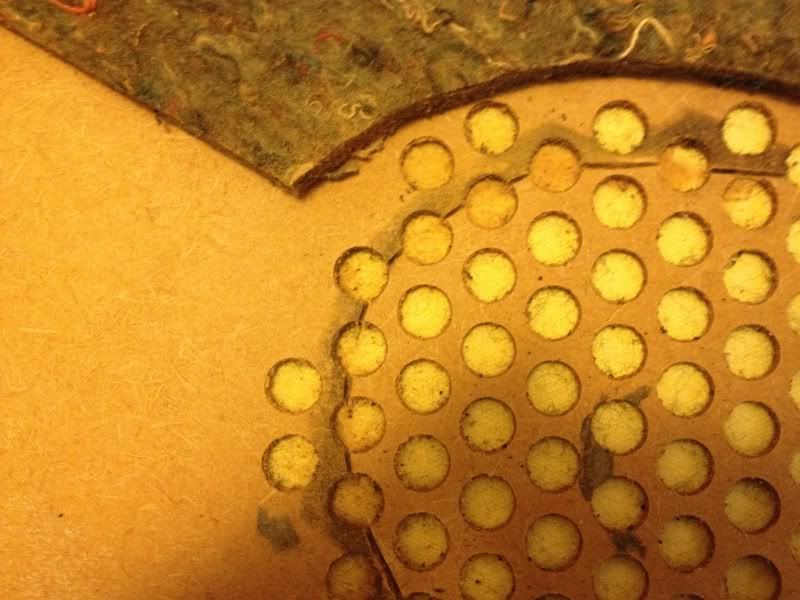
Rear Deck Layout 2
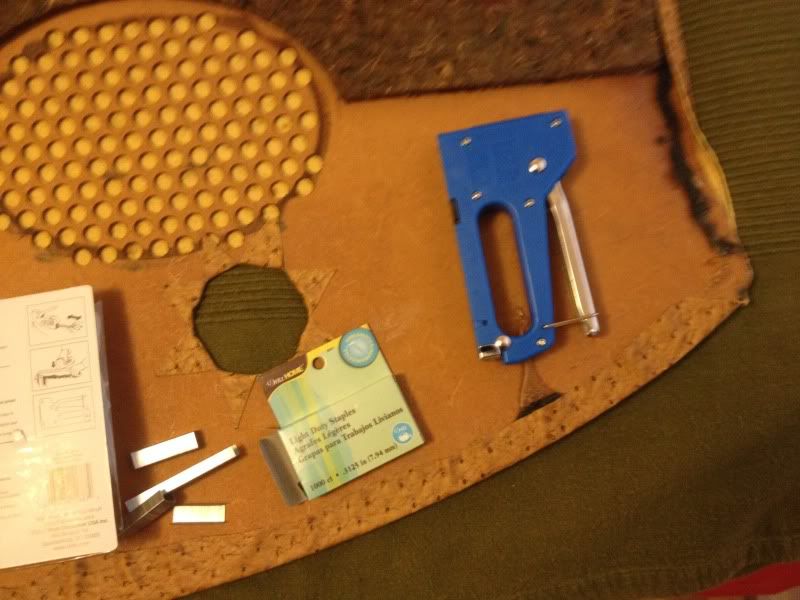
Speaker Grille Cutout 2
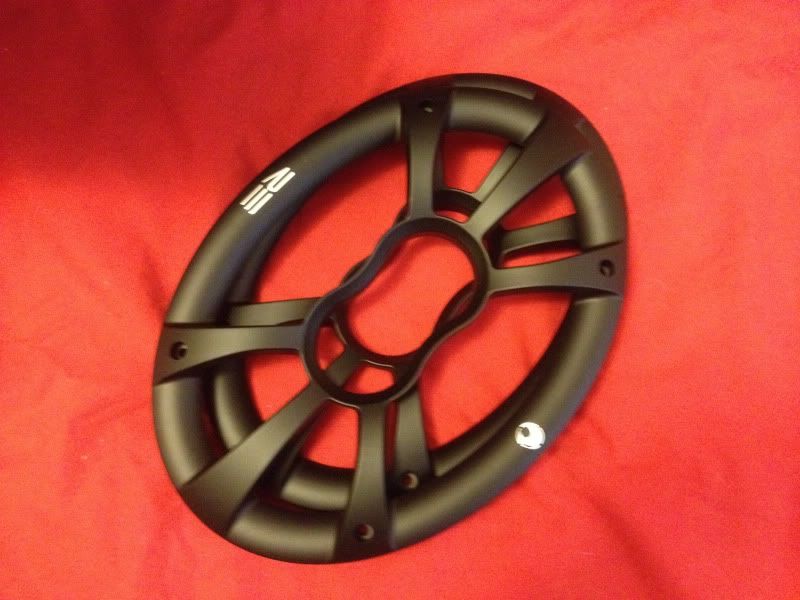
RE 6"x9" Speaker Covers
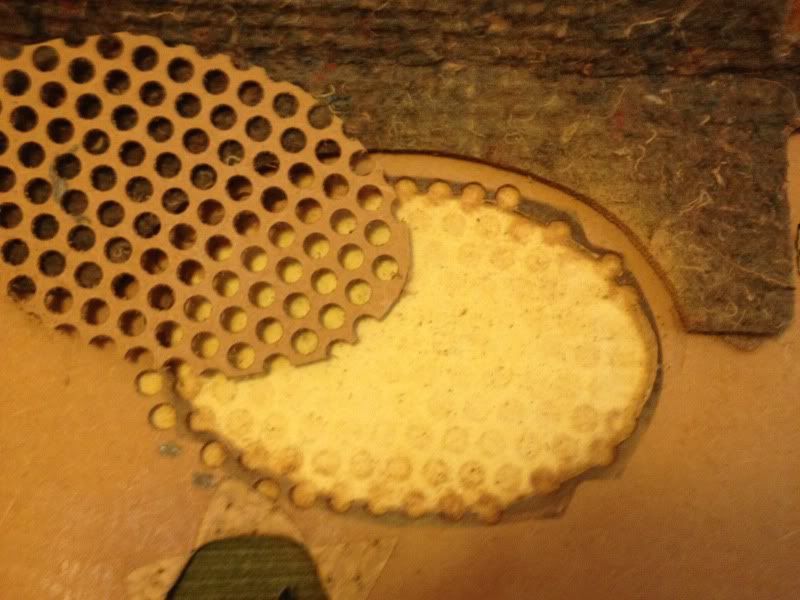
Speaker Grille Removed
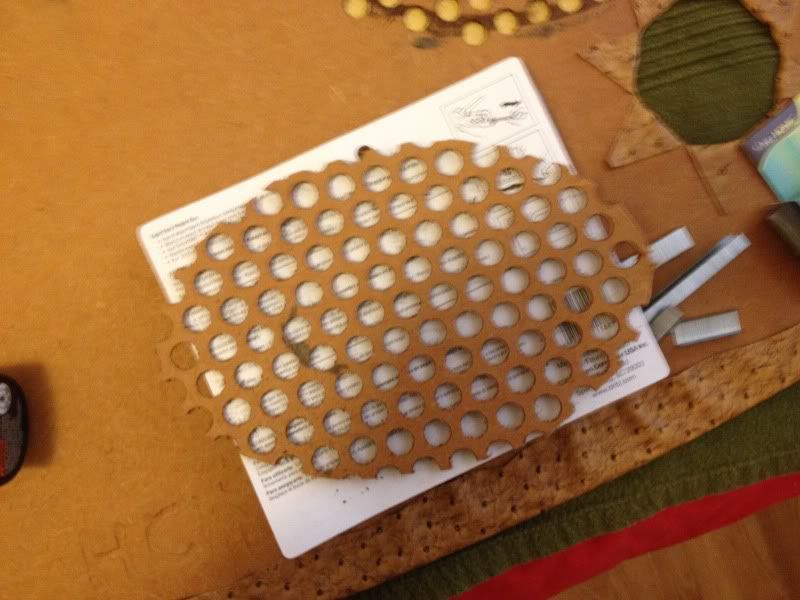
Cutout Overview
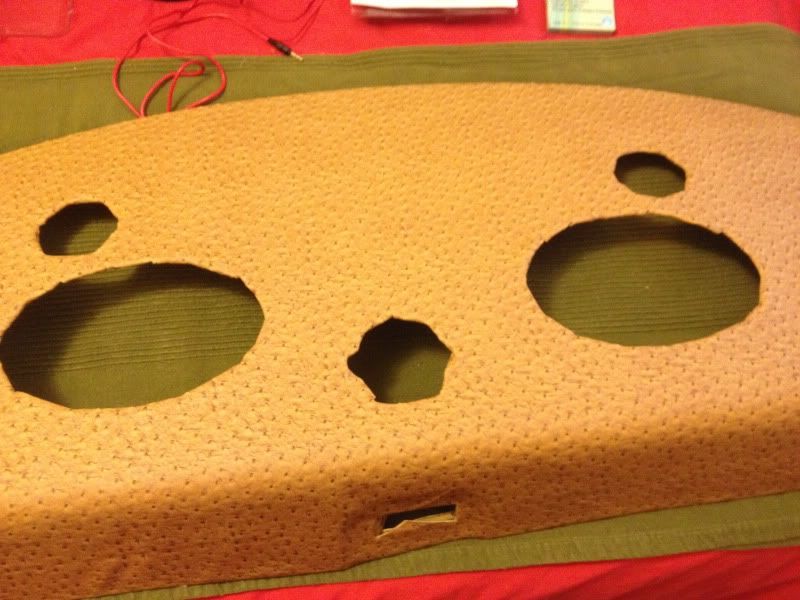
Update: I decided to wrap my center Arm Rest since it was busted up anyway.
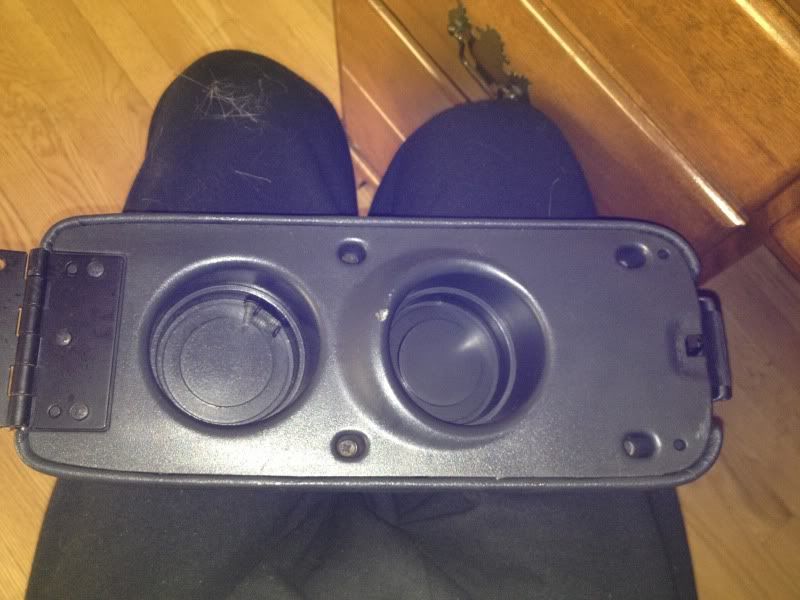
Cup Holder side up
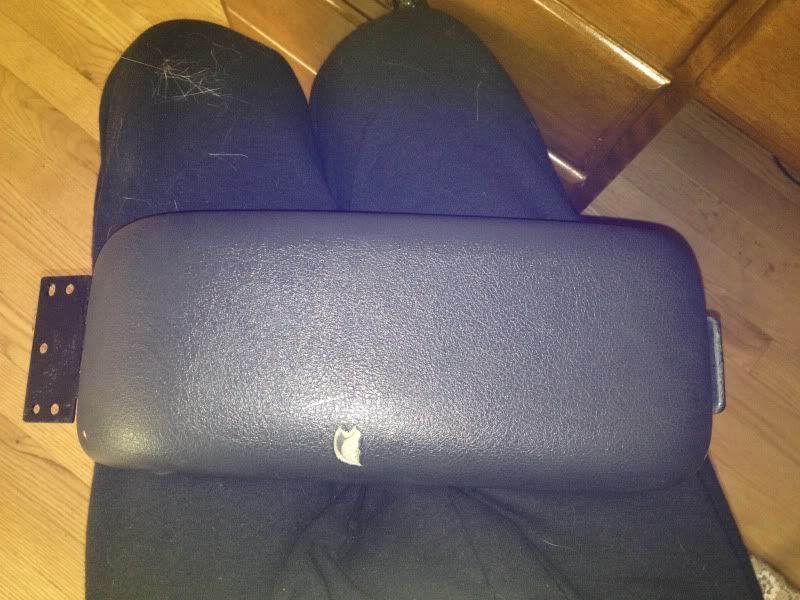
Torn leather Arm Rest
Breakdown
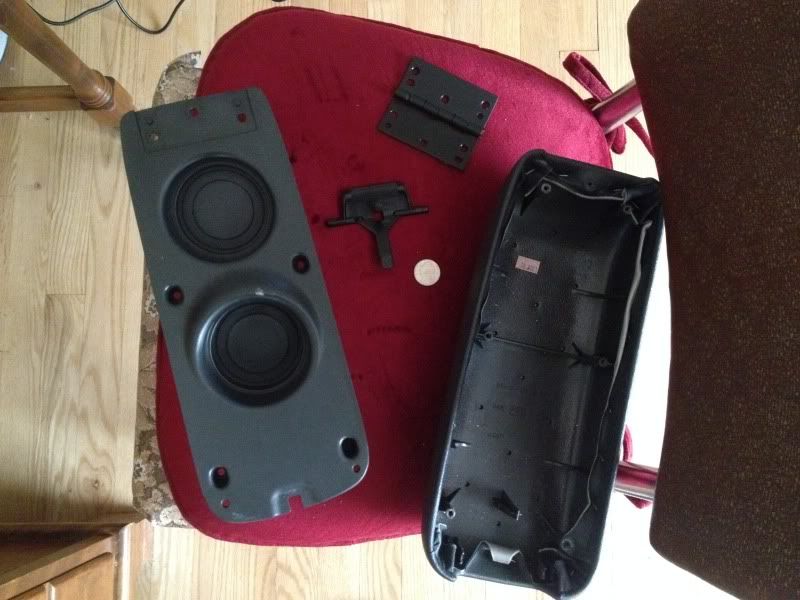
Breakdown 2
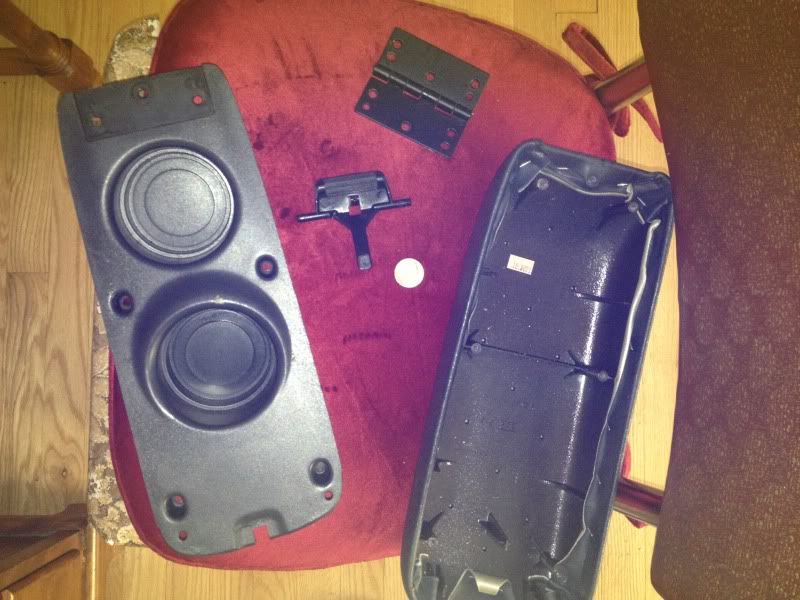
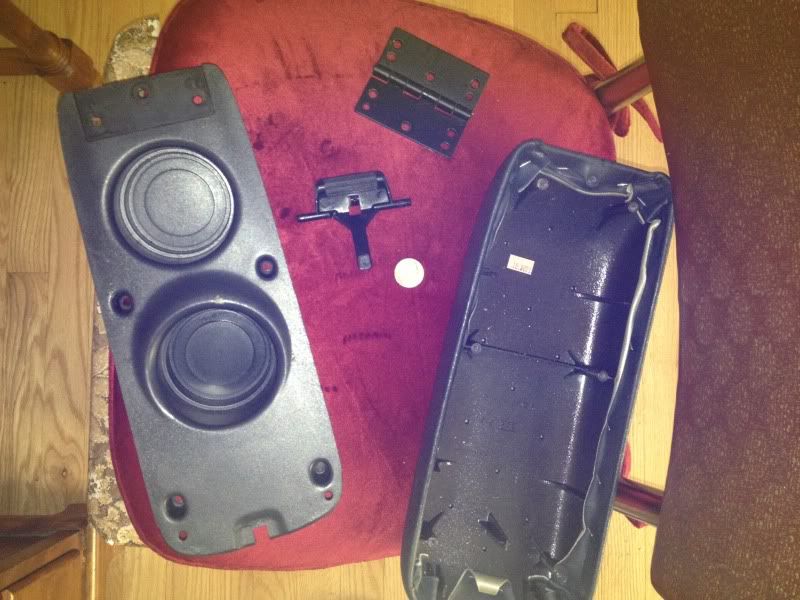
Breakdown 3
Removal of leather
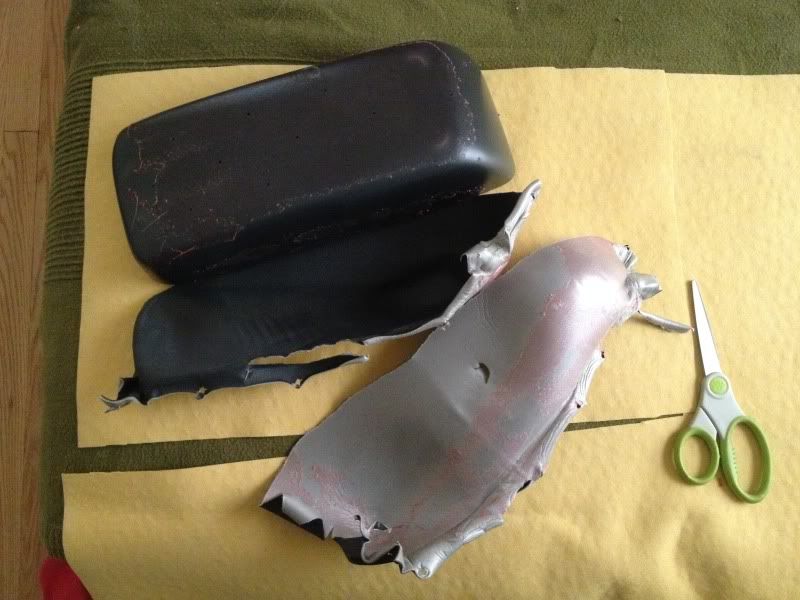
Removal of leather 2
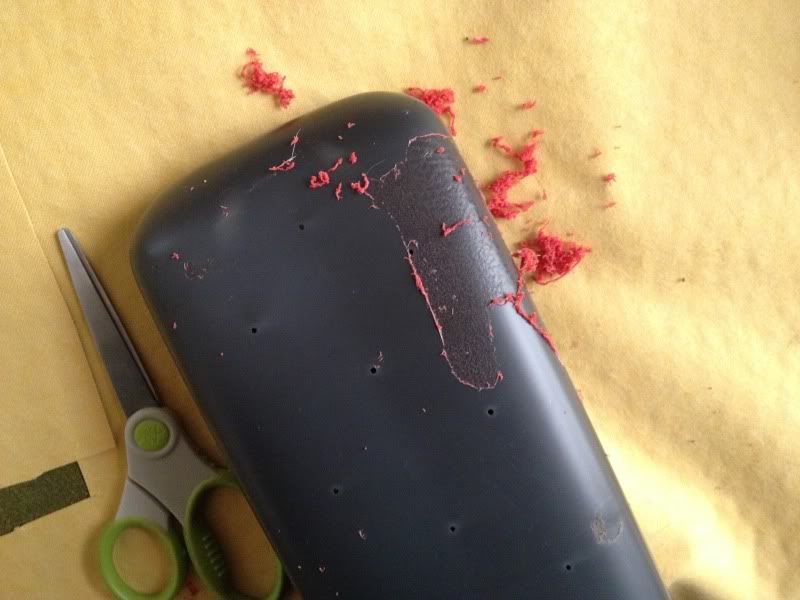
Removal of leather 3
