Hopefully I'm posting this in the correct section. If not, I'll gladly move it to where ever it should be.
So, I recently did a four door Power Window conversion on my '00 Cavalier. Thought I would post about the project and show some pics. Turned out really well and I'm very satisfied with everything.
Here's the eBay kit I used. Very reasonably priced. I'm sure there are better kits out there. Most that I saw appeared to be roughly the same parts and set up. So the installation should be very similar.
eBay Link
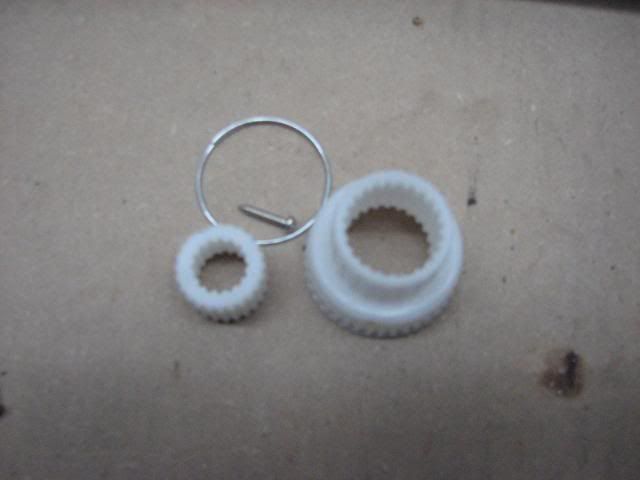
So being that this is a universal kit, it comes with multiple gear adapters and a variety of plugs. You simply have to determine which main gear works with your factory crank gear. This has to be a perfect fit to eliminate any play.
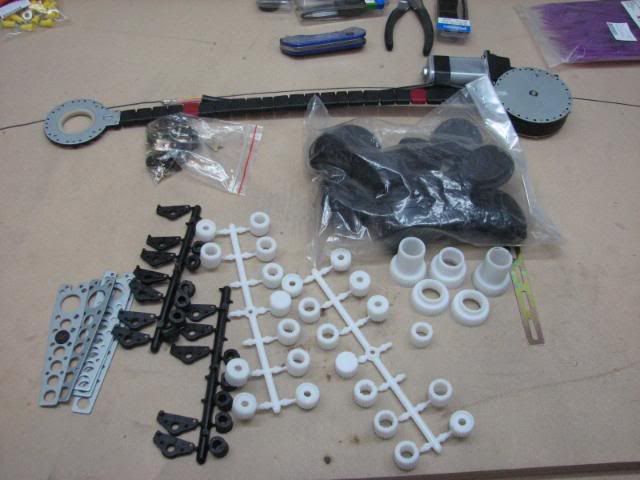
Once you've picked your gear and you need to determine which sleeve gear you want to use. This will be based on your door panel depth and how far off the door frame itself you'll want the motor to be mounted. Here I've separated the per door parts for one door. Pictured is the motor, mounting arms, all screws and bushings, as well as the retaining screw for the gears and the snap ring for the motor.
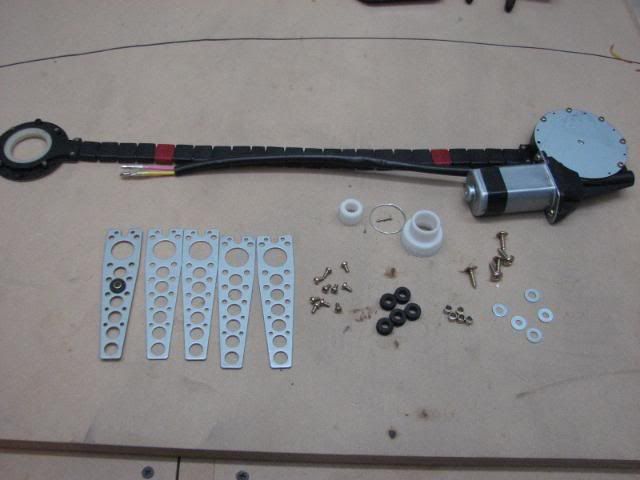
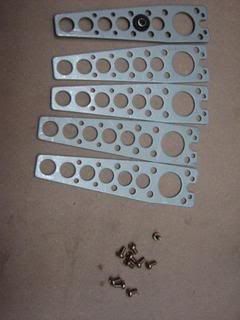
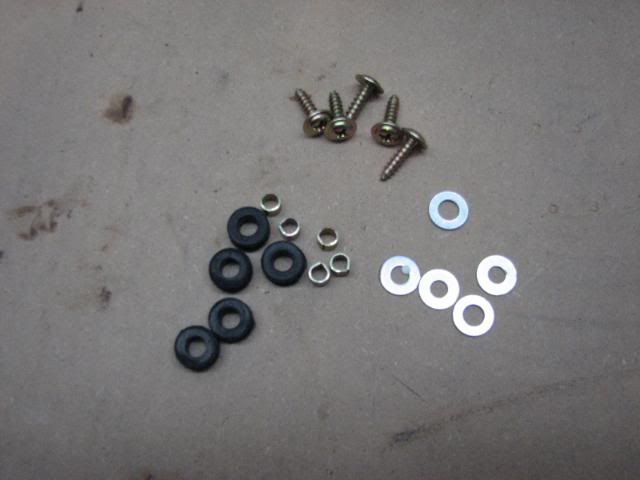
I found it was much easier to install the mounts onto the motor on the bench. The motor has pins on the crank side for mounting points. Just pop them on and secure with the small machine screws.
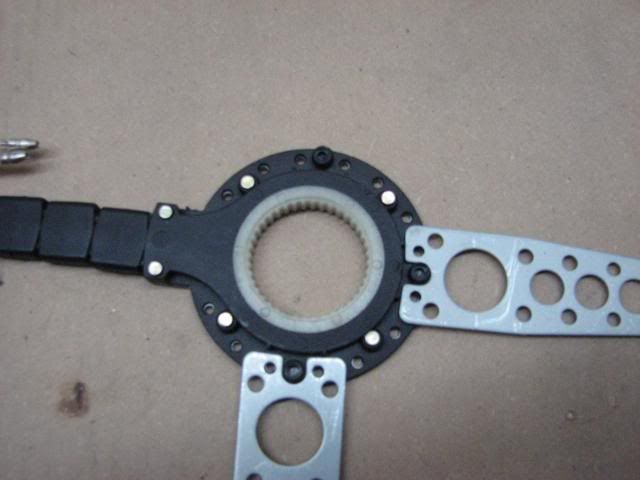
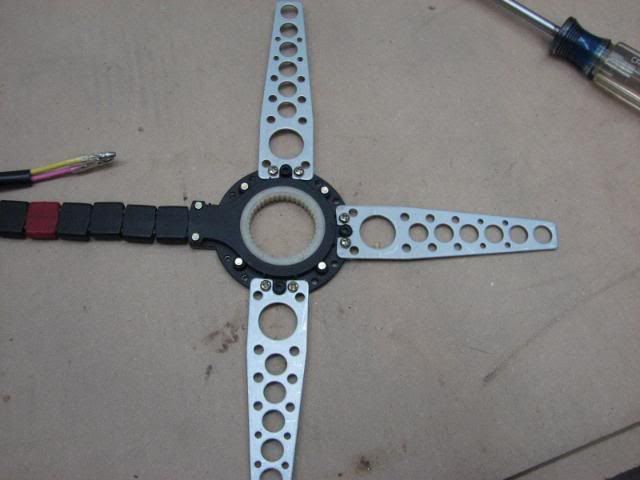
On the motor side it doesn't have the same pins, but there are various mounting holes to choose from.
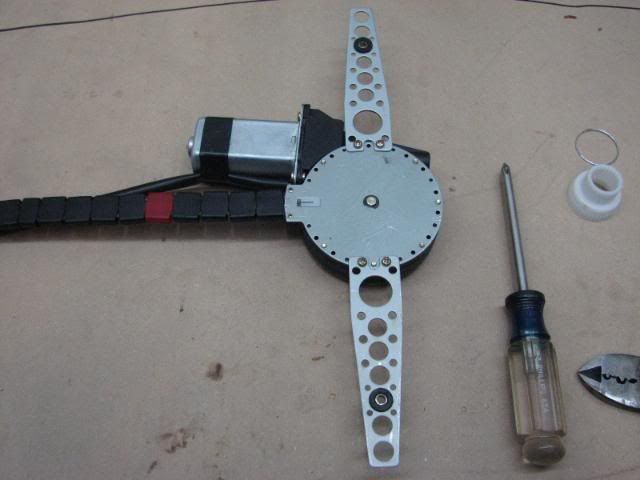
On to installation. Take off the door panel and clear anything out of the way you may need to.
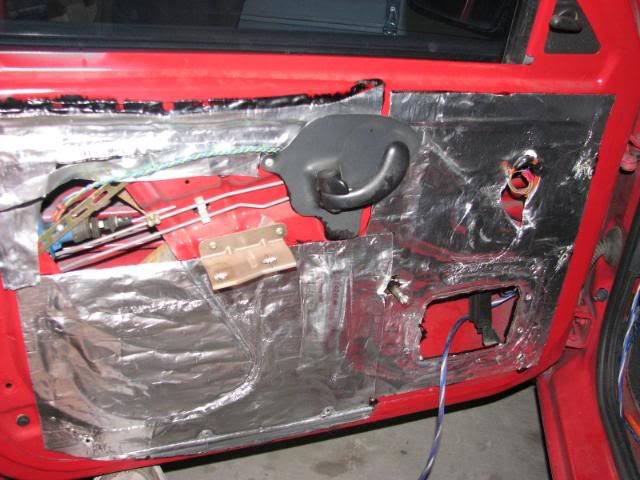
Take the crank gear adapter you've chosen and press it onto the crank itself. As I said this must be the correct gear and should have absolutely no play whatsoever. Any play will result in the gear getting stripped out over time. Just press it on by hand.
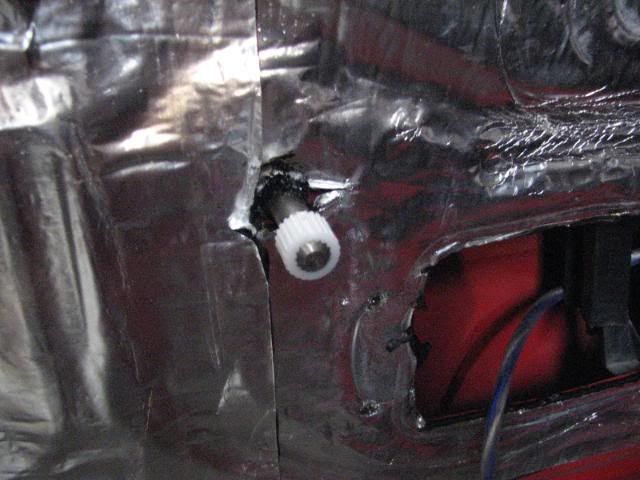
Now slide the gear sleeve onto the gear adapter. Snug fit as well. The gear adapter and sleeve have a groove on them that needs to be lined up for proper fit.
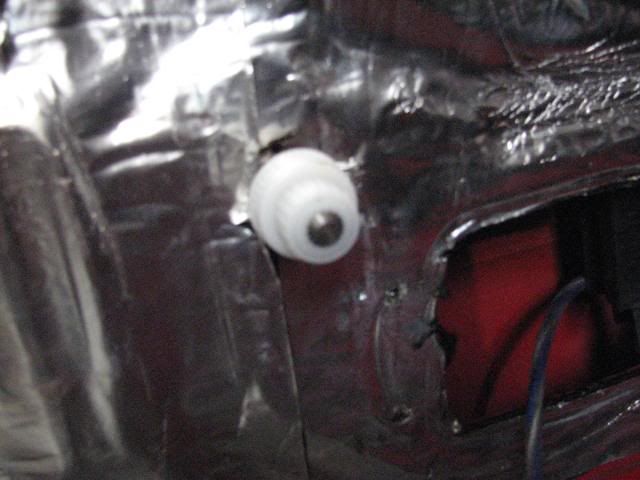
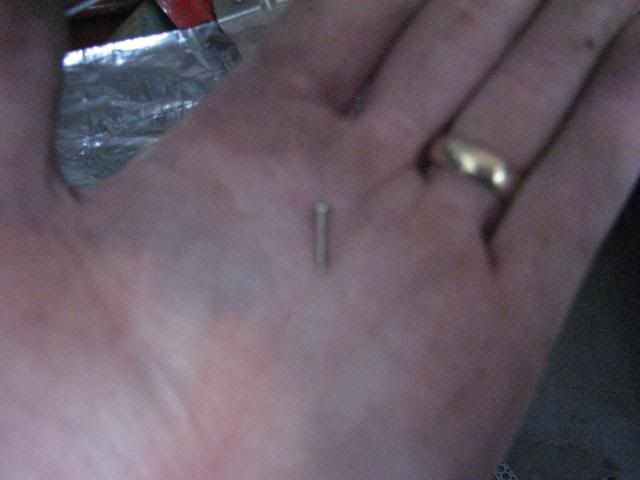
Now take the retention screw and screw it into the groove mentioned above.
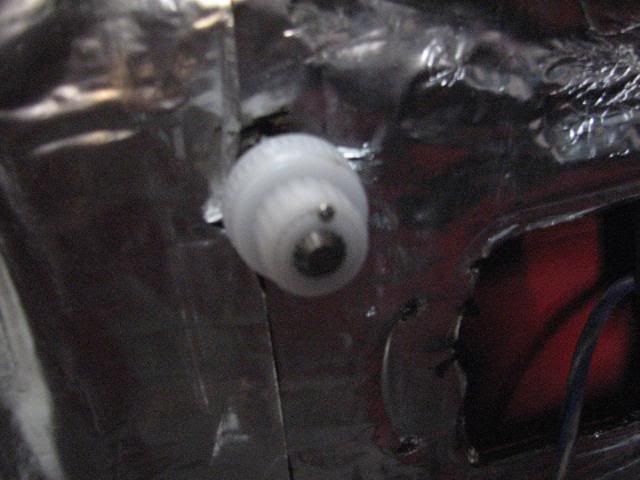
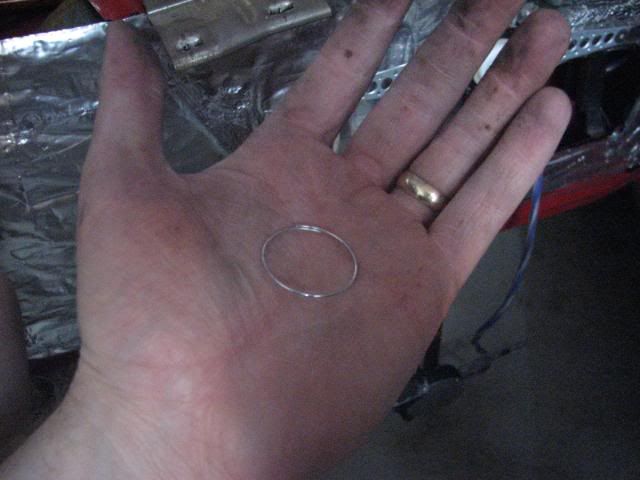
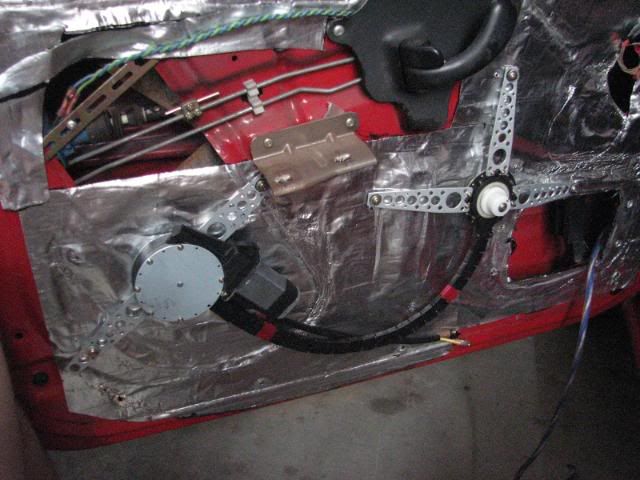
Once the gears are secured you can mount the motor assembly to the gears. This just slips onto the gear sleeve and is held by the snap ring provided. Then screw to mounts into the door frame with the bushings and screws. I found I needed small washers as the screw heads were just a little smaller then the mounting holes. The rubber bushings press into the mounting holes and the steel sleeves insert into the bushings.
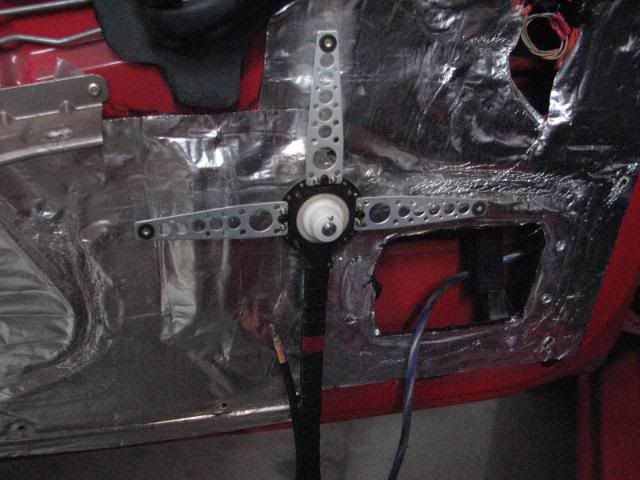
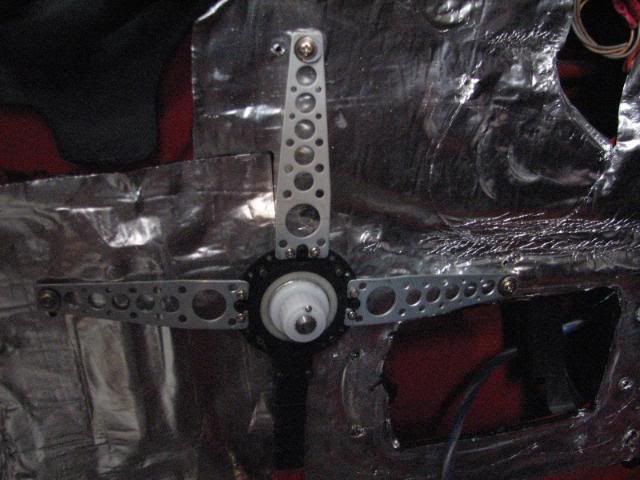
Now you can mount the motor side. These setups have a lot of flexibility. You can virtually wrap them in a circle so they can be fit into small doors.
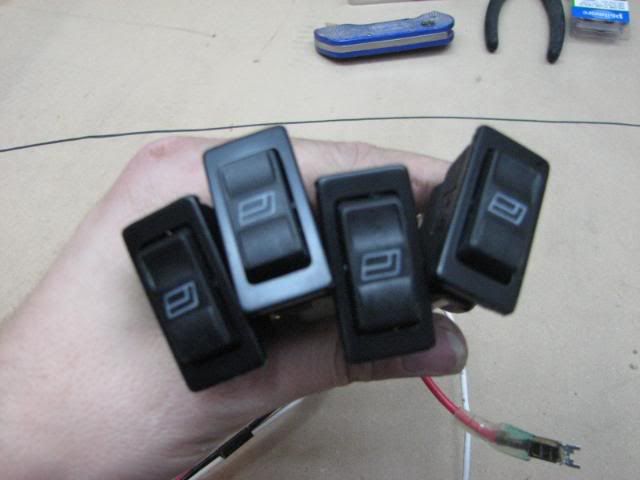
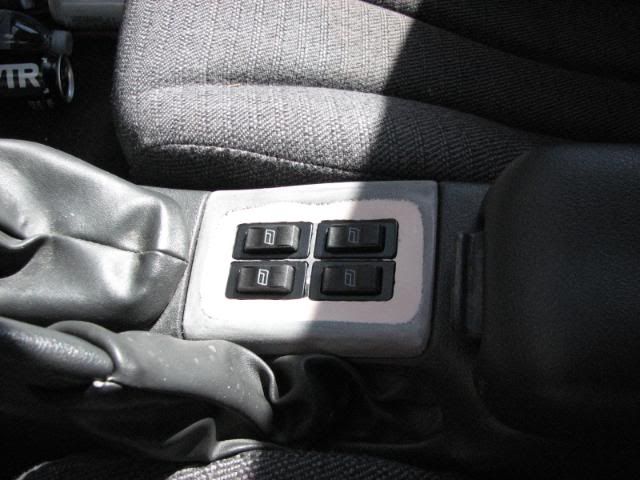
This kit comes with the full wiring harness, a door pod with 4 switches for the drivers side and 3 additional single switch pods for the remaining doors. For this install I only used the 4 switch pod as they will be mounted in the factory position in the center console. Still have a bit of finish sanding to do, but that'll come later on.
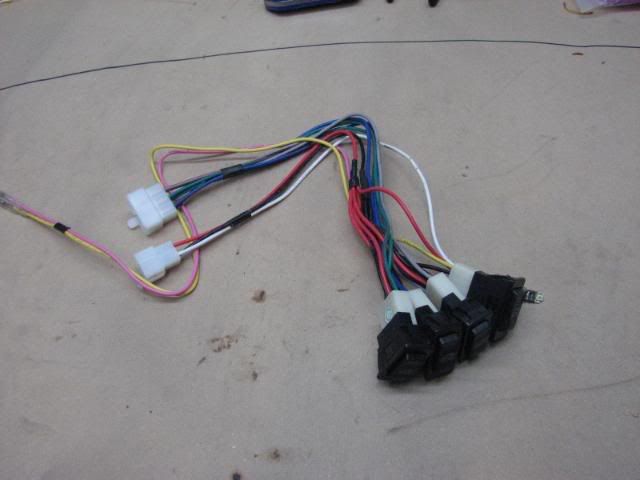
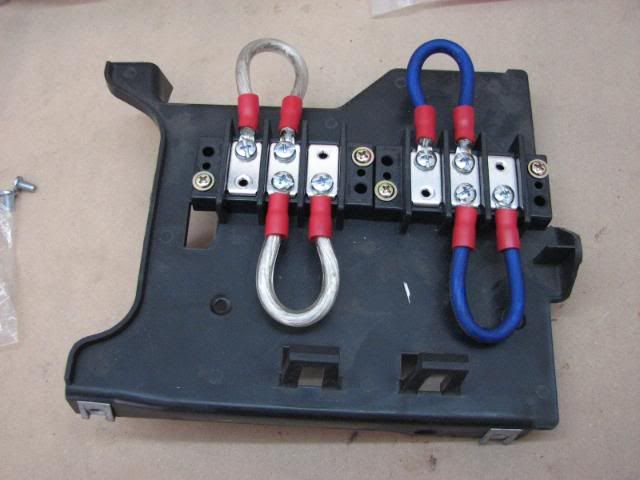
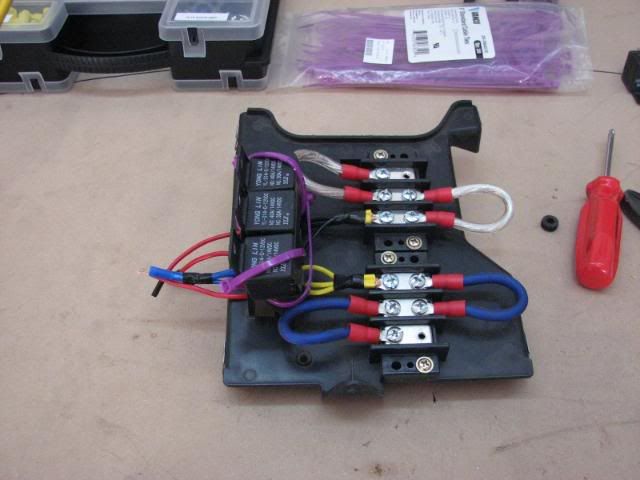
As far as wiring goes, it's really simple. Just run the harness out to your doors and plug it into the motor's. You may have to reverse the wires at the motor depending on the orientation you mounted the motor's themselves(meaning instead of plugging pink into pink and yellow into yellow, just switch them and plug pink into yellow and yellow into pink). This will change the polarity and allow the switches to function in the same fashion. Power and ground are simple. I have a power and ground distribution center under my dash. I ran 8 gauge power and ground directly from the front battery to distribution blocks and a relay block. Make sure you have a secure ground and I chose to run a relay from an ignition source so they only have power with the key on.
This plate is located under the dash in front of the center console. I'm sure on some models it serves a purpose, but not on mine so it was a good location. Always remember to fuse your power sources.
This is a great budget upgrade to any car and really is just nice to have. Hopefully this may give some insight to anyone considering this conversion and help you along the way. Thanks, Duck
was it that easy......how long u had it?
"No greater love than this that he lay down his life for his friend"....John 15:13
I've heard Spal makes good equipment. I've only had this kit a few weeks, so we'll see how the durability is but I'm happy so far. For the price it was definately worth a shot.


