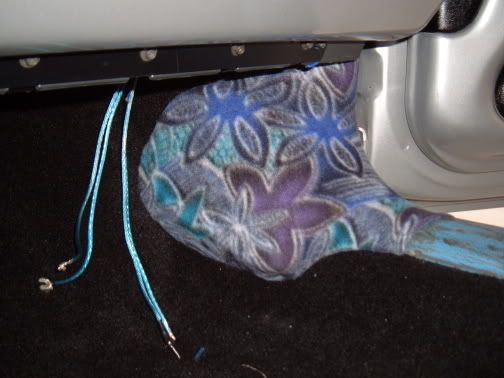
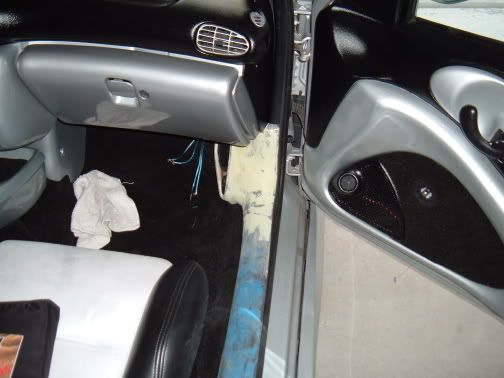
I am starting to make my own kick pods and was wondering in there are any pictures of other peoples creations? I have tried to search but to have only came up with one post about them and no pictures. Maybe like a how to, might help, I just finished the back side of the mold, well at least one lyer of fg right now I am just waiting overnight for it to harden so I can reinforce it more so it is super strong, then I have my wood ring cut out ready to be mounted on the right angle. then fleece stretched out to make the shape and then more resining and fibreglassing, at least thats what I think how it is done but some pics of others and info would be greatly appreciated, thanks
btw once it is daillight out again I will post pics of my progress

i do beleave scale made some for his 03 cav you will have to ask him about it.
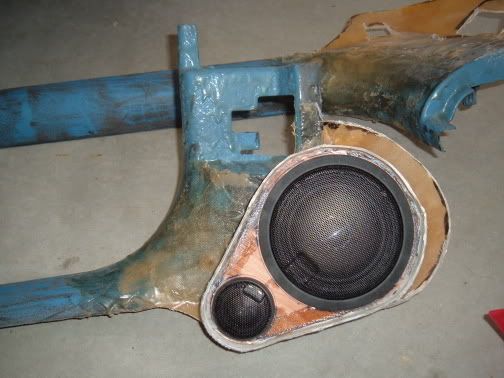
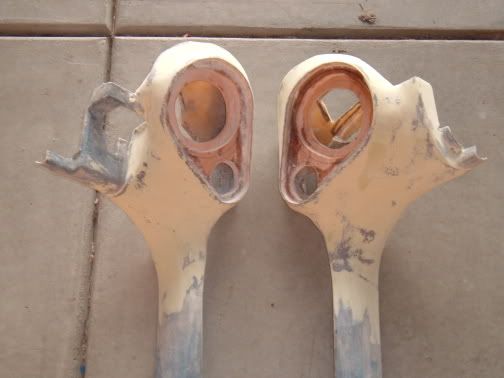
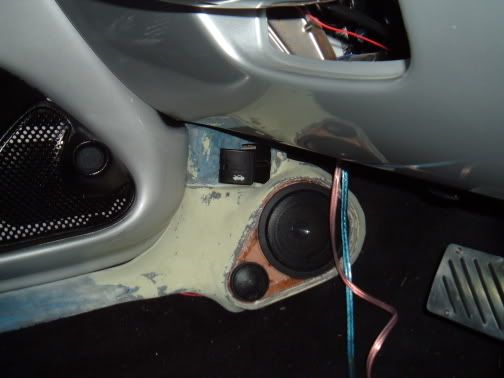
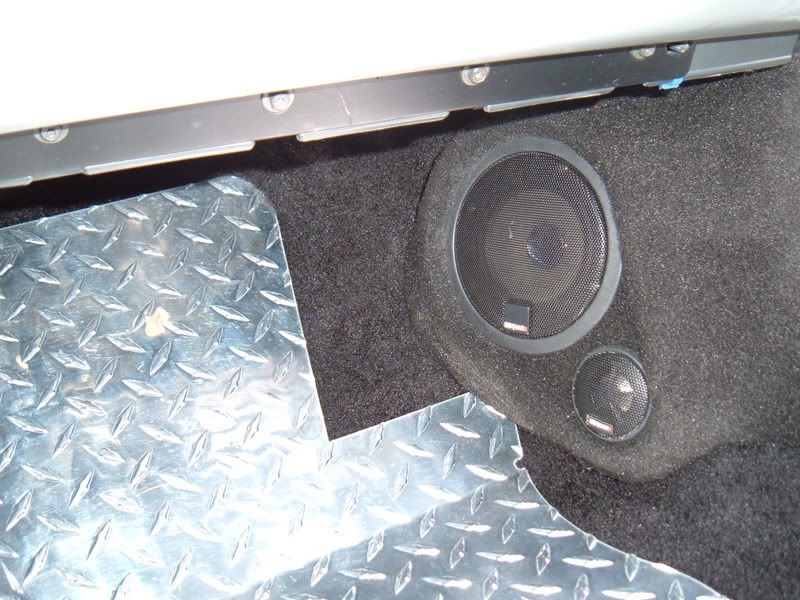
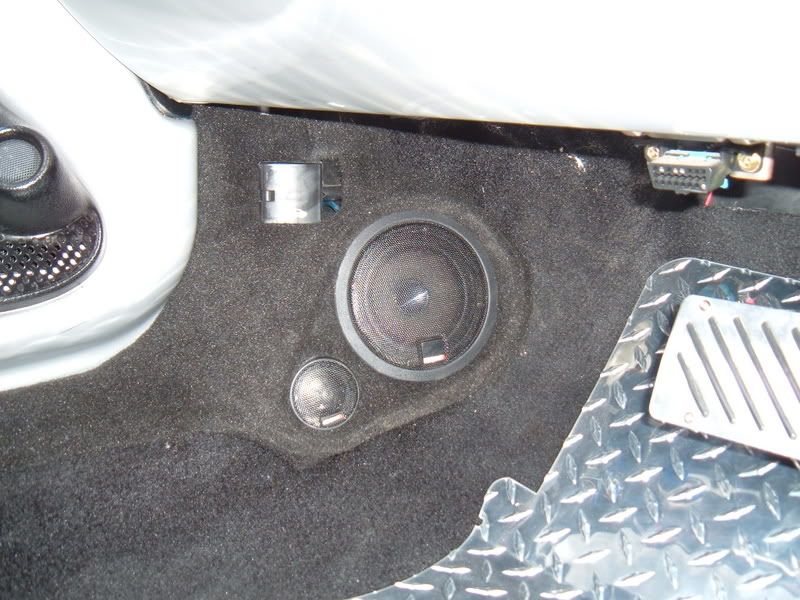
wow pretty decent!! what was used around the speaker baffle? that white material? I just finished mine today I just need to sand primer and paint then I can install them, I would be taking pics but I have seemed to lose the camera somewhere so it might be a bit before i post pics lol, but thank you for posting yours

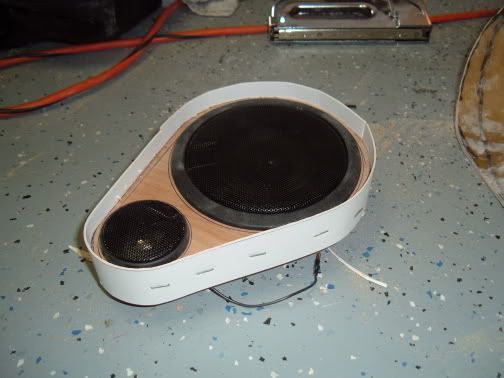
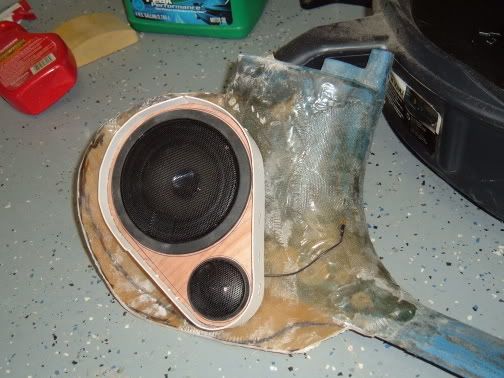
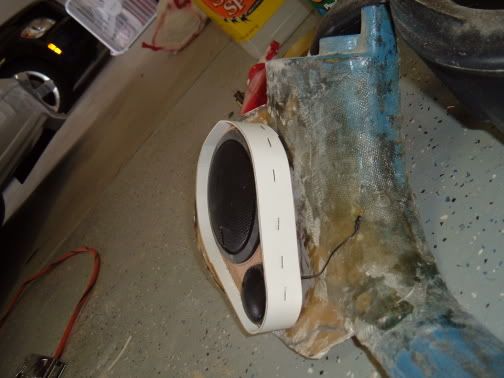
the white stuff is actually heavy cardboard use for like picture frame matting. i cut it into a strip, stapled it along the edge of the wood to give me a recessed lip. then thru a coat of resin on it to help strengthen it for when i put the fleece overtop i tend to stretch it pretty tight and i was worried that without the resin it might buckle on me.
http://www.flickr.com/photos/sndsgood/ https://www.facebook.com/#!/Square1Photography
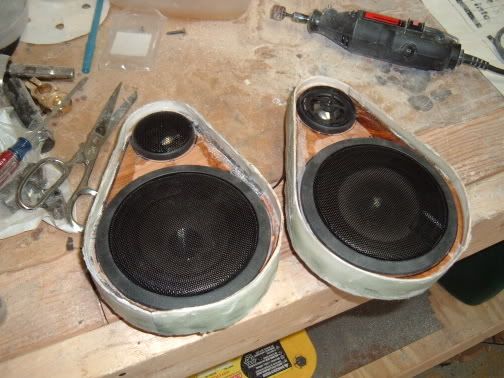
ok so I couldnt find my camera before or during this project but I just found out today that it was in a bag that we took to go to T.O. for a weekend or so ago, lol, anyways what I did was layer my kicks with painters tape then resin it, then added a bunch of little pieces of fg matte to strengthen it after an hour of drying time I added two more layers of fg matte then another hour later I removed the backside mold off the floor then made an mdf ring and hot glued it int the mold to give me the angle I wanted, then wrapped grill cloth over the ring and mold, then resin that till it was all strong then added some fg bondo and filler to smooth out the shape, I could have spent maybe another hour or two sanding to make it perfect but ...meh...they are my first set I have made let me know what you think, this is just the first one here in the pic the other is waiting to be dry to sand lol
backside

looking at it from a passenger view kinda

then a drivers view kinda lol

then flat

and finally in my hand

Comments and Criticism are welcome and same with advice!

Man both pods look sweet .... but could one of you all please tell me how you got the mold of the floor??? thanks in advance... and again they both look great


lay a few layers of masking tape down on the floor, cover any part that the resin may touch, i then take a sheet of aluminum foil and spray glue and glue the aluminum foil to the tape, then brush resin on the foil and then lay down some fiberglass cloth and resin, (roughly 4-5 layers. wait for it to harden (try to leave it in for 34-48 hours to cure properly. then pull it out and cut it to shape.
http://www.flickr.com/photos/sndsgood/ https://www.facebook.com/#!/Square1Photography
crap I just resined over the tape and only did 4 layers since they are just for mids I didnt think it would need to be super strong lol

ive resined over the tape before but the resin sticks to the tape and if u have a large surface allot of times its hard to pull it up. with the aluminum foil it will just pull right off quickly and easily and u wont have to deal with any sticky tape residue. as for the layers, i always tend to do more layers then most. i figure it only takes a minute to add and extra layer or two and would take allot more if someone foot stepped on it and cracked it when it was finished and in the car.
http://www.flickr.com/photos/sndsgood/ https://www.facebook.com/#!/Square1Photography
the type of cloth you use and thickness will play into how many layers you do. I always do more than needed. just for the same reasons jason said. id rather have them strong as hell then yank them out and have to redo them. Ive already had that happen once.
watch this vid, i might be late but maybe it will help someone out


