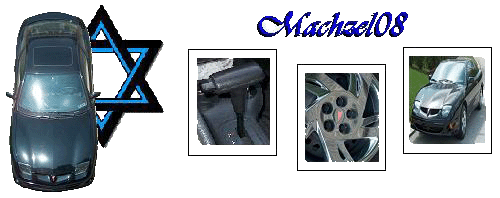
I must say thanks to never enough autosports for this great deal. Now on to the product and the install. I used a 1/2" drive ratchet, 22mm deep well socket, 18mm deep well socket, 3/8'' ratchet, 13mm deep well socket and a 14mm deep well socket. Install took me about 35-40 min's to complete. Its very easy to do and anyone with the listed tools can do it. I jacked up one side to get the factory strut bolt out using the 18mm socket and installed the new bolt and the L bracket with the longer side sideways. Tighten it up using the 22mm socket and repeat for the other side. You may not need the jack but it makes getting the bolt back in a lot easier. Now you put the clamps around the axle and put the flat plates on them. Put the D bushings around the bar facing down and install the other piece that goes around the bushing, hold it up and start the 14mm lock nuts and washer on. Repeat that for both sides. Then install the end links. end links have 4 bushings, 4 cupped washers, 1 spacer, 1 bolt and one 13mm nut. Start with the bolt head down and place the first washer on, then the bushing. Then put it thru the hole on the sway bar and install the 2nd bushing on the bolt with the flat side up and install the washer. Then you put the spacer on followed by 3rd washer flat side down and followed by the 3rd bushing, also flat side down. Then you put the end link thru the L bracket, Place the bushing on flat side up and the washer flat side up and install the nut(13mm) at the top. Don't tighten anything up yet or you will not be able to put the other side together. Repeat that for the opposing side and then tighten everything up. Very simple to do, If I had taken pictures it might be easier to understand but, if you have the bar already you should be able to tell what I am talking about.
I am very happy with the results, I currently have Koni yellows, Goldline springs and now the Addco RSB. Steering is tight and neutral now. Its completely worth the $115 it cost me and would recommend it. If you have any questions, feel free to ask.
2012 HD VRSCF
2010 Ford Explorer
2006 Ford Ranger
2004 Chevy Cavalier
Haha yeah, I was in a rush doing it. Oh well, Sorry about that.
2012 HD VRSCF
2010 Ford Explorer
2006 Ford Ranger
2004 Chevy Cavalier
The Addco and Eibach are pretty near 100% similar, I cannot really see any difference.

Install 100% the same.
Bar thickness is different.
Addco 25.4mm unpainted
Eibach 22mm + paint coating (makes look thicker)
-M
Remember....syringes go in the RED waste basket.
im told that you are not supposed to jack the car up to install it cause it needs weight.....i found this out after i installed it by jacking it up so my question is y and will it make a difference?
^It's not that it needs weight. I just needs to be jacked up evenly on both sides (or off the ground). Otherwise you'll be fighting the swaybar to get it installed.

o, well then im good. thanks
And use level ground.
Stupid parking lot was a little steeper than I would have liked.

-M
Remember....syringes go in the RED waste basket.
