I started this project out of sheer necessity. My first fuel system upgrade for my turbo Sunfire was the Racetronix/Walbro 255lph fuel pump. I also purchased the upgraded Racetronix wiring harness. This sends alternator voltage to the fuel pump instead of battery voltage. With the upgraded Racetronix setup, the pump supplies more than adequate fuel for most any car on the .org. However, the last time I went to the track, my car started cutting out mid-track; Before I shut it down, I saw AFR's in the range of 17:1 while boosting over 20 psi!!!

After doing some diagnosis, I came to the conclusion that the fuel pump was on it's way out. This didn't make me happy AT ALL, since I have less than 10K on the Racetronix setup. However, instead of going with a direct replacement, I decided now was a good time to upgrade past the Walbro 255. This new setup should be more than enough fuel for just about any car on the .org.

I started by dropping the tank and disassembling the sending unit. Pulling the defective Walbro unit out of the sending unit.
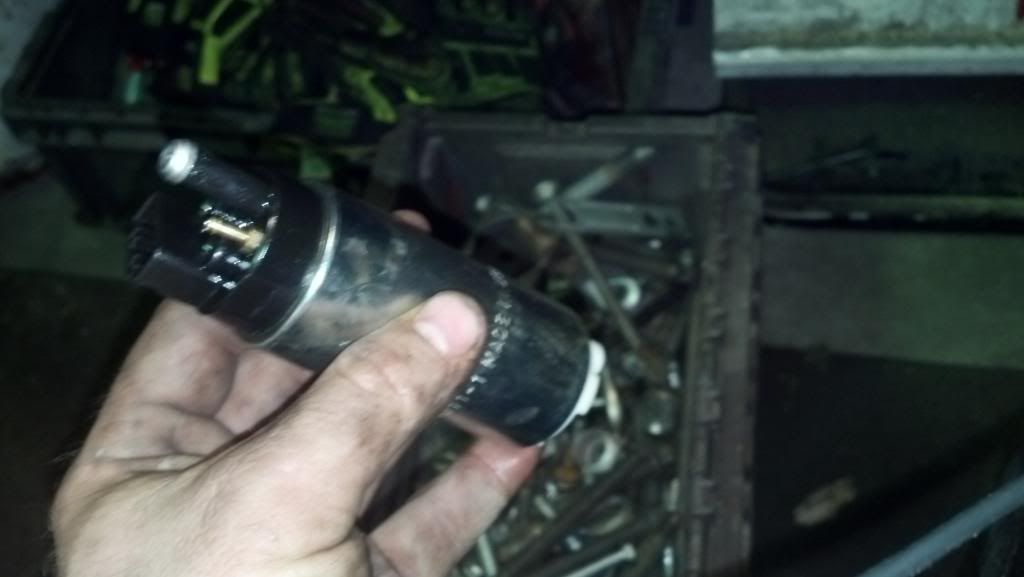
The factory GM setup uses a smaller second pump outlet along side the main fuel supply outlet. This second outlet is used to fill the sending unit bucket with fuel, keeping the pump submerged in fuel at all times. It has the advantages of keeping the pump cooler, and the pump will not be starved of fuel due to sloshing of the liquid during hard cornering or other maneuvers.
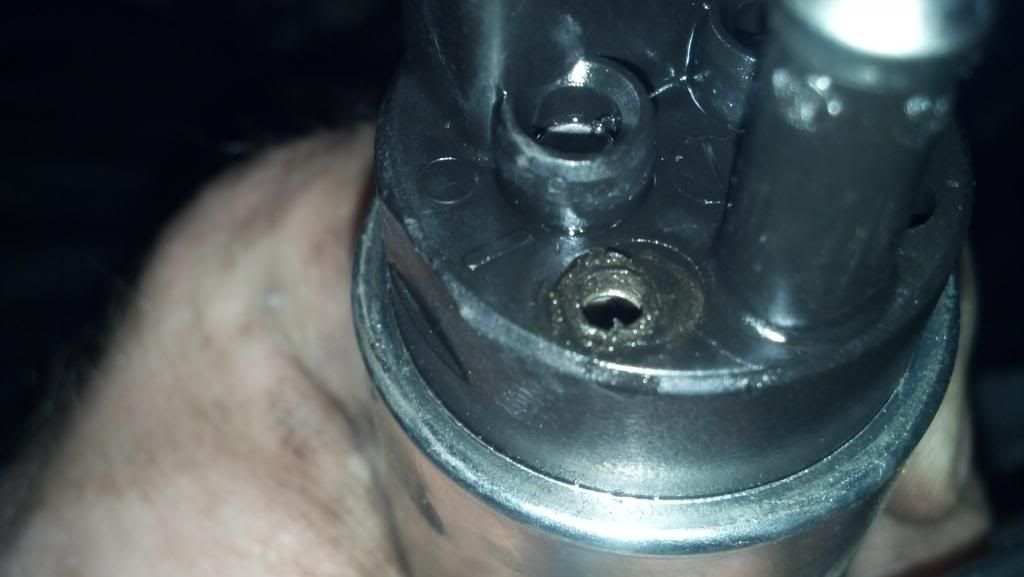
Racetronix has came up with a solution to replicate this setup by modifying the Walbro pump they use in their kits. This is accomplished by adding a small brass nipple to the top of the pump near the main outlet.
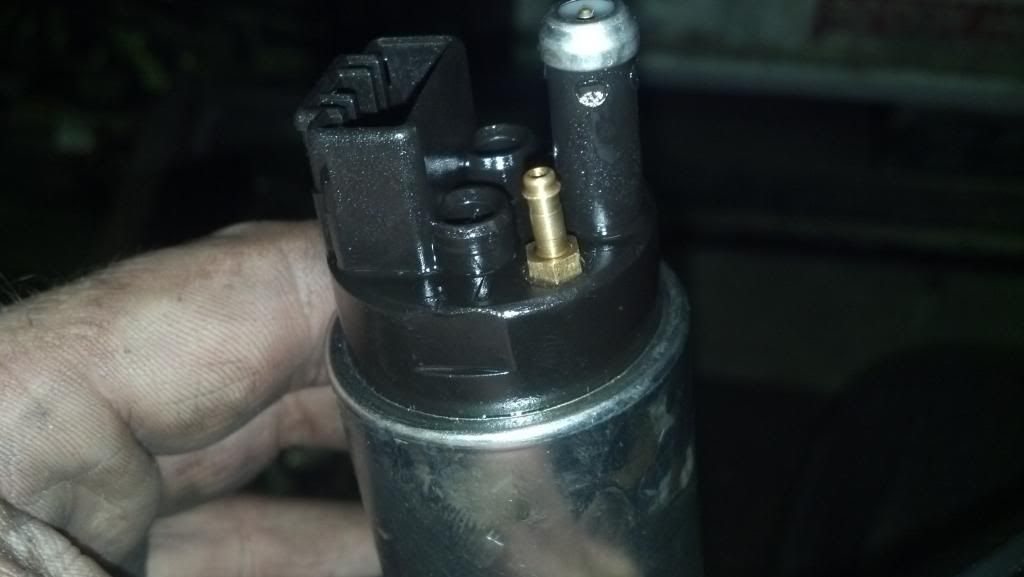
This nipple unscrews from the top of the pump easily,.
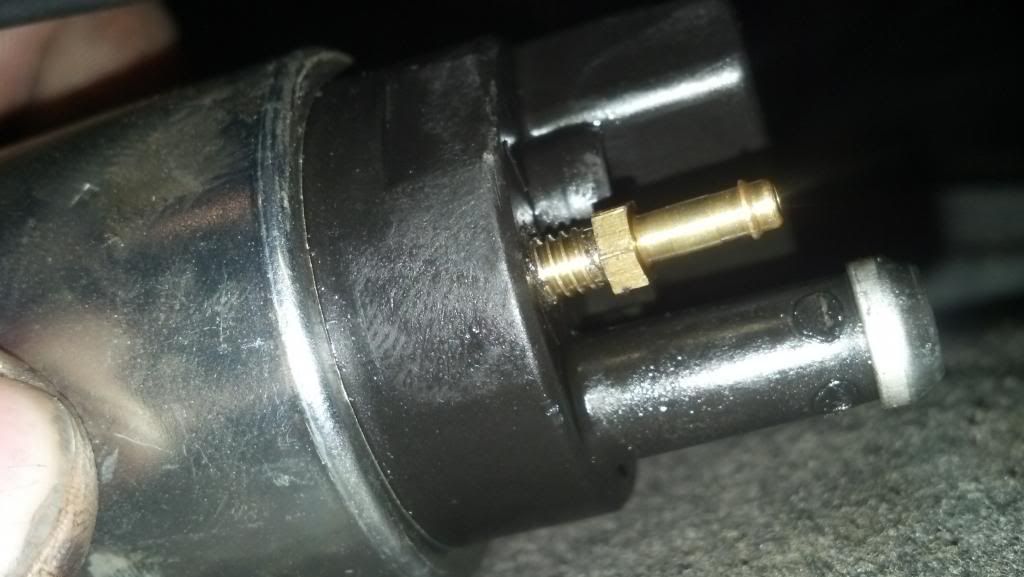
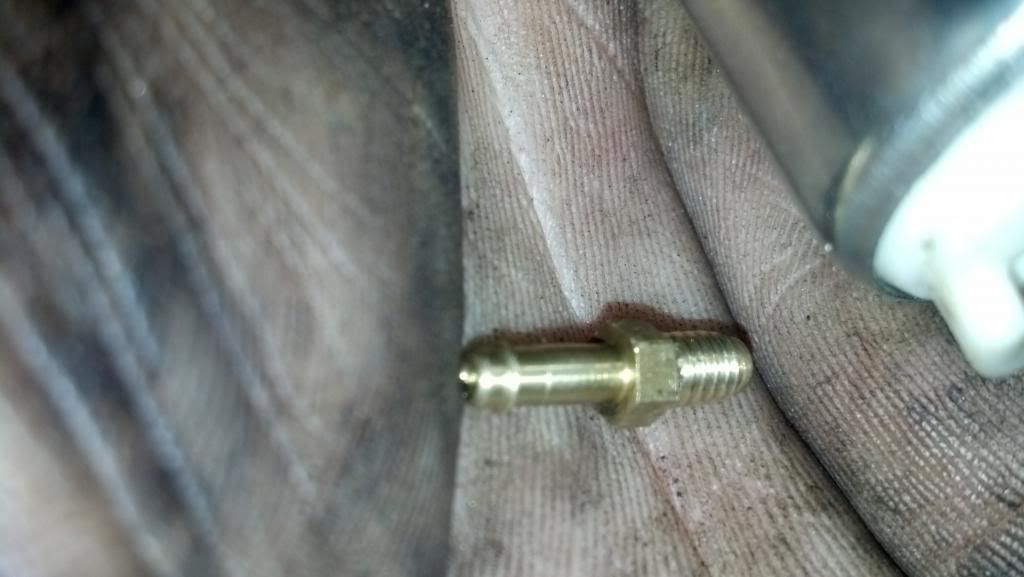
The top of the Walbro pump underneath the plastic cap is a large empty cavity that fills with fuel, so the brass venturi nipple outlet receives the same amount of fuel as the main outlet. The only difference is the nipple receives fuel BEFORE the main outlet check valve, so the pressure and volume of fuel going to the engine is unaffected by the addition of the nipple.
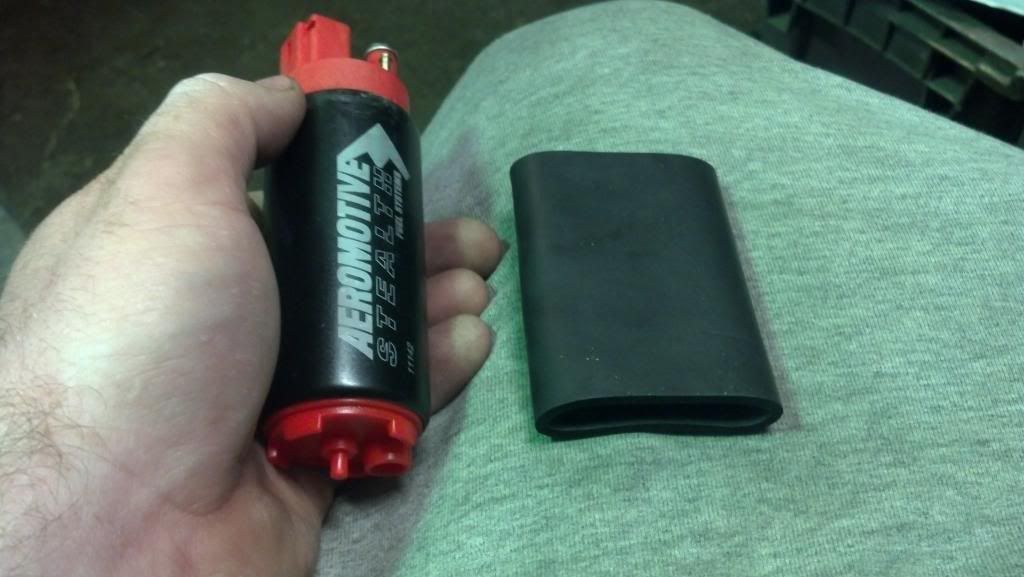
This is my new pump. The Aeromotive stealth series in-tank fuel pump. It outflows the Walbro 255, putting out over 340 LPH at 45 psi. It is also a more efficient turbine style pump, compared to the gerotor Walbro design. It is also noticeably quieter than the Walbro pump.
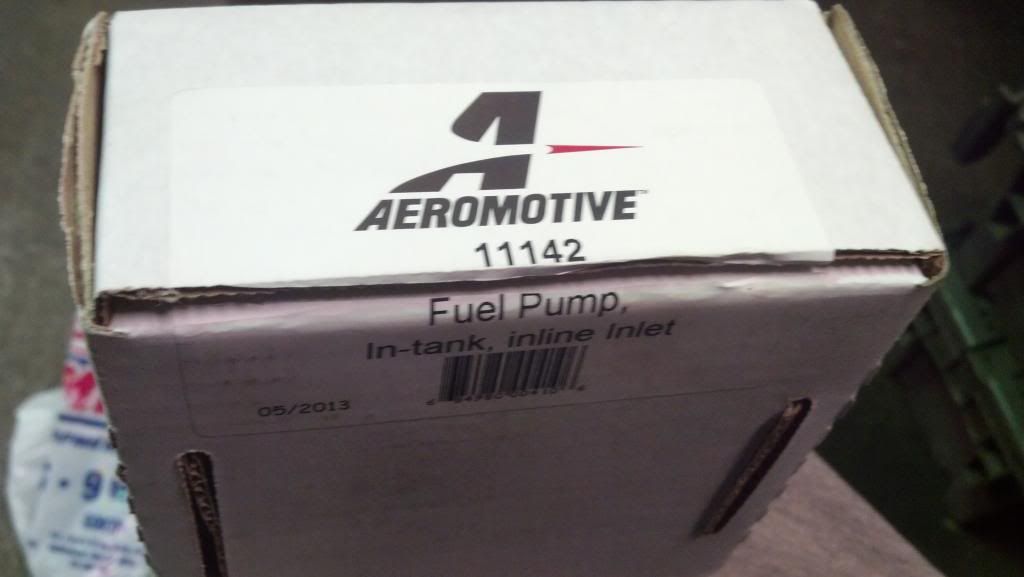
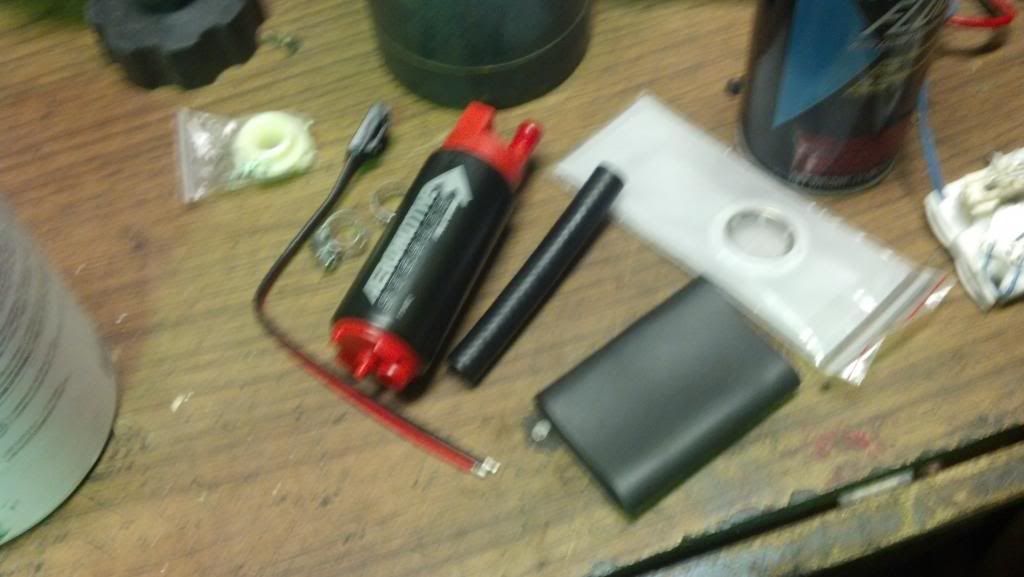
The Aeromotive pump comes with its own outlet adapter, filter sock, pump sleeve, wiring harness pigtail, hose, and clamps.
And it is virtually identical to the Walbro in all exterior dimensions....
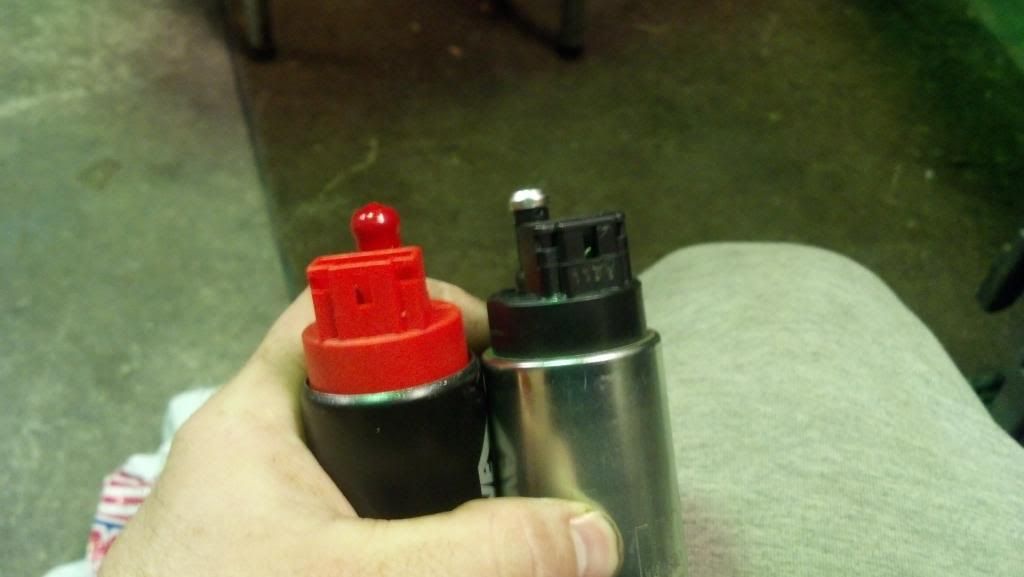
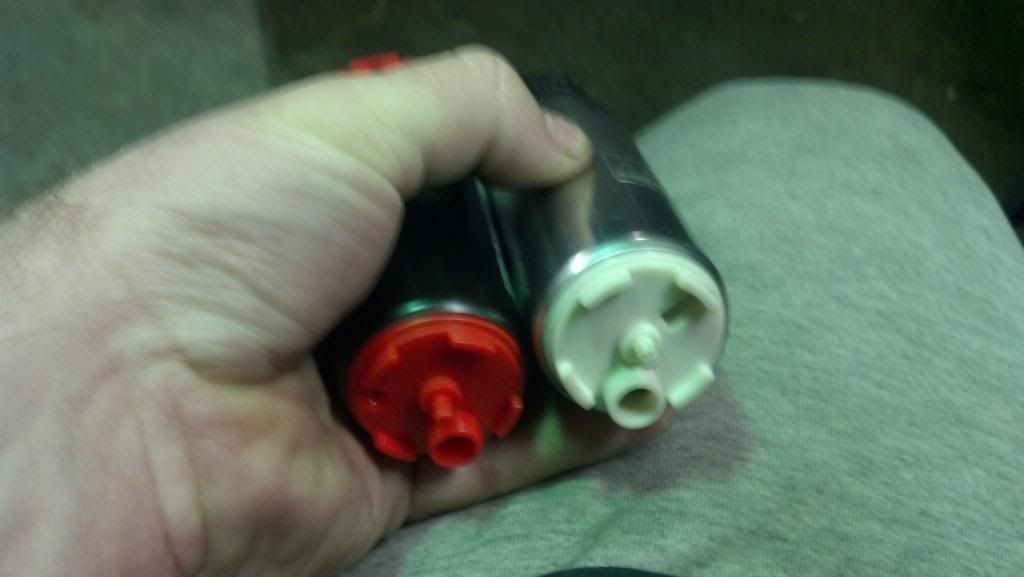
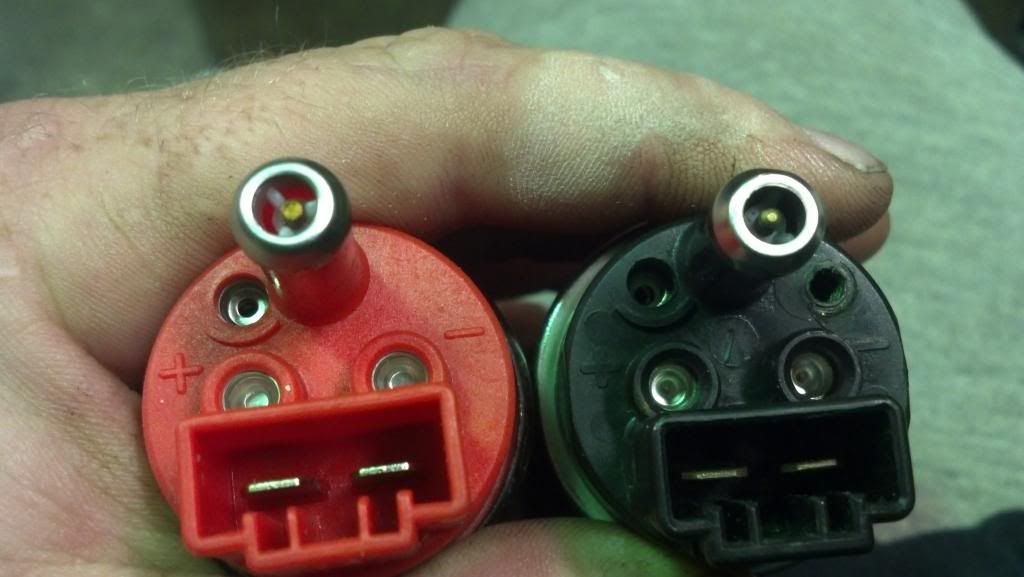
...except for the secondary venturi outlet nipple.
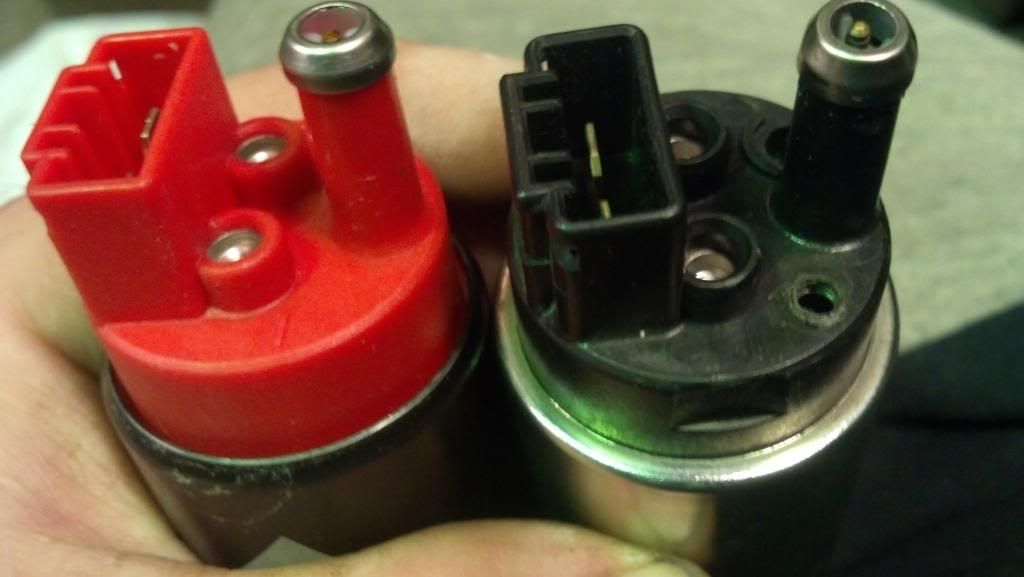
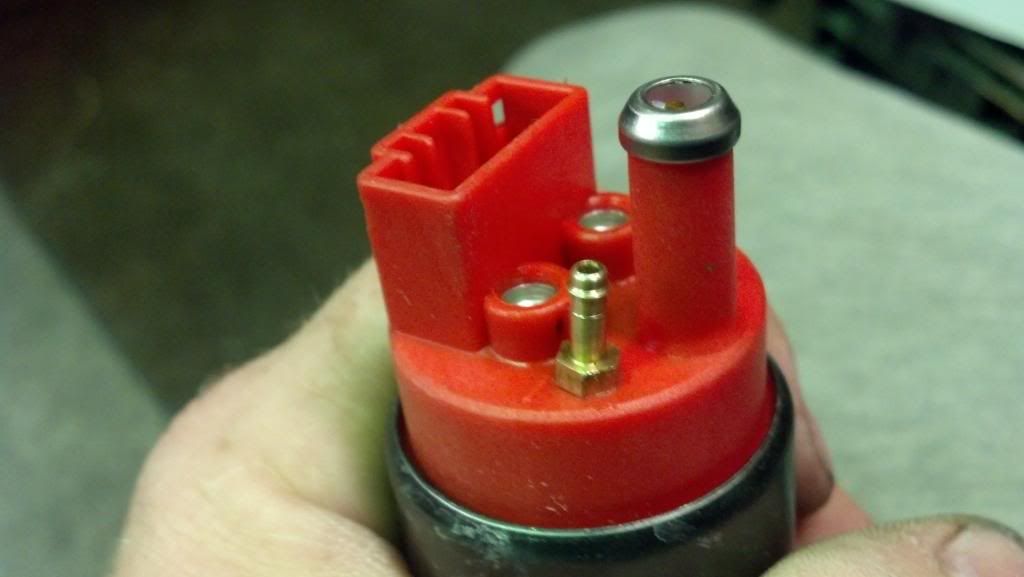
Fortunately, the pump is easily modified to accept the venturi nipple. Similar to the Walbro setup, the Aeromotive pump has an empty void underneath the top plastic cap, so the addition of the venturi nipple is relatively easy and straight forward. All that is needed is to CAREFULLY drill a small hole in the plastic cap, being careful to stop drilling as soon as you break through the plastic cap.
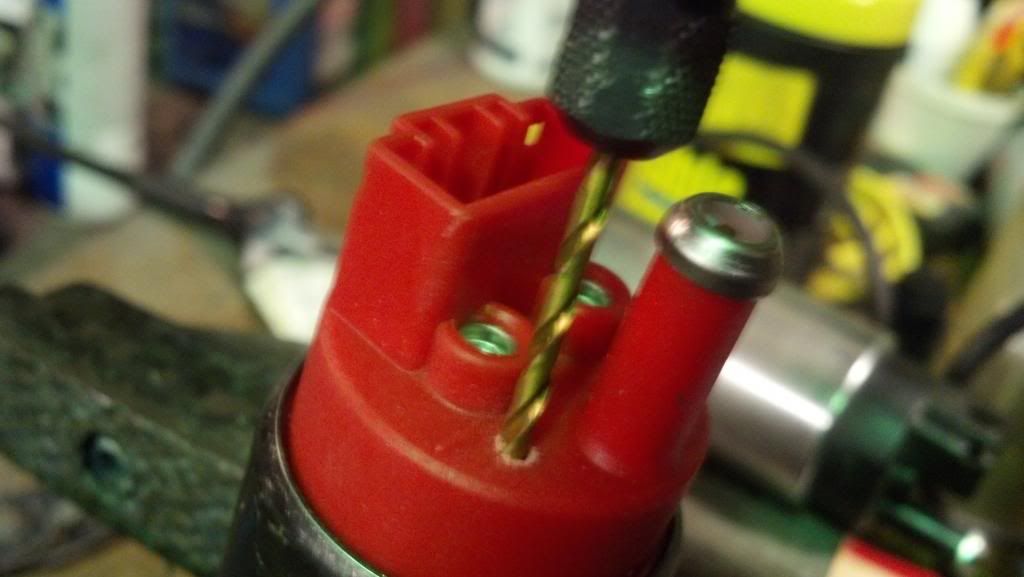
Then using a tap with the same threads as the nipple, carefully tap threads into the plastic housing. The plastic is soft and fragile, so be careful not to strip out the hole or break the plastic cap or your new pump will be ruined.
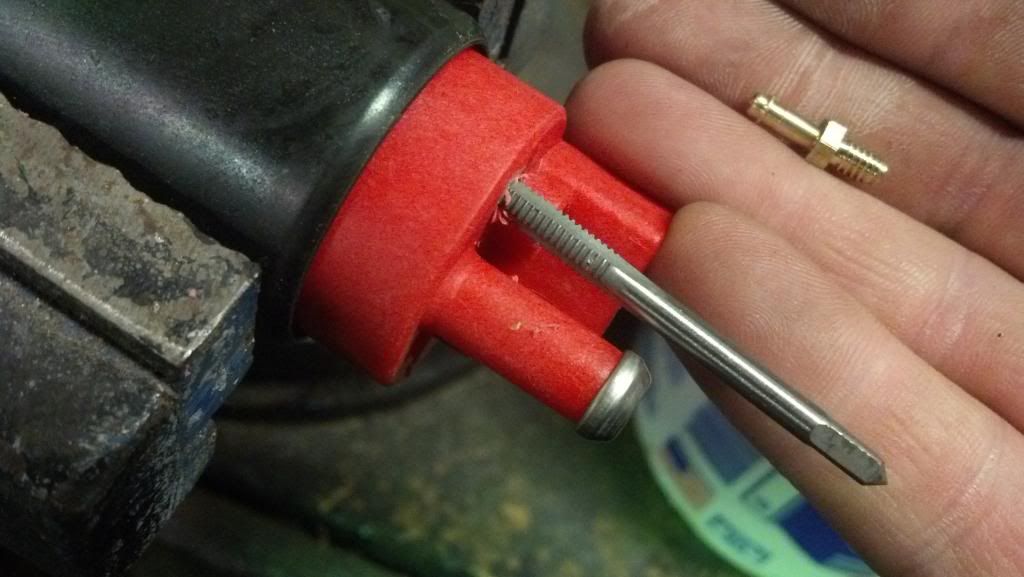
Pretty close to the same spot as the Walbro pump if I do say so myself.

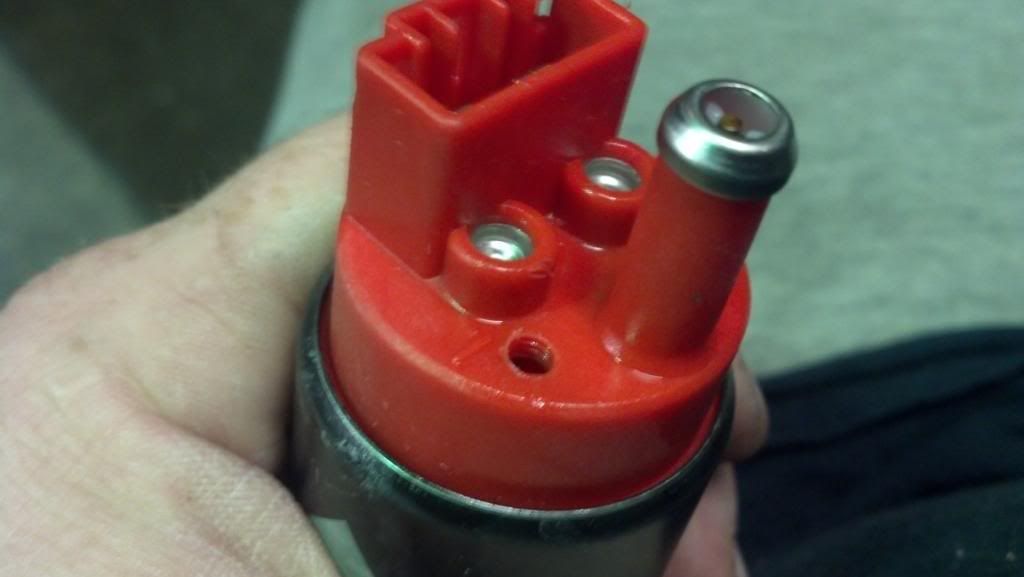
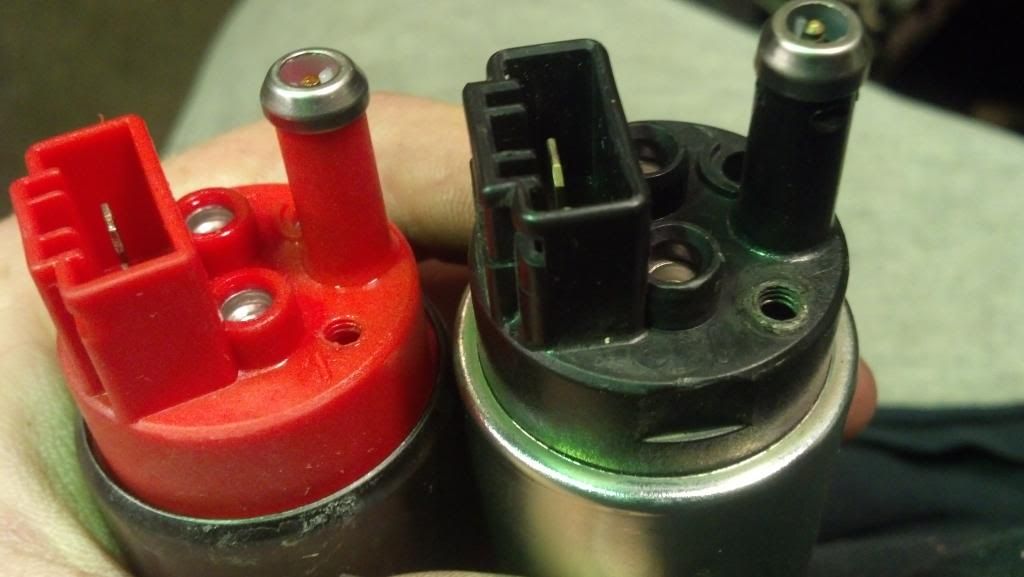
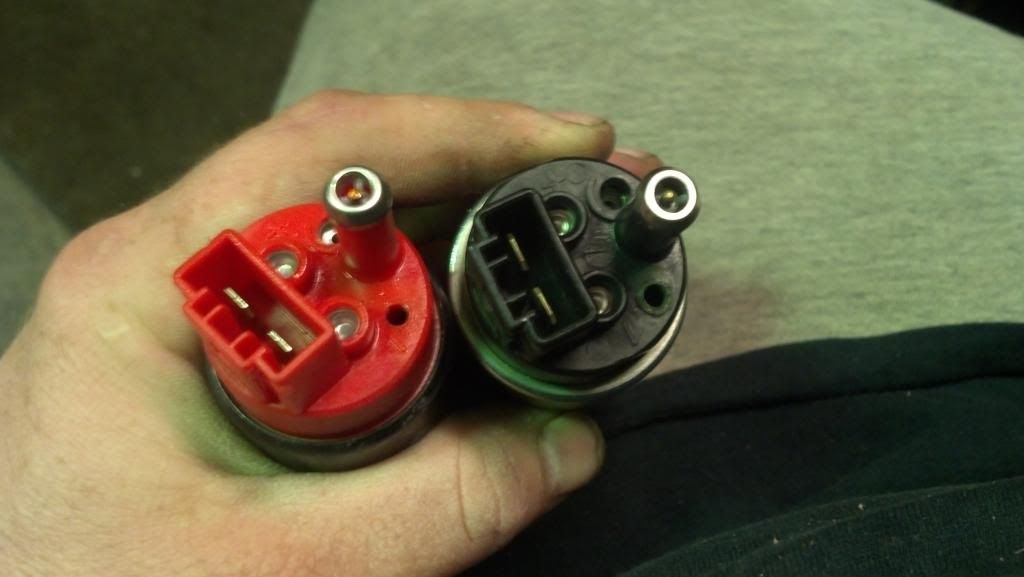
Then carefully screw the nipple into the new pump. Now the Aeromotive pump is fully compatible with the GM venturi setup!
Now reassembly of the sending unit with the new pump begins. The Walbro pump uses a sleeve to make up the size difference between the housing and pump. This same setup is used on the Aeromotive pump.
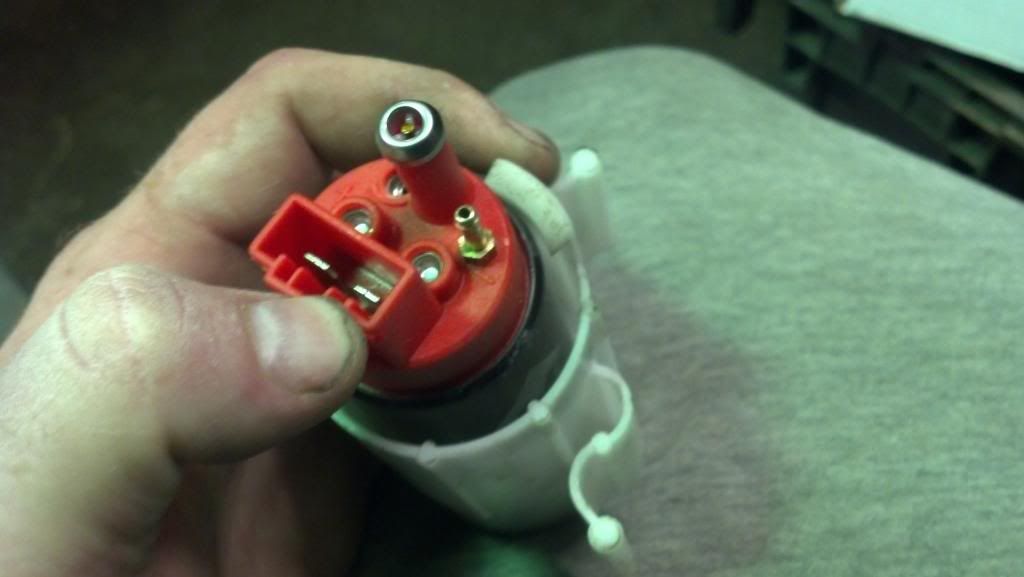
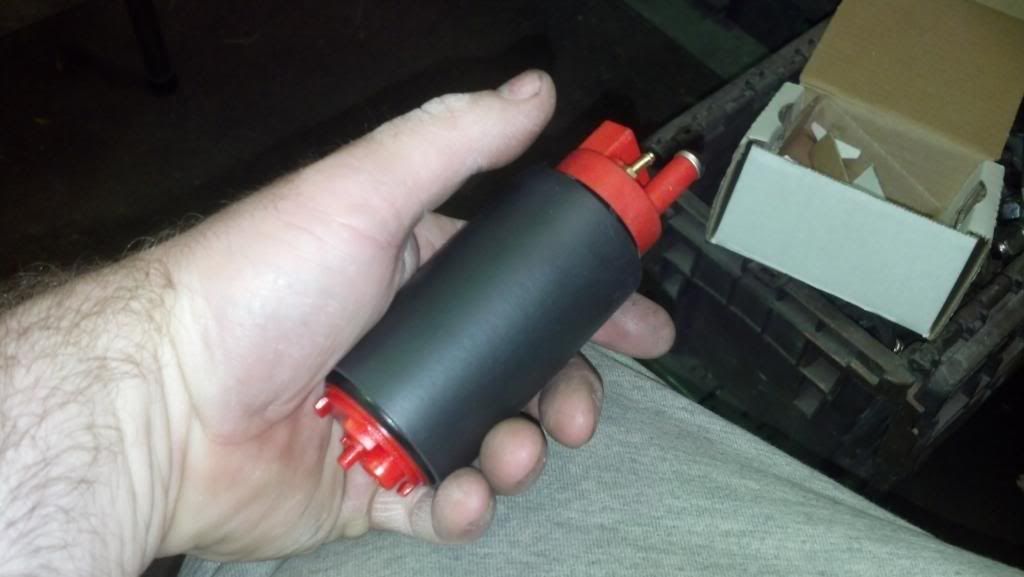
One of the few differences between the Walbro and Aeromotive pumps is the style of filter sock used. The Walbro pump uses a sock that attatches directly to the pump, the Aeromotive uses an adapter and different style sock filter on the bottom of the pump. This adapter wiont fit on the bottom of the stock pump retainer.
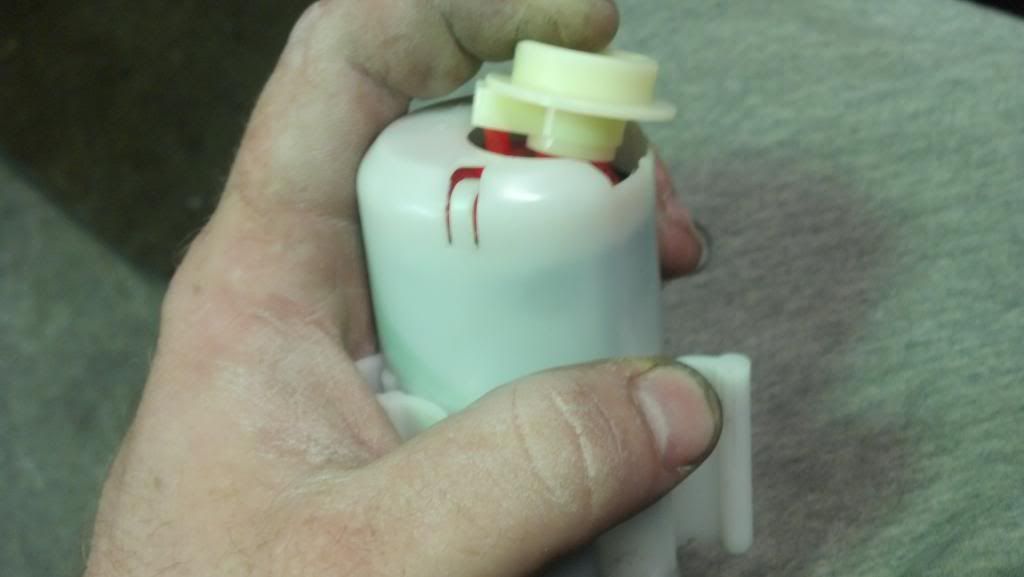
So it was necessary for me to cut out the bottom of the retainer slightly.
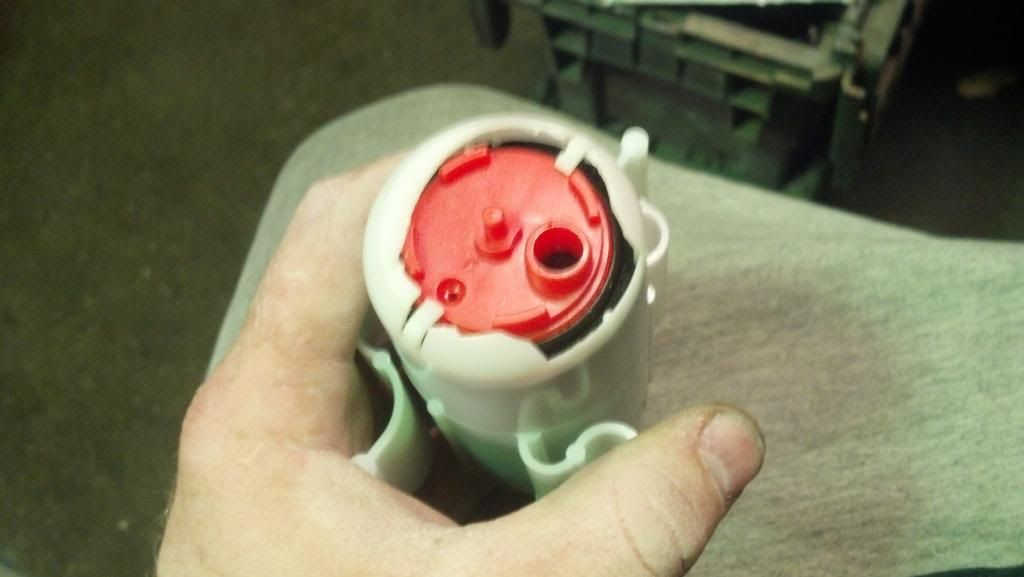
Now the adapter and sock filter fit perfectly on the bottom of the reatainer.
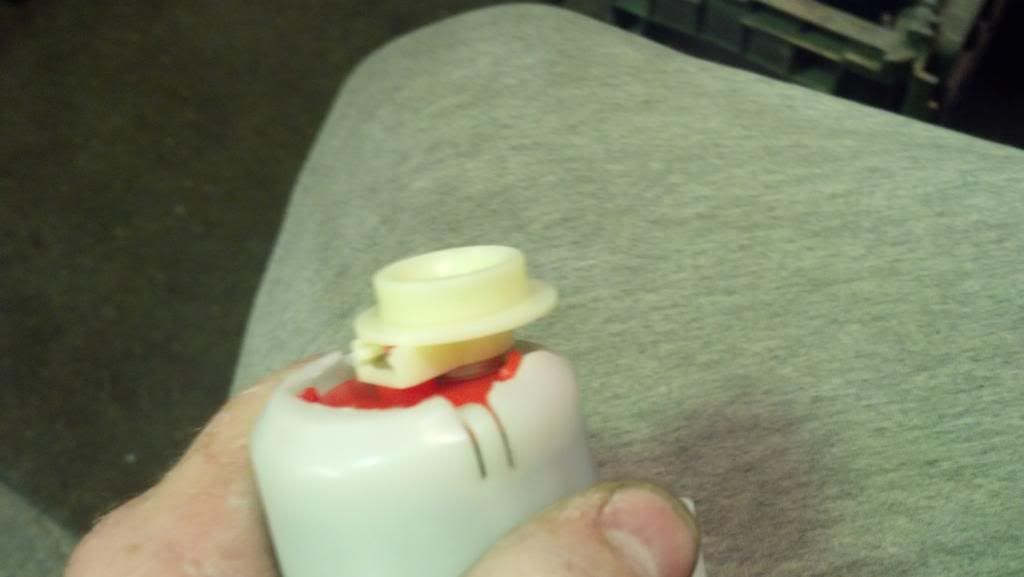
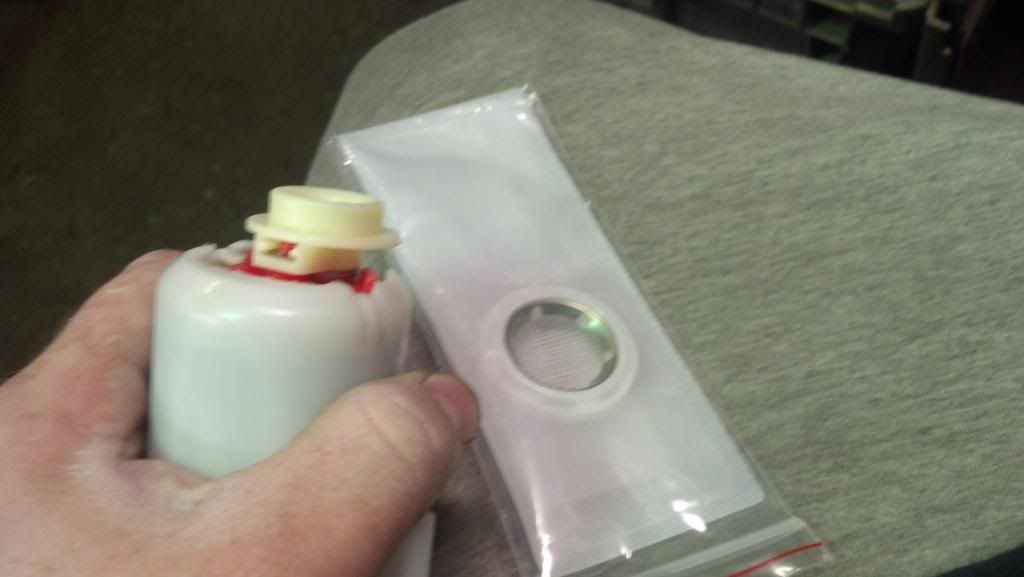
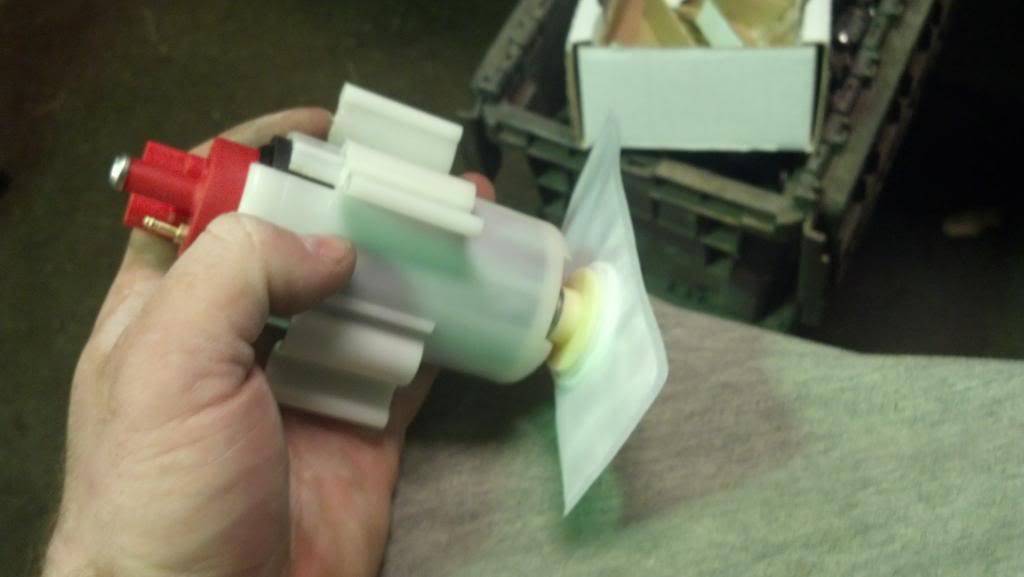
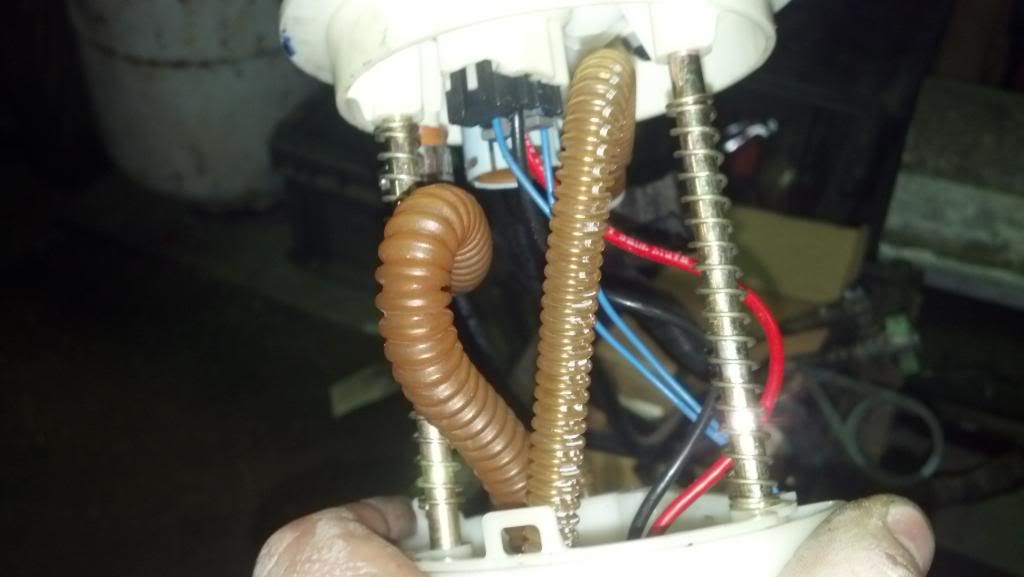
Now it's just a matter of reassembly of the sending unit components, making sure that all lines are tightly clamped, the pump is seated in the bottom of the reatainer, and nothing is binding or twisting while compressing the sending unit assembly.
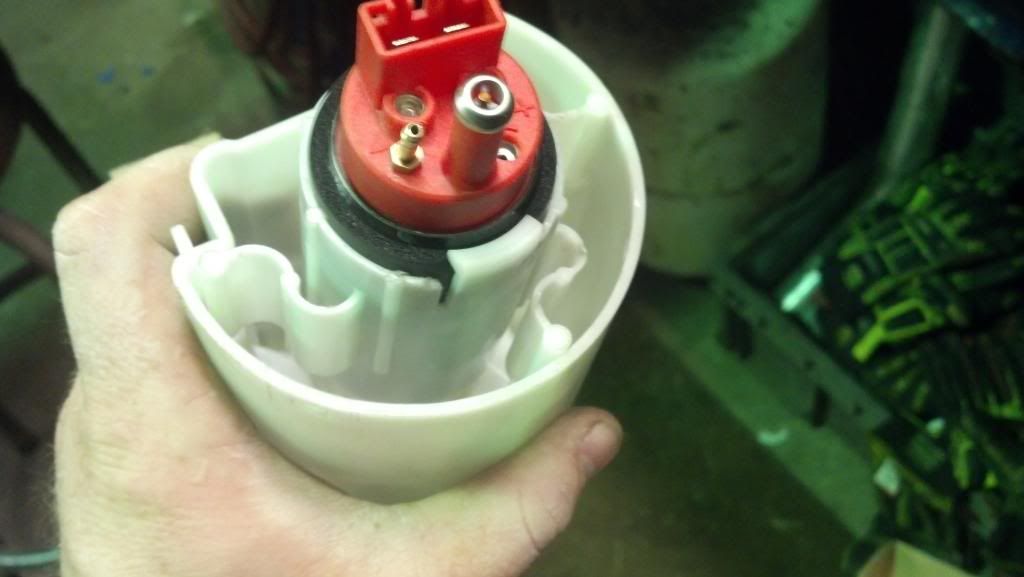
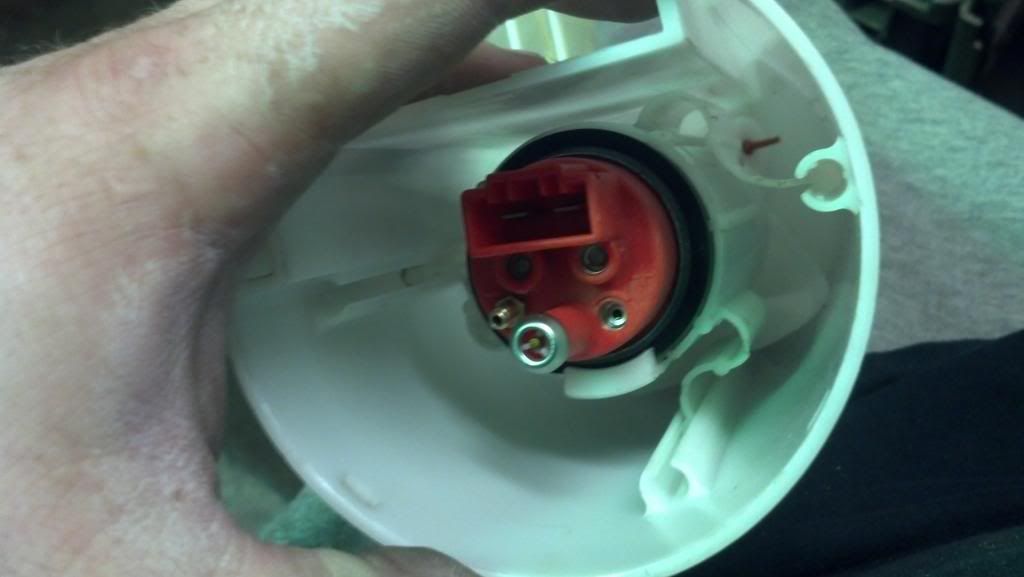
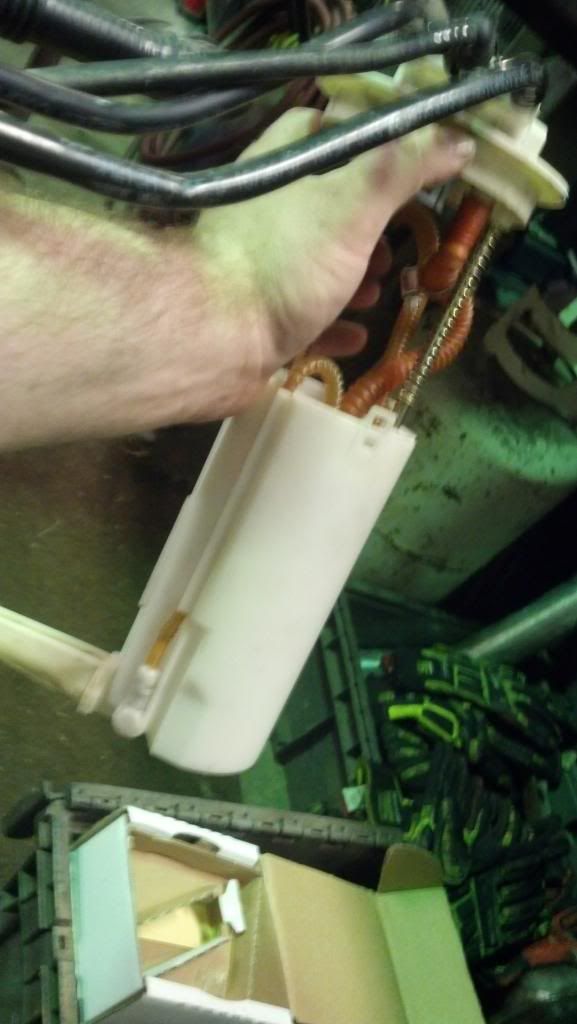
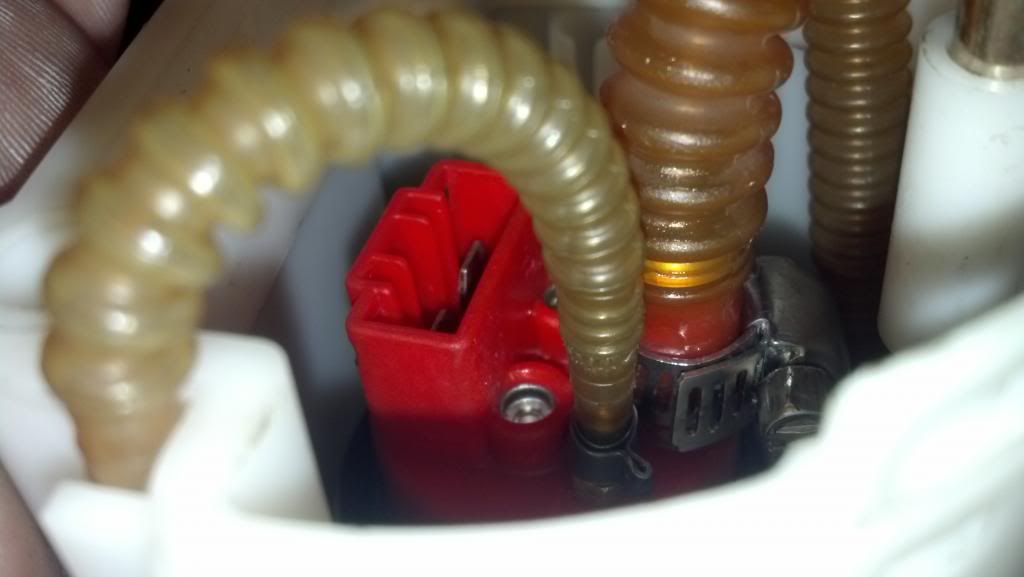
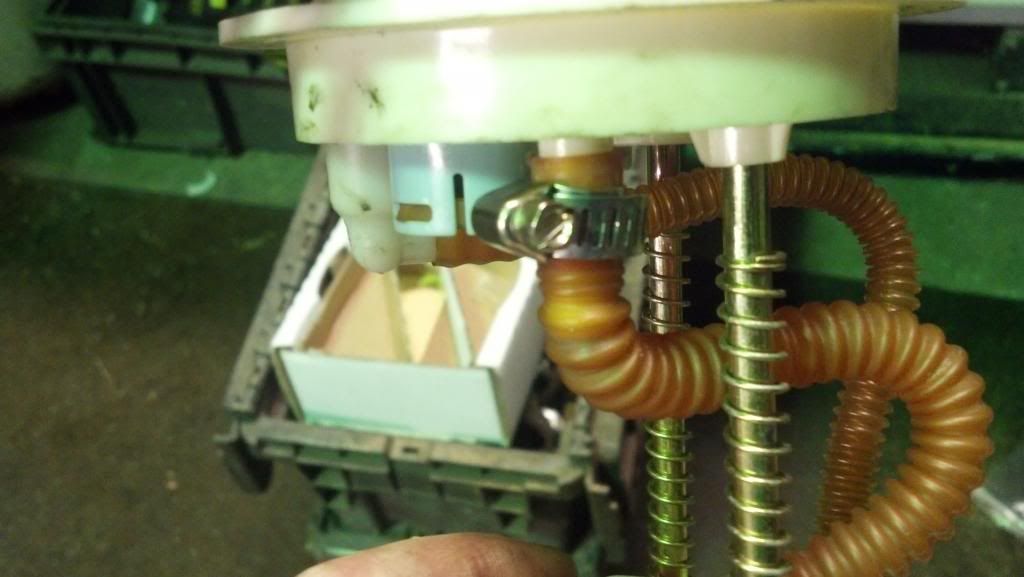
Be careful when handling the float level assembly while reinstalling. It is easy to bend or break the unit or pinch the wires.
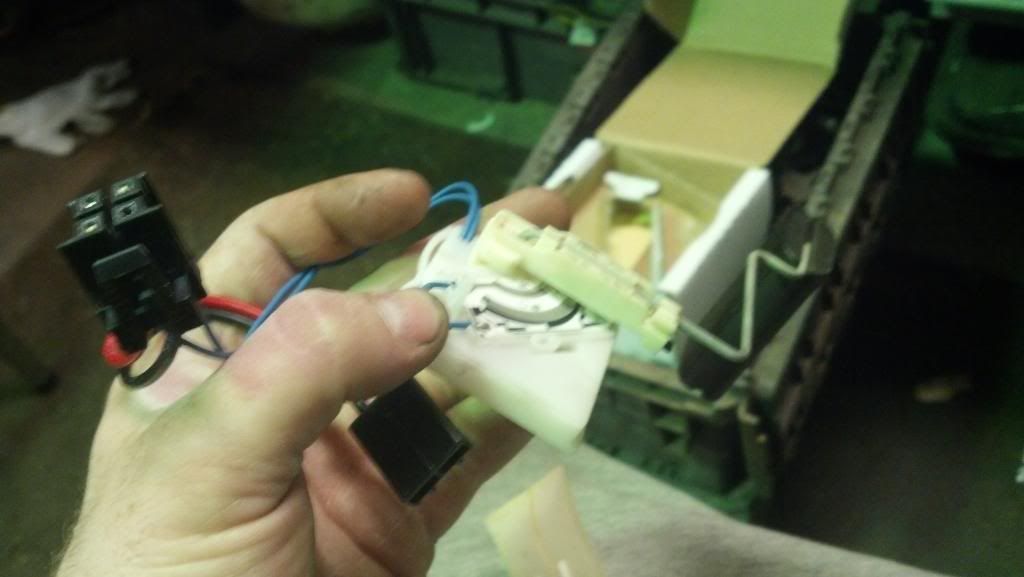
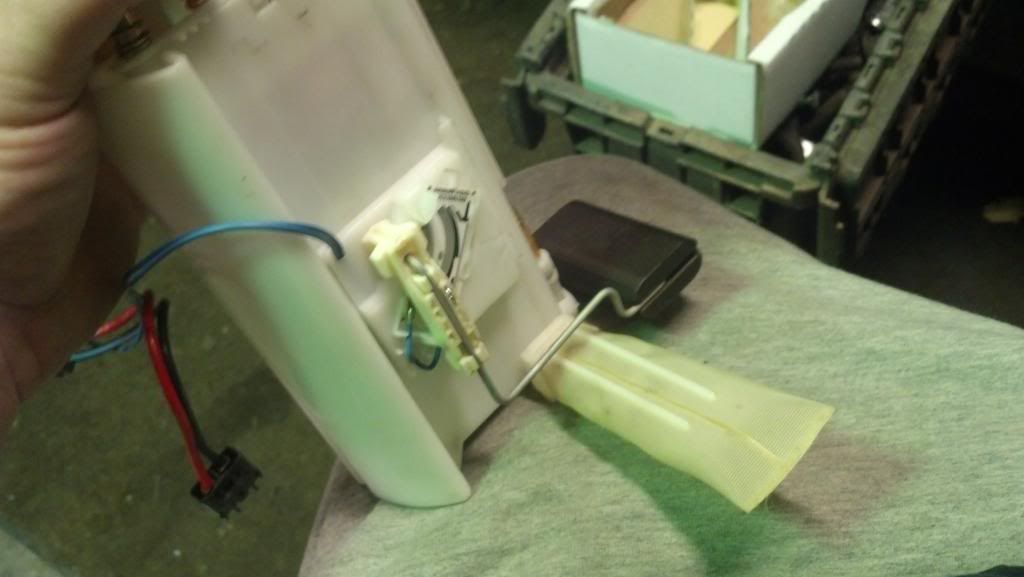
The Racetronix pump setup uses the exact same plugin style for the pump wiring as the Aeromotive 340 pump. In fact the wiring was a slightly larger gauge on the Racetronix setup than what was supplied with the Aeromotive pump, so I just left it in place and secured everything with a nice dollop of dielectric grease.
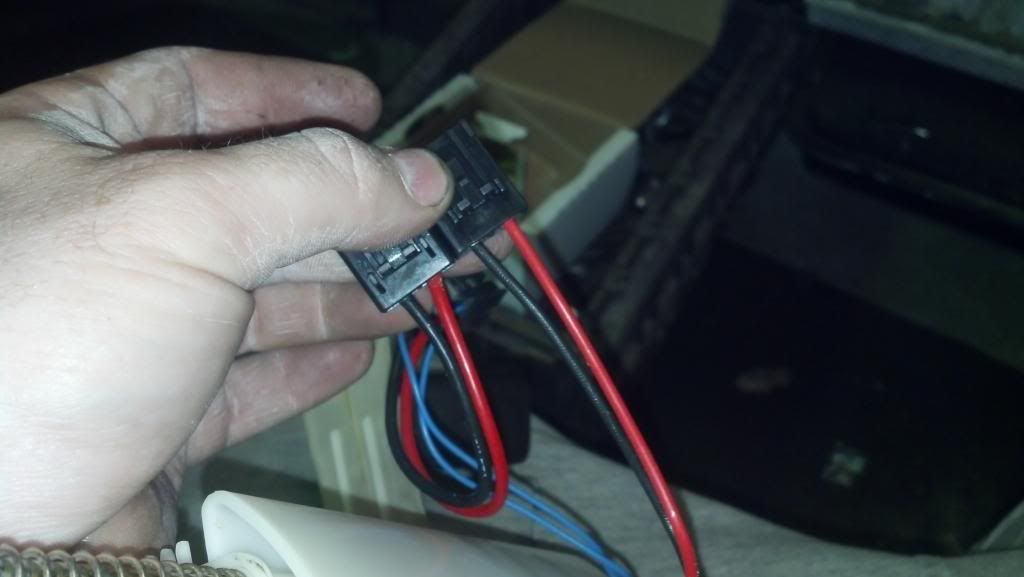
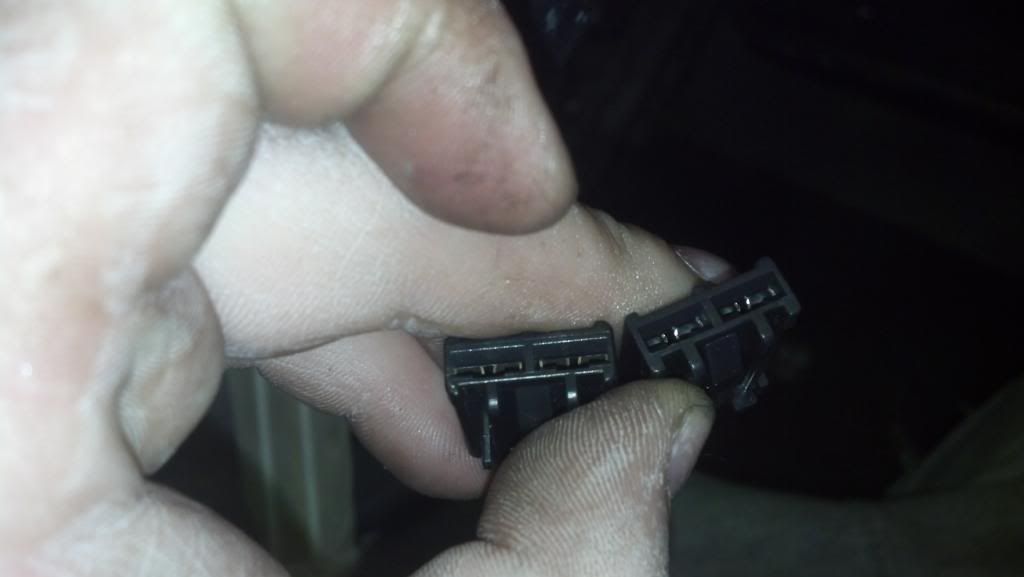
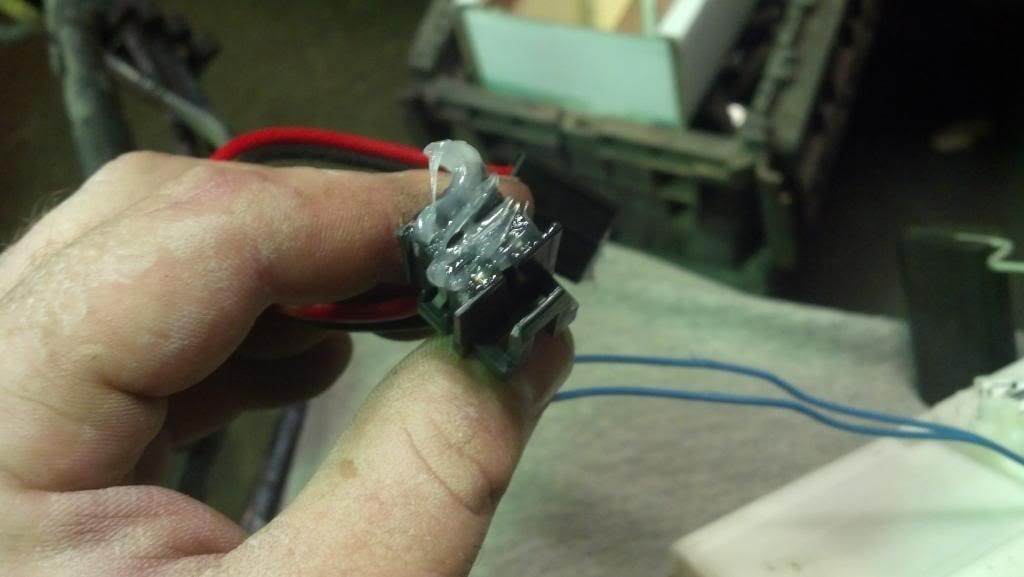
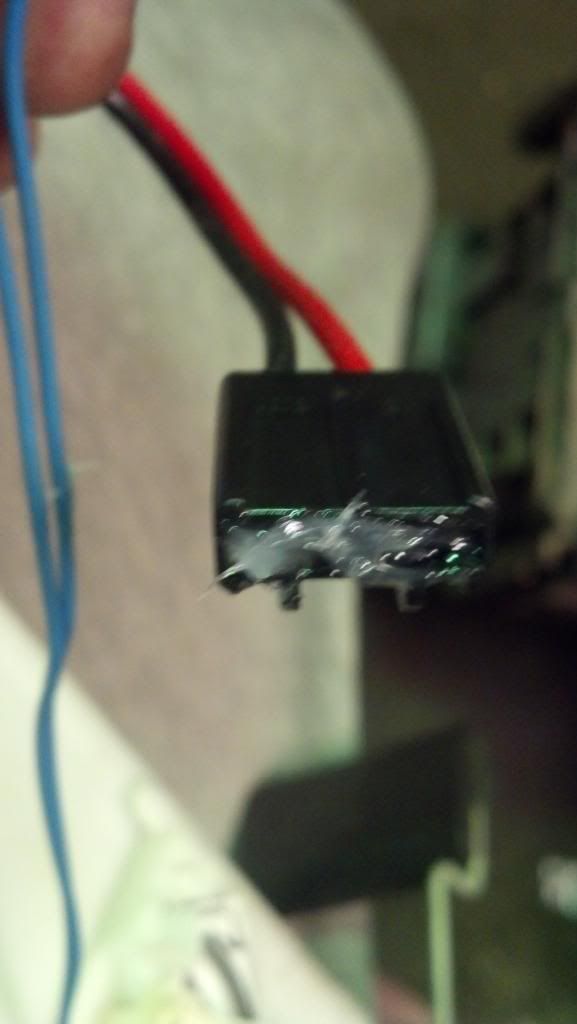
One last check of everything, then installation of the sending unit in the tank.
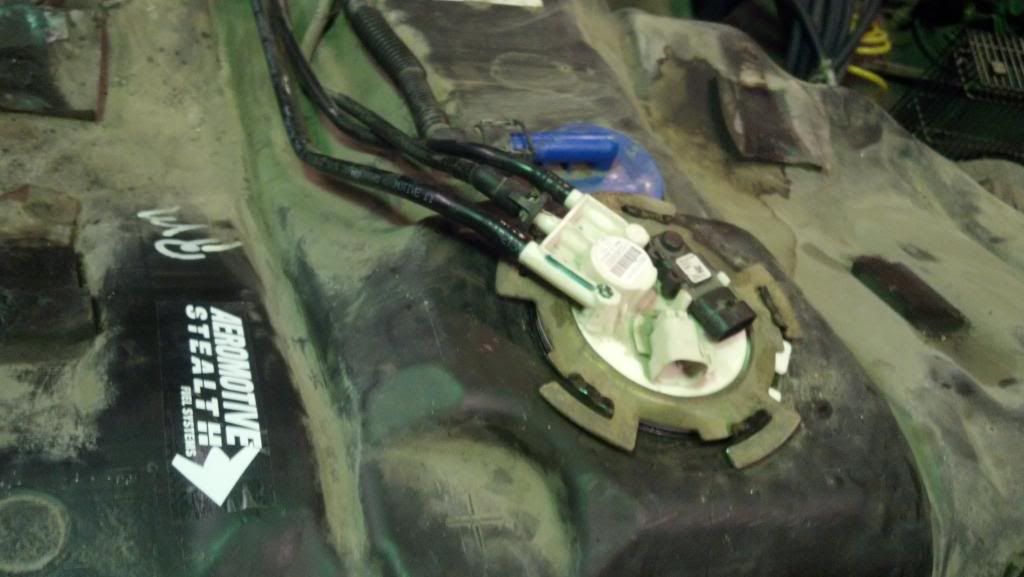
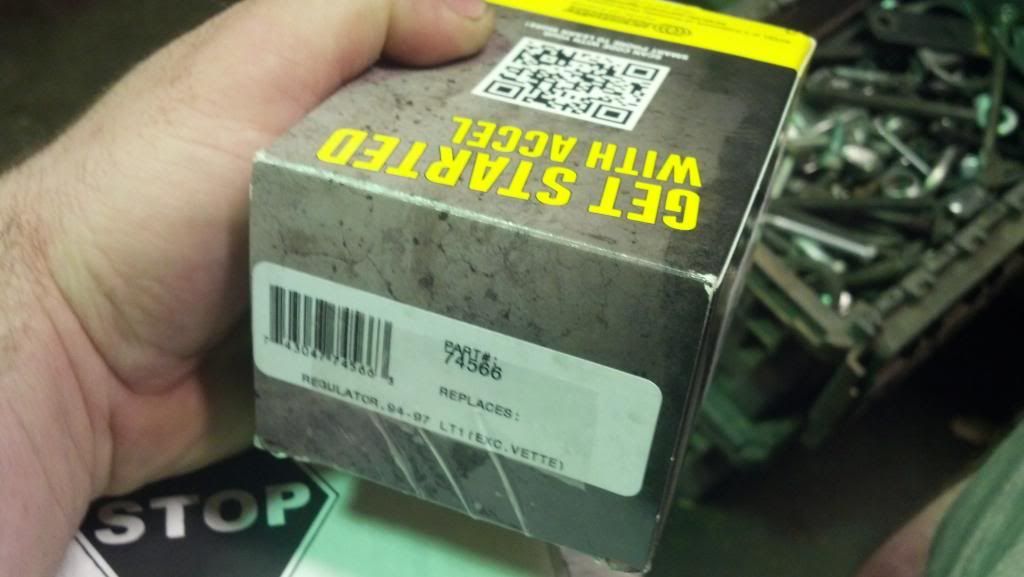
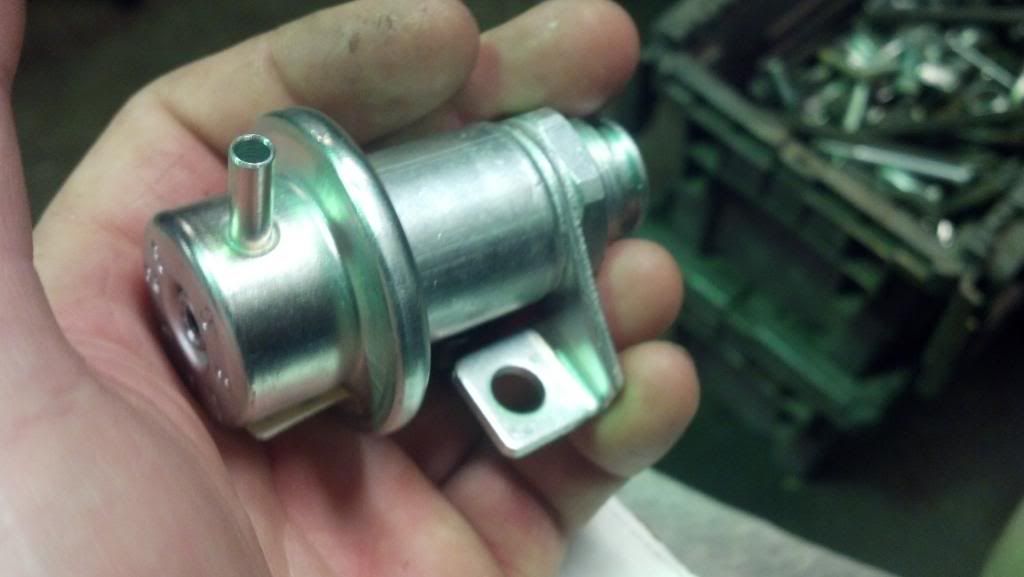
Once everything was assembled and ready to go, I reinstalled the tank, connected the lines, and primed the fuel system. Once I confirmed there were no leaks, I took the car for a test drive. Works amazing!!! Instead of the 17 AFR's I saw before, my AFR's are in the low 11 range. Everything seems to be working great, and I even threw in a new adjustable fuel pressure regulator for good measure.
As far as flow characteristics and power potential, there were tests done showing the differences between different popular pumps. As seen here, the Aeromotive was the best flowing in tank fuel pump, and delivers over 100 LPH more than the Walbro pump at any given PSI level.
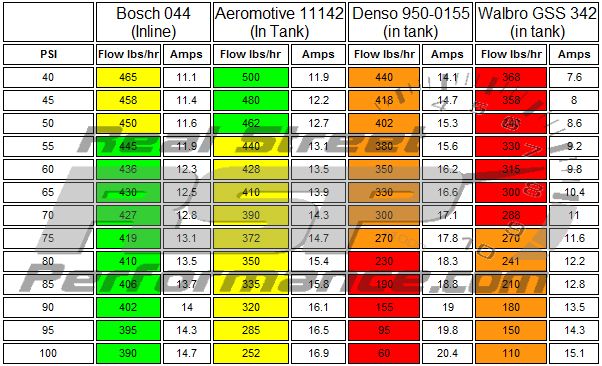
Due to the higher amperage draw of the Aeromotive pump, it is STRONGLY recommended to upgrade your fuel pump wiring harness above factory spec. I am using the upgraded Racetronix plug and play harness, which should be more than enough for anything you can throw at this pump.
I hope this post is useful to some of you, and if anyone has any questions about this fuel system setup just ask.

 Currently #4 in Ecotec Forced Induction horsepower ratings. 505.8 WHP 414WTQ!!!
Currently 3rd quickest Ecotec on the .org - 10.949 @ 131.50 MPH!!!


