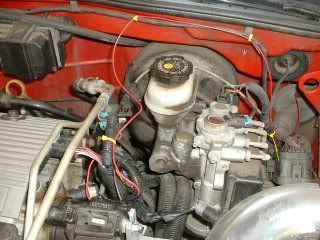
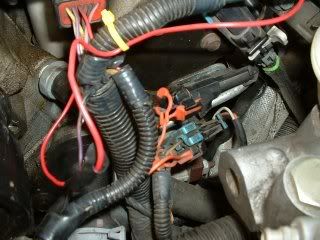
I have 1999 Cavalier Z24 and had bought an air/fule ratio guage and I have the main wires installed but I have yet to find where to conn the purple wire to. I know it needs to go to the pre-converter sensor but I can't find the sensor or the wire coming from the ECU. If any has a 1999 Z24 2.4L DOHC and has one of these guages and has pictures of their install or can give some good directions on where they connected theres it would e much appreciated.
If I remember correctly the purple wire in question runs right next to the fuel lines, and the plug that goes to the IDI cover. I'm 99% sure that the wire needs to be connected on the wire harness side of the plug, not the sensor side. Its been a while...
Front O2 Sensor~~~~~~~~~~~~~Male Plug~Female Plug~~~~~~~~~~~~~Tap wire from A/F gage here~~~~~~~~~~~~~Wiring harness.
Hope that helps.
PRND321 Till I DIE
Old Motor: 160whp & 152ft/lbs, 1/4 Mile 15.4 @88.2
M45 + LD9 + 4T40-E, GO GO GO
I tapped mine into the actual O2 sensor wire and it reads great.

I didnt wanna splice into my harness.
~2014 New Z under the knife, same heart different body~
______________________
WHITECAVY no more
2012 numbers - 4SPD
AUTOMATIC!!
328 HP
306 TQ
For all those that have a 99 Cavalier Z24 2.4L and want to install and air/fuel ratio guage here is some basic info with pics.
There is a Heat shield over the exhaust manifold which kind of hies the Pre-Converter O2 sensor.
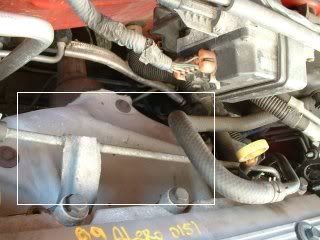
Once rmoved you can see the sensor, but with this you won't need to remove the shield as I did.
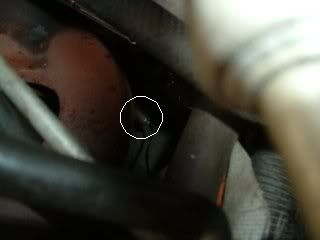
The wire from the sensor leads to the connector pictured here and where the wire goes after the connector.
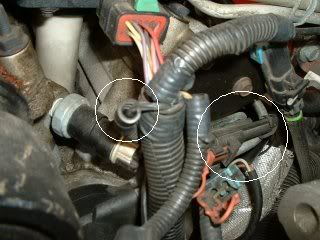
I disconnected the connector and cut the wire and added a little to it so I had some slack to work with. I couldn't get my hands on purple wire so I settled for red. The following pictures are the final connections. I soldered all the connections including the one inside that connected to the wire right off the guage.
