Ok so i took everyones advice from the last set of questions and starting sanding

.
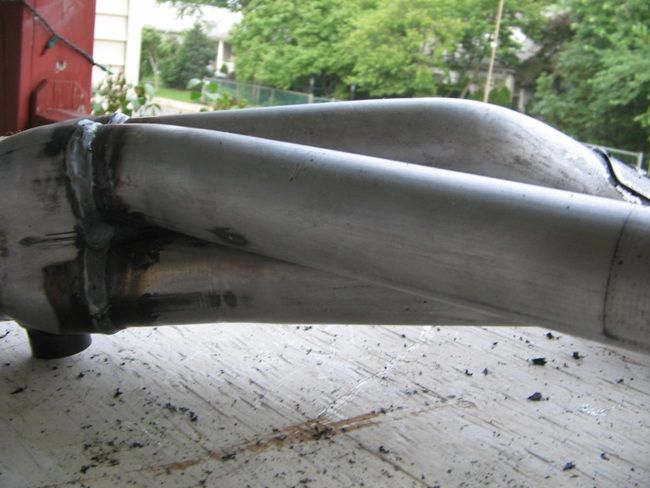
Here's my progress for just a couple of hours ( i know its no where near done ).
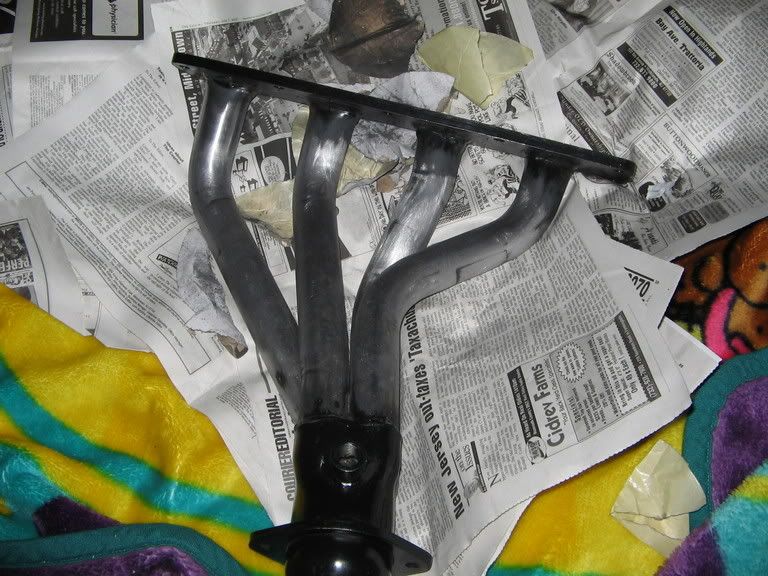
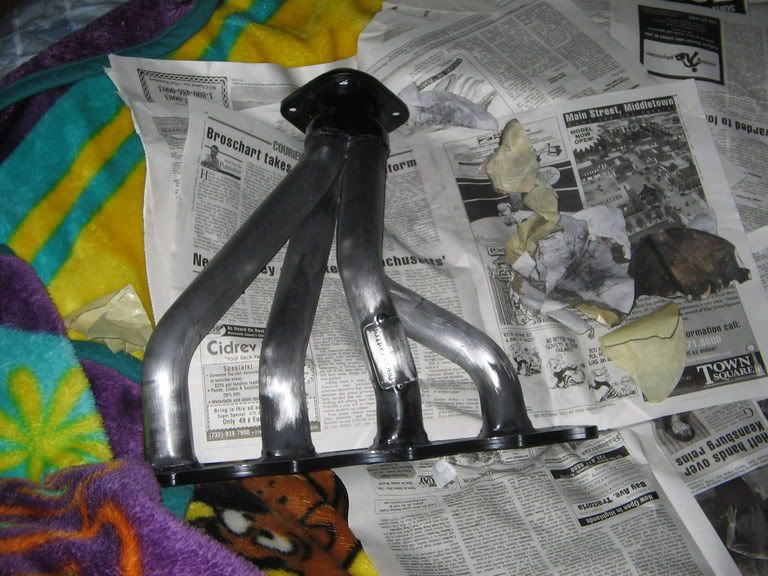
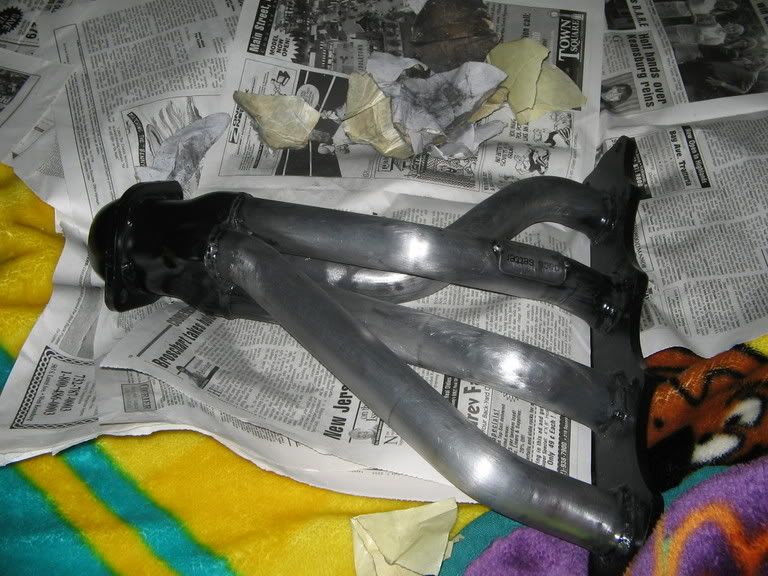
So when im done , im really interested in this paint
http://www.jegs.com/cgi-bin/ncommerce3/ProductDisplay?prrfnbr=3895&prmenbr=361
Is this all im going to need? Do i need a clear coat afterwards?
And lastly ...
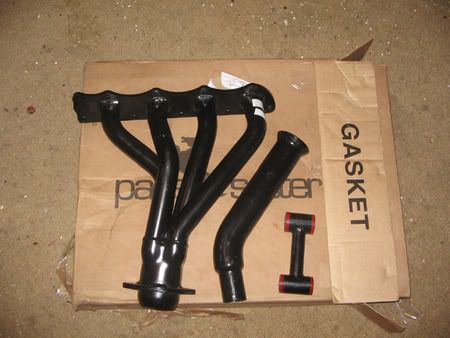
The "downpipe" for the Eco is only to connect to the stock exhaust correct? So that would mean the exhaust shop is going to have make a custom downpipe ?
Thank you for any replies ...

hopefully the stuff I showed you from Jeg's will work
lemme know how it goes DJ
the downpipe is actually that little piece of pipe. they can cut the smaller piece off and connect it to the rest of the exhuast by welding it....thats the quicker method.
also just for a safety measure, might think on getting a flex pipe in there. even with engine mounts.
as for the paint... worth a try. if it doesnt work, get it coated, ceramic. more heat protection inside and out than paint can give.
Thanks Event , ill have to explain it to them when i go.
Im guessing the exhaust shop should have the flexpipe?

ehhh some do, some dont.
most any well stocked autostore should have em, or any specific exhaust retailers locally should.

I just found one for 25 bucks ( shiny stainless ) from the place im ordering my high flow cat from. So i'll just grab both at the same time .
And i just ordered the Blue VHT Flamecoating Header paint so ill post pics when its all done

.

make sure you follow the instructions for the paint in both prep and curing
also the down pipe is 2 1/4" up to where its necked down to fit with the stock exhaust , so you can cut off the section where its necked down , and use 2 1/4" pipe from there

Well going by this it doesn't look to bad.
Application: Apply a THIN, even coat - just enough to thoroughly COLOR. Excessive build-up is not necessary or recommended. In applications requiring heavy coating, build-up should be done in stages, each successive coat being cured as recommended below. Nominal coating wet thickness .0015'' - .002''.
VHT FlameProof coatings require no primer. For most economical use of VHT FlameProof colors on ''hard to hide'' surfaces, apply a thin coat of VHT FlameProof White or VHT FlameProof Silver base coating.
------------------------------------------------------------------------------------------------
Just make sure the surface has no paint on it , and it smooth / clean . And spray a nice even coat?
--------------------------------------------------------------------------------------------------
Curing: VHT FlameProof coatings will air dry in 15 to 30 minutes and, if handled with reasonable care, may be put to immediate use. Heat curing method for maximum resistance to solvents, salt spray, humidity, thermal shock and heat:
----------------------------------------------------------------------------------------------------
I was planning on hanging it in the garage , doing a coat or so , letting it dry , and then go and do some more. Then so on and so forth until its done.

Hey JerseyKid,
I just got my header too. I am getting that little end piece on the downpipe chopped off.
Good luck with the painting. I'm too lazy, I just got mine ceramic coated. Make sure to post pics when done. and let us know if it still holds up after a few days.

And Event.
I know with this header, it has a type of ball and socket joint on it. Is it really necesary to use a flex pipe too?
2004 Cavalier
13.2@105........
Mods...
BFG Drag Radials
Saab Turbo kit
2.5 exhaust, w/cutout
Spec Stage 2+ Clutch
the other style flex joint isnt really needed
only times ive seen or heard of problems is with no mounts at all , my friends ate the ball socket up

Hit us up with some progress pics of the header.


^^^
Here's a little update for you BoostedSVTF

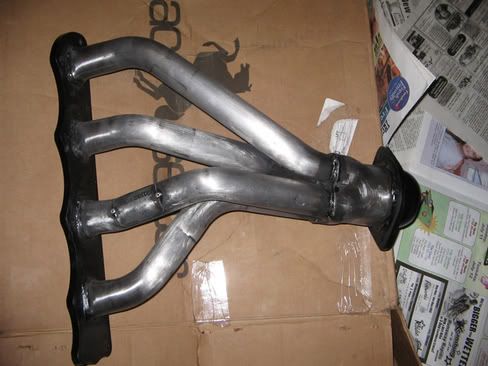
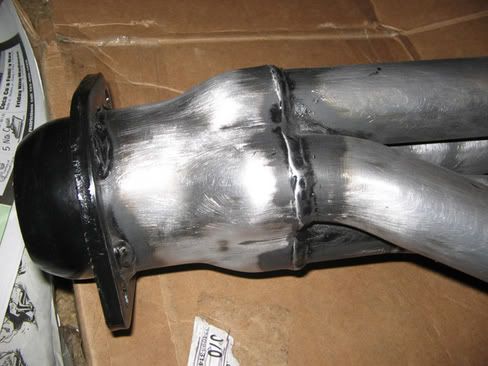
Started at the connector on the bottom.
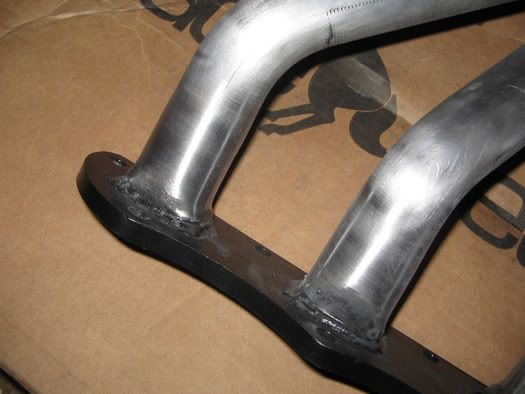
Started getting around the tops

.
------------------------------------------------------------------------------------------------------
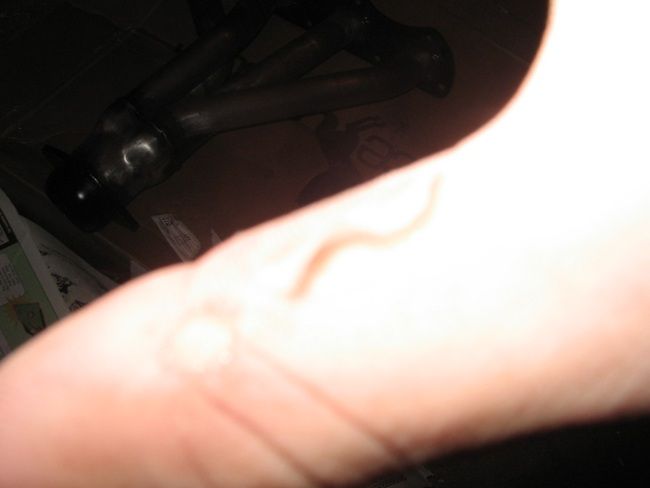
But while i was doing the top , i got a deep laceration and i needed to stop.
Looks like progress will be halted for a few months

.

jersey kid, get a heat gun... it should only be like $25 and will make stripping so much easier. Also, there are some excellent chemicals for stripping paint that will make the job easier.
I personally would have gone with DEIs ceramic paint, since afaik, it doesnt require curing and withstands up to 1500*F.

ECOTEC wrote:Hey JerseyKid,
I know with this header, it has a type of ball and socket joint on it. Is it really necesary to use a flex pipe too?
cut off the "ball and socket joint" and install a flex pipe there, you'll be better off, i've had my ceramic coated 2.2OHV pacesetter header on my cav for a year and the welds went bad & now the "ball & socket" joint is starting to leak

the reason for good sticky tires!
719 Customs - Coming soon to a SoCo Area!
[A.K.A. Seven One Nine Customs] (no its not a car club)
Wow all that work to get the paint off.
Eric, why can't pacesetter just leave a raw finish with oil or wd40 sprayed on it?
Just a question.
 My Car
Sunfires rule! (Tom) wrote:Wow all that work to get the paint off.
Eric, why can't pacesetter just leave a raw finish with oil or wd40 sprayed on it?
Just a question.
honestly , people would complain either
the whole damed if you do , and damed if you dont
rust or paint , you pick the lesser of the 2 evils

actually i'll pick for you. paint is the lesser of the two evils.
I was a retard, and now I'm permanently banned.
Thats exactly why im doing this , i didnt do it on my OHV , and within days the paint burned off and it starting rusting.
And i know everyone will be like "oh you should have gotten it armor coated " blah blah blah.
I really dont have the money , and i really dont want to , i want to paint it , so thats what im doing

.

Where are you getting your header bolts from. im looking for a good site to for my 1998 z24 cavalier
The Stock ones worked on my OHV , im assuming they would work on the Pacesetter.


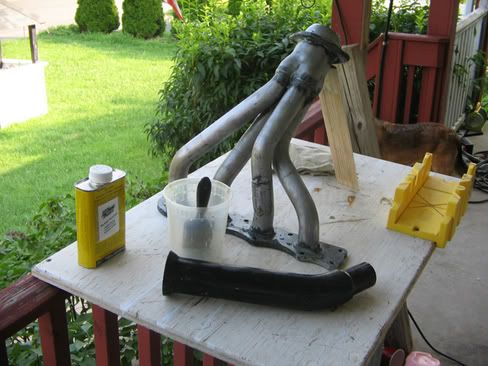
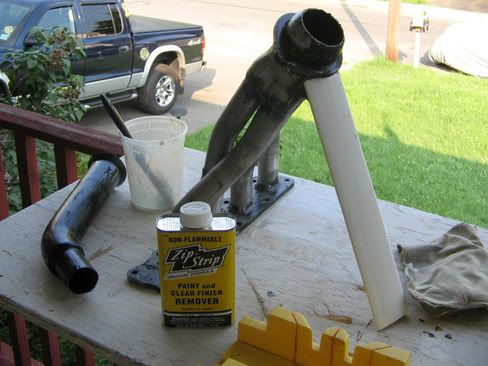
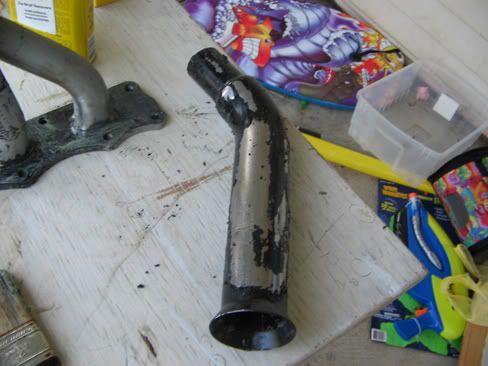
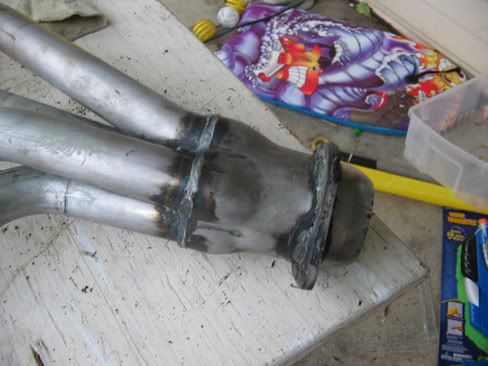
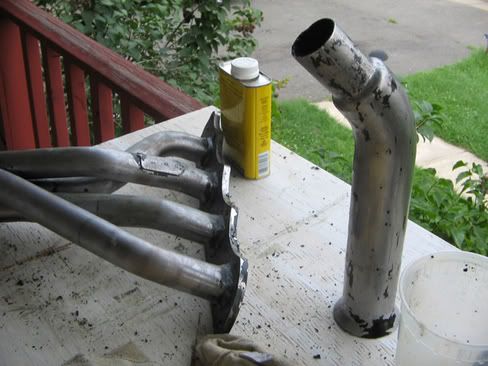
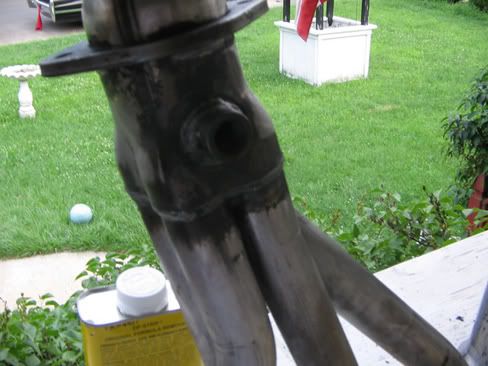

 to soak the ball end in. AND then reuse the stripper to soak the flange in this bucket:

 My Car
to soak the ball end in. AND then reuse the stripper to soak the flange in this bucket:


