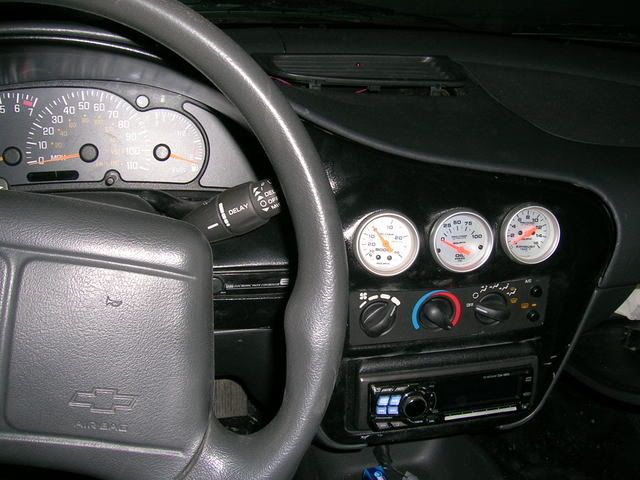
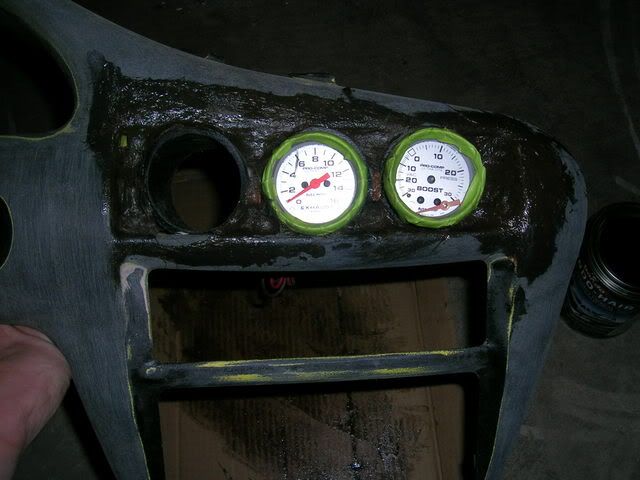
Did your boost needle fall off?
Im not knocking it ... but the color of the bezel doesnt flow to well with the interior.
Nice job though making it look way better then it used too.
JerseyKid ( EPIDEMIK ) wrote:Did your boost needle fall off?
Im not knocking it ... but the color of the bezel doesnt flow to well with the interior.
Nice job though making it look way better then it used too.
yes coreys boost needle fell off!!! LOLOLOLOL
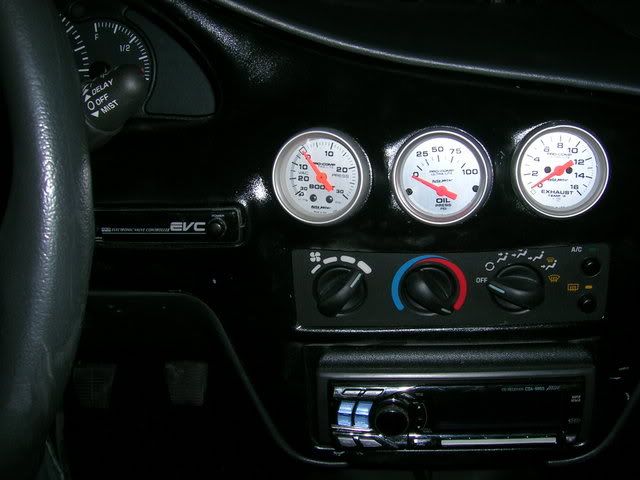
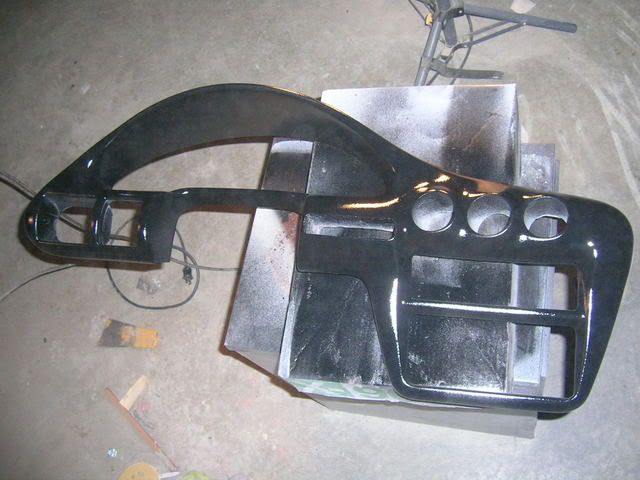
Color yes i think the black may be the wrong color... but i was having a hard time finding a good gray. those are the ONLY 2 colors going in my interior.
NO RED PAINT IN MY INTERIOR. LOLOLOL


^^ lolol
~2014 New Z under the knife, same heart different body~
______________________
WHITECAVY no more
2012 numbers - 4SPD AUTOMATIC!!
328 HP
306 TQ
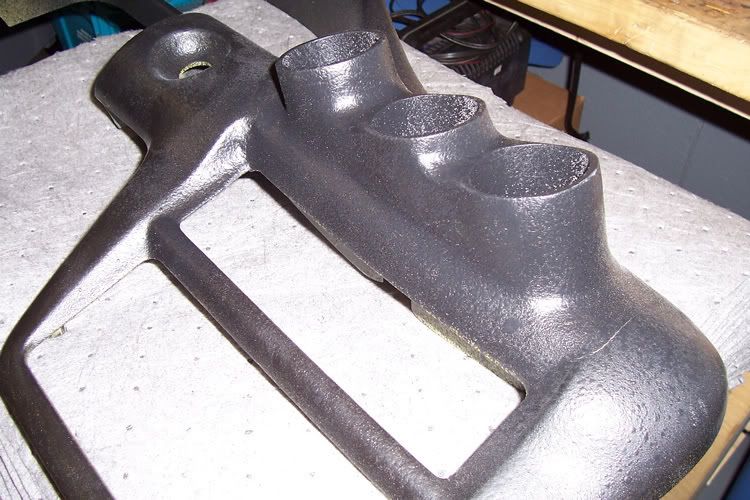
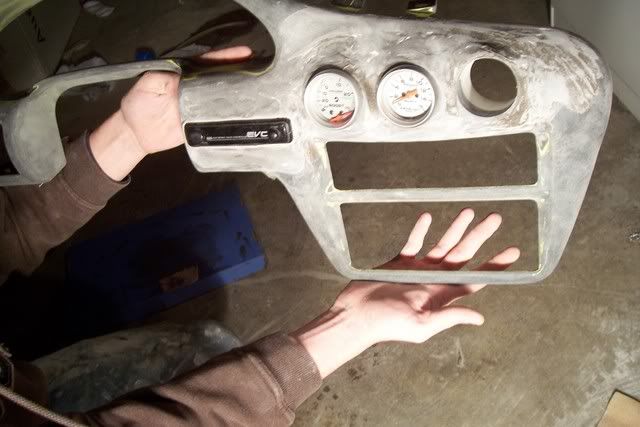
The only thing i dont think looks good is the paint. Not the color but the actual paint job..it looks like @!#$. Other than that I like it. Whats that thing to the left of your HVAC

If Im not mistaken its a boost controller.
its my boost controller.
We painted it gloss black then sprayed a clear over it and on the second coat it got all goofy looking. either way its getting repainted due to some nicks that it got from installation.
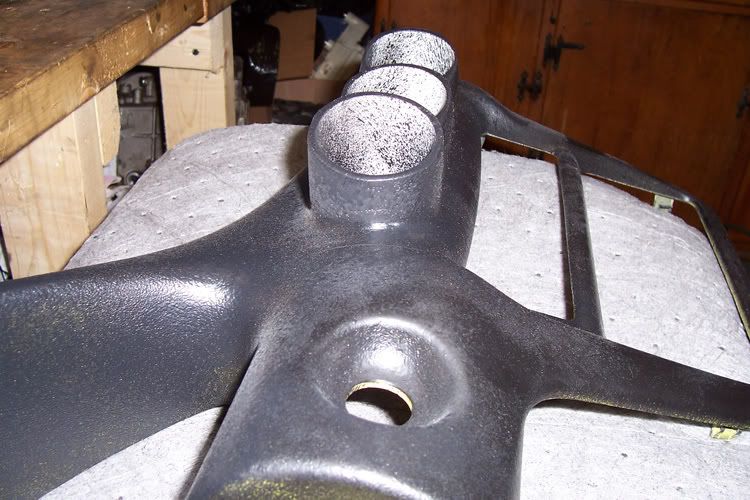
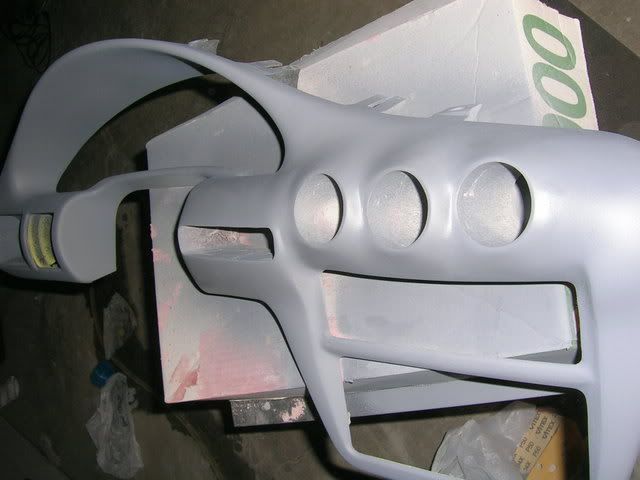
why does it look like they are placed farther out from left to right? shouldnt it be that way from right to left? or is it just the pic angles?
Edited 1 time(s). Last edited Saturday, January 20, 2007 8:16 AM
They are all even with each other. I get what your trying to say and its hard to explain over the internet
much better, paint itself deff needs to be resprayed looks really textured, props on the work tho
Wrench Monkey wrote:They are all even with each other. I get what your trying to say and its hard to explain over the internet
ok i get now lol... maybe you could make some sort of a plastic rings to put underneath the farther out gauges so they can pop out a tad more?
just an idea to throw around and it would be pretty easy.
one thing i notice is ur exhaust temp is higher up than the rest of them....but quality work overall
you scratch my ride IMA EAT YO CHILDREN
looks ALOT better then what it did before!!! Nice work Cory.
SPD RCR Z -
'02 Z24 420whp
SLO GOAT -
'04 GTO 305whp
W41 BOI -
'78 Buick Opel Isuzu W41 Swap

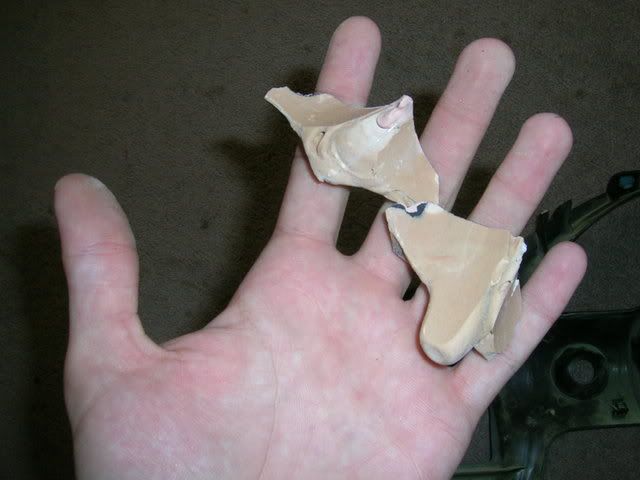
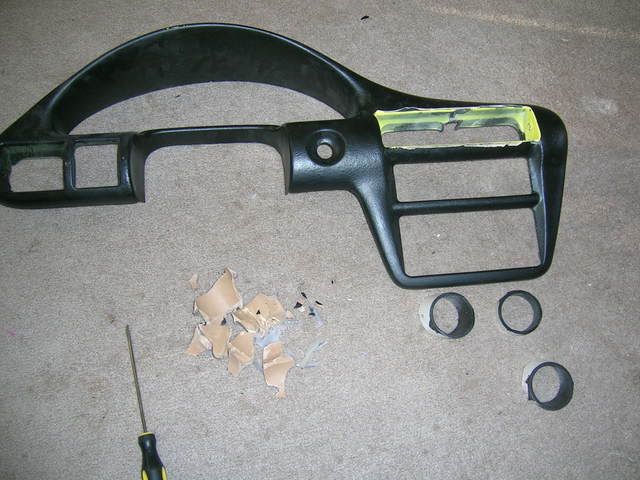
Hate to point out the obvious, but why did you go through the other guy in the first place, if you were able to make a badass bezel in the first place? The old bezel looks like broken ass. The one you made looks really good and smooth. Really nice job on this :-)
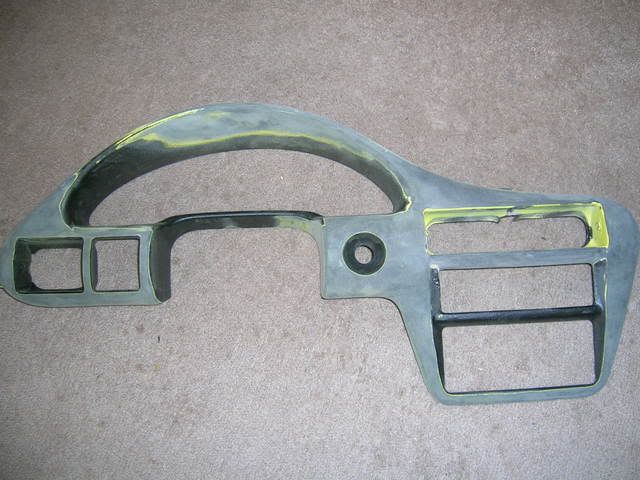
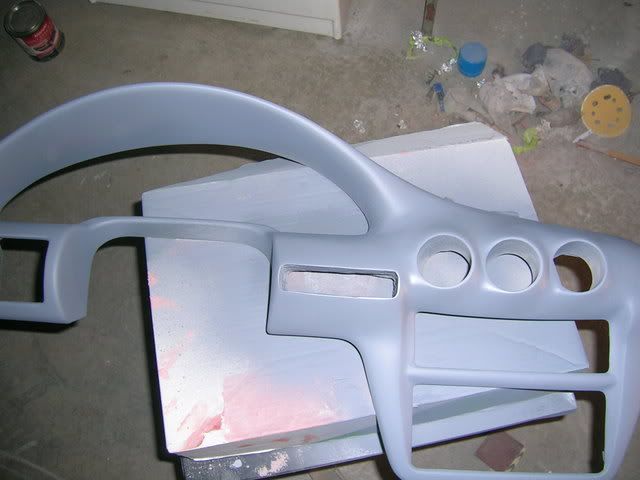
Exodus 259 wrote:Hate to point out the obvious, but why did you go through the other guy in the first place, if you were able to make a badass bezel in the first place? The old bezel looks like broken ass. The one you made looks really good and smooth. Really nice job on this :-)
I didnt make it. My buddy Corey did. I would have attempted it but knowing now what i do there was a lot more involved to make a awesome bezel. Also i do not have a good warm place to use f/g all the garages i work in are cold as @!#$.
Ahhhh, alright. That makes sense. Regardless, looks good though. Tell your friend to help me with mine, lol.
idk they look straight in the car... LOL either way im happy with it.
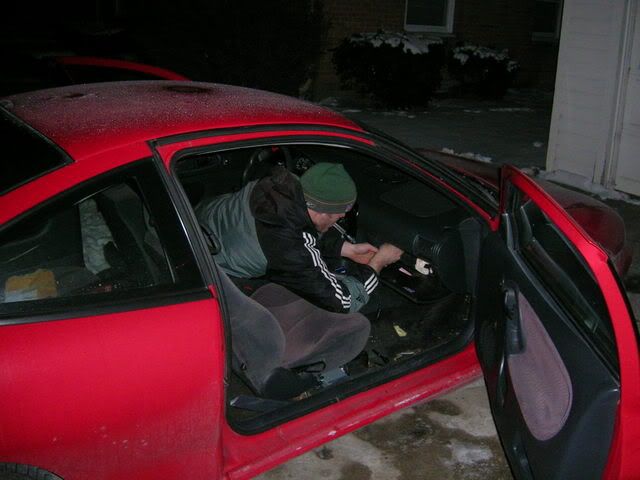
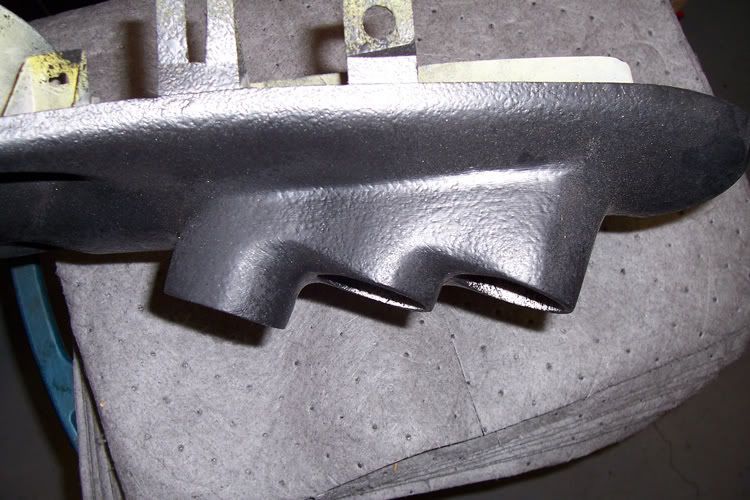
Well there were a few problems! First off the bezel was warped when i got it. Second we should have gotten new PVC. The PVC was hacked off at a horrible angle by Broghtdowncustomz and were also very short. None of the gauges even sat flush. Definitely should have gotten new PVC to start from scratch. I had to basically make my own cups to hold the gauges. That was a long and tedious process. This made it so they weren't all exactly the same size but quite close. Moral of the story do it right the FIRST time haha.


 and holy @!#$ was it cold out... were talking like 5 effing degrees!!!