Hey,
This is a How to on recovering your visors in your car.
For this project you'll need...
Spray glue (I used 3M Trim Adhesive)
Hot glue and gun
T20 bit and driver
Small flathead screwdriver
Iron and ironing board
Marker
Utility knife/exacto/breakaway/razor blade, etc (optional but helpful)
Popsicle sticks and small clamps (optional)
Scissors
Fabric you want to recover with
Extra visor used for template
Your visors
This how to involves using the factory fabric as a backing. If you have a fabric that is padded already, you should be able to follow this writeup pretty much the same.
Remove your visors using the T20 bit and driver. 3 screws on each visor and they should pop down.
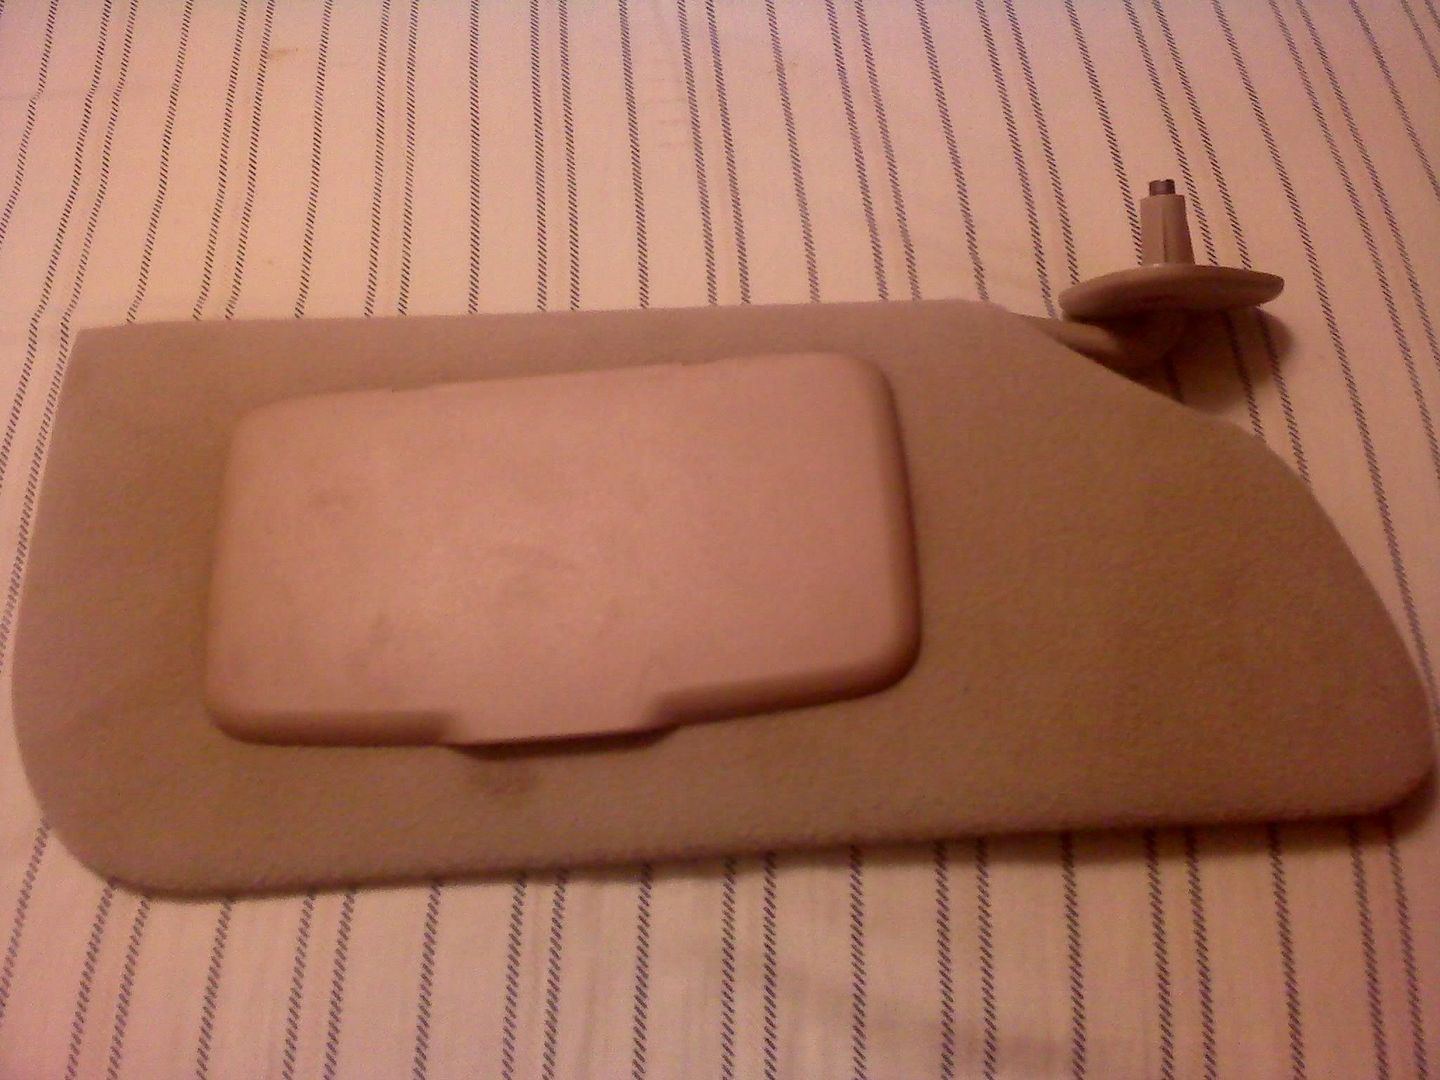
Next you need to separate the visor. Start on the edge where the visor is somewhat flexible, it seems to be easiest to start here.
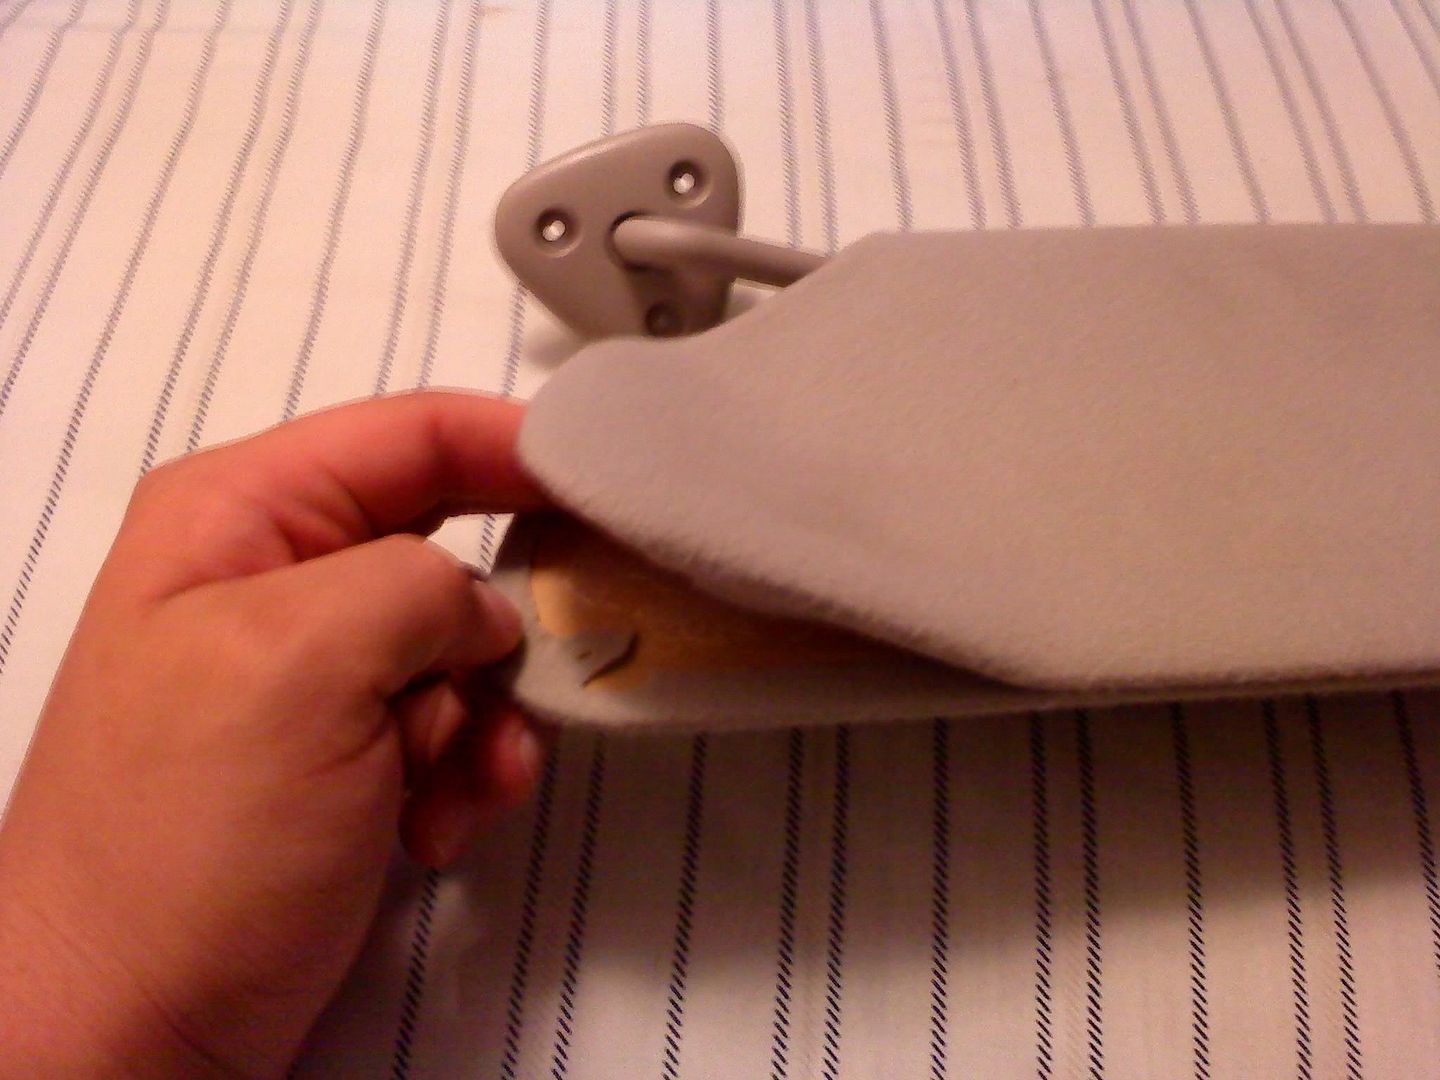
Just slowly work your way around the whole mirror by gently pulling apart the two halves.

When you get it all apart it should look like this.
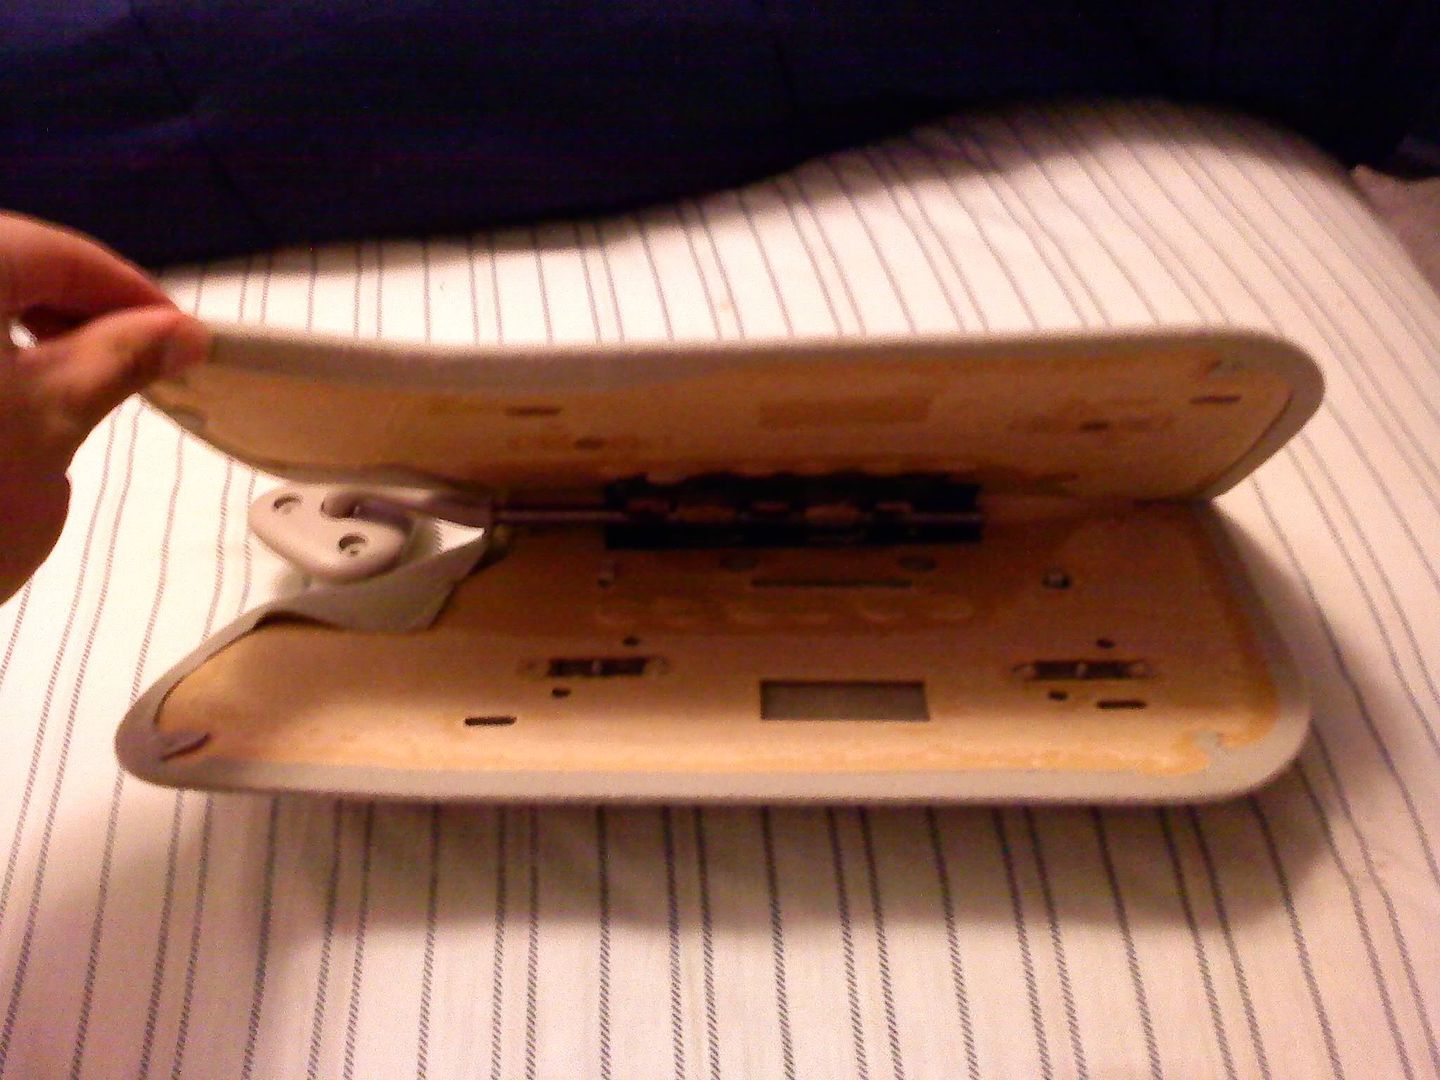
You can now see how the mirror is held on and how the swivel/tilt mechanism is held in.
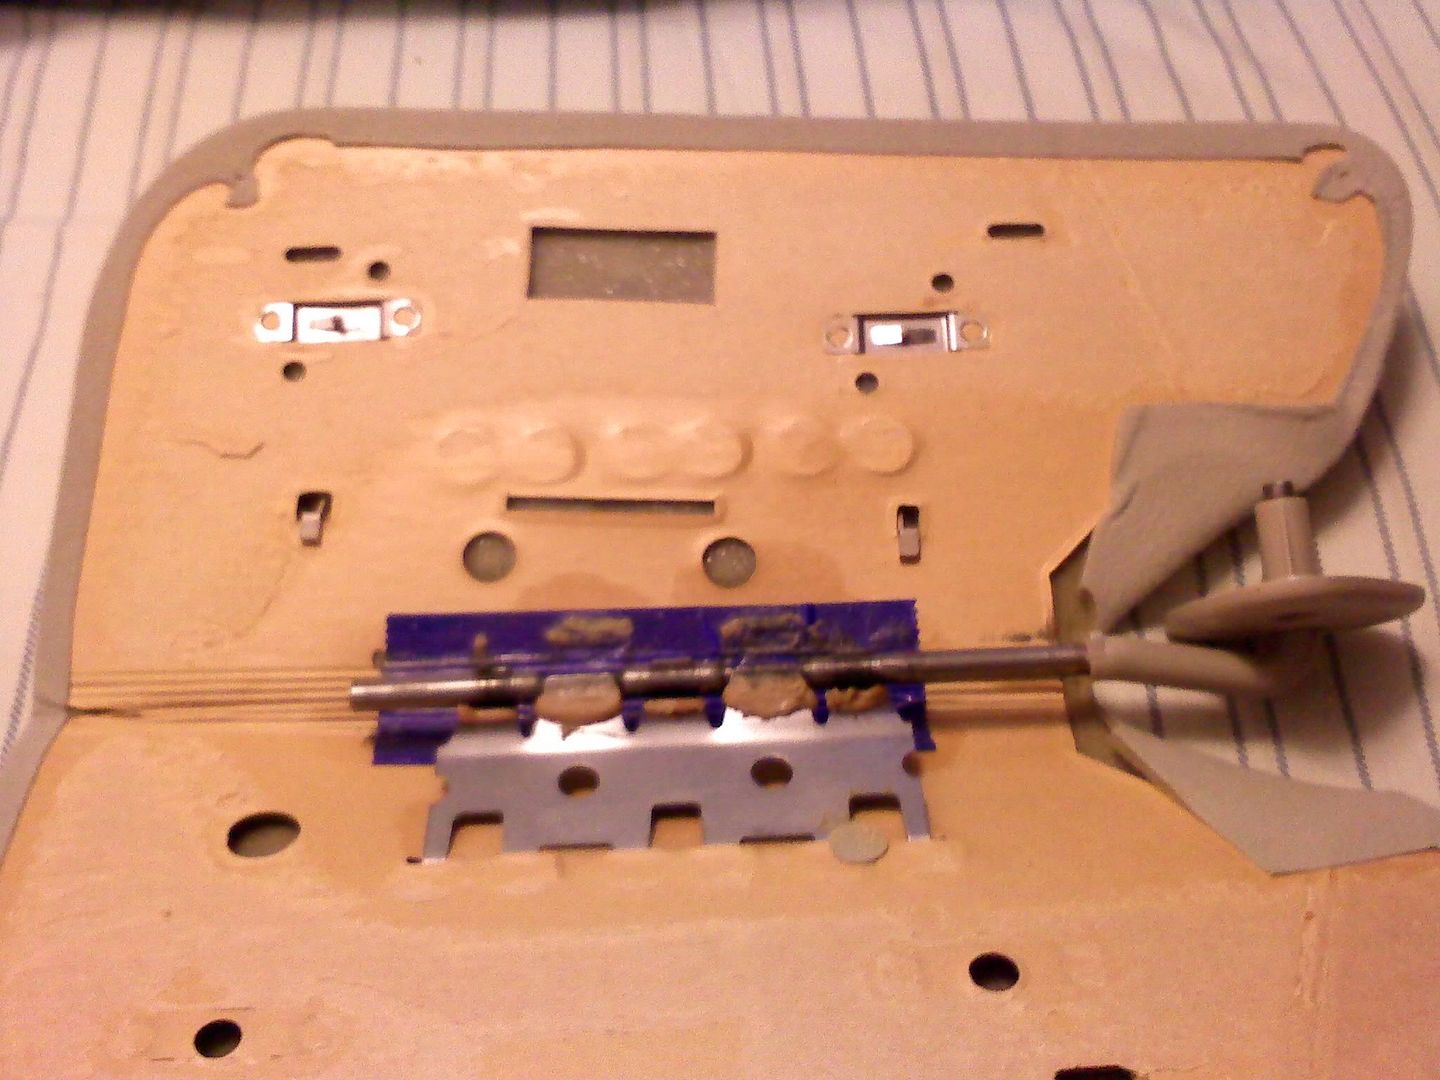
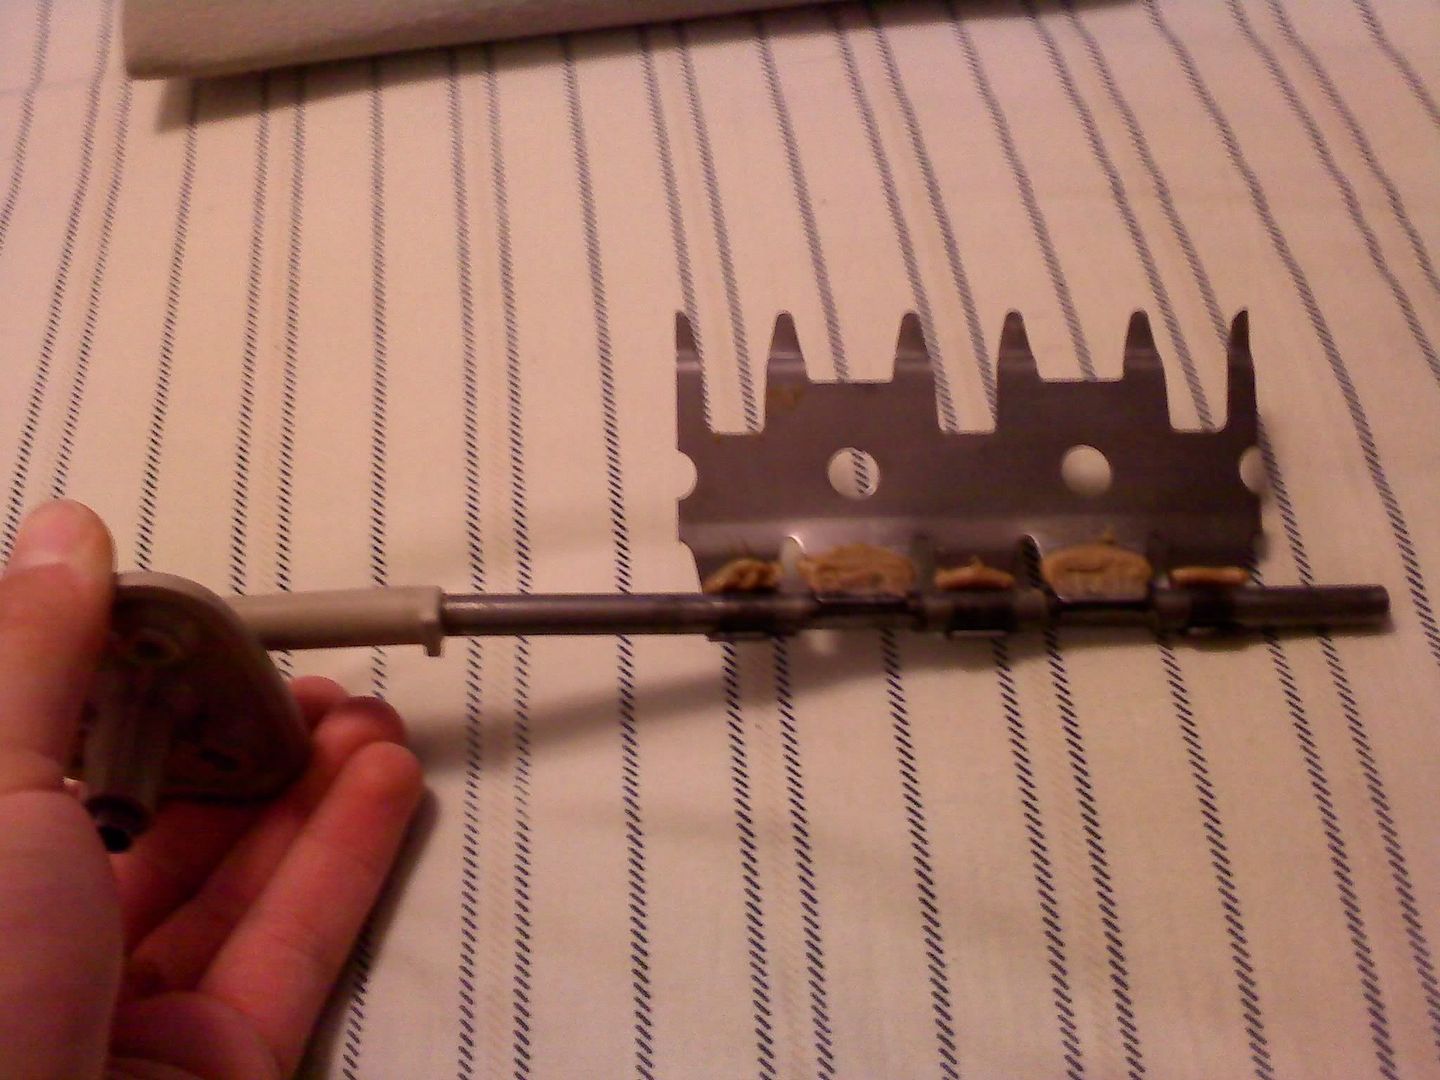
Just pull out the swivel/tilt mechanism. Take care where you set it because it comes greased.
Next thing to remove is the mirror. Take a small screwdriver on the metal clips right next to the rod in the middle and pry up. Work one side a little, then the other, and so on until it pops off. Don't lose it.
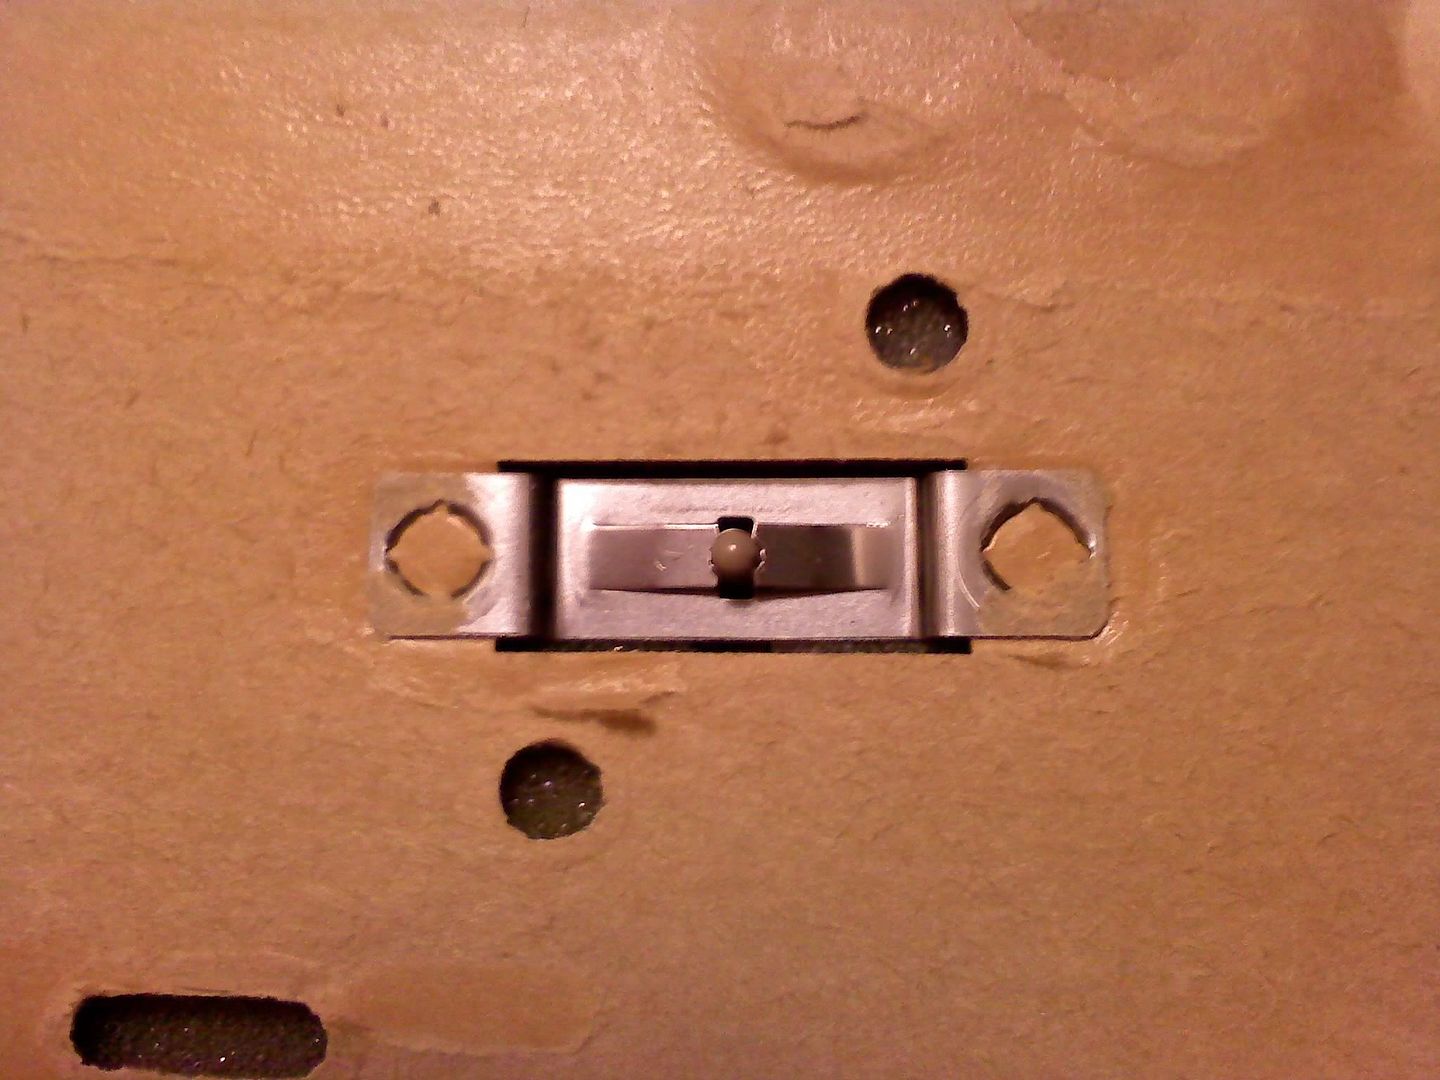

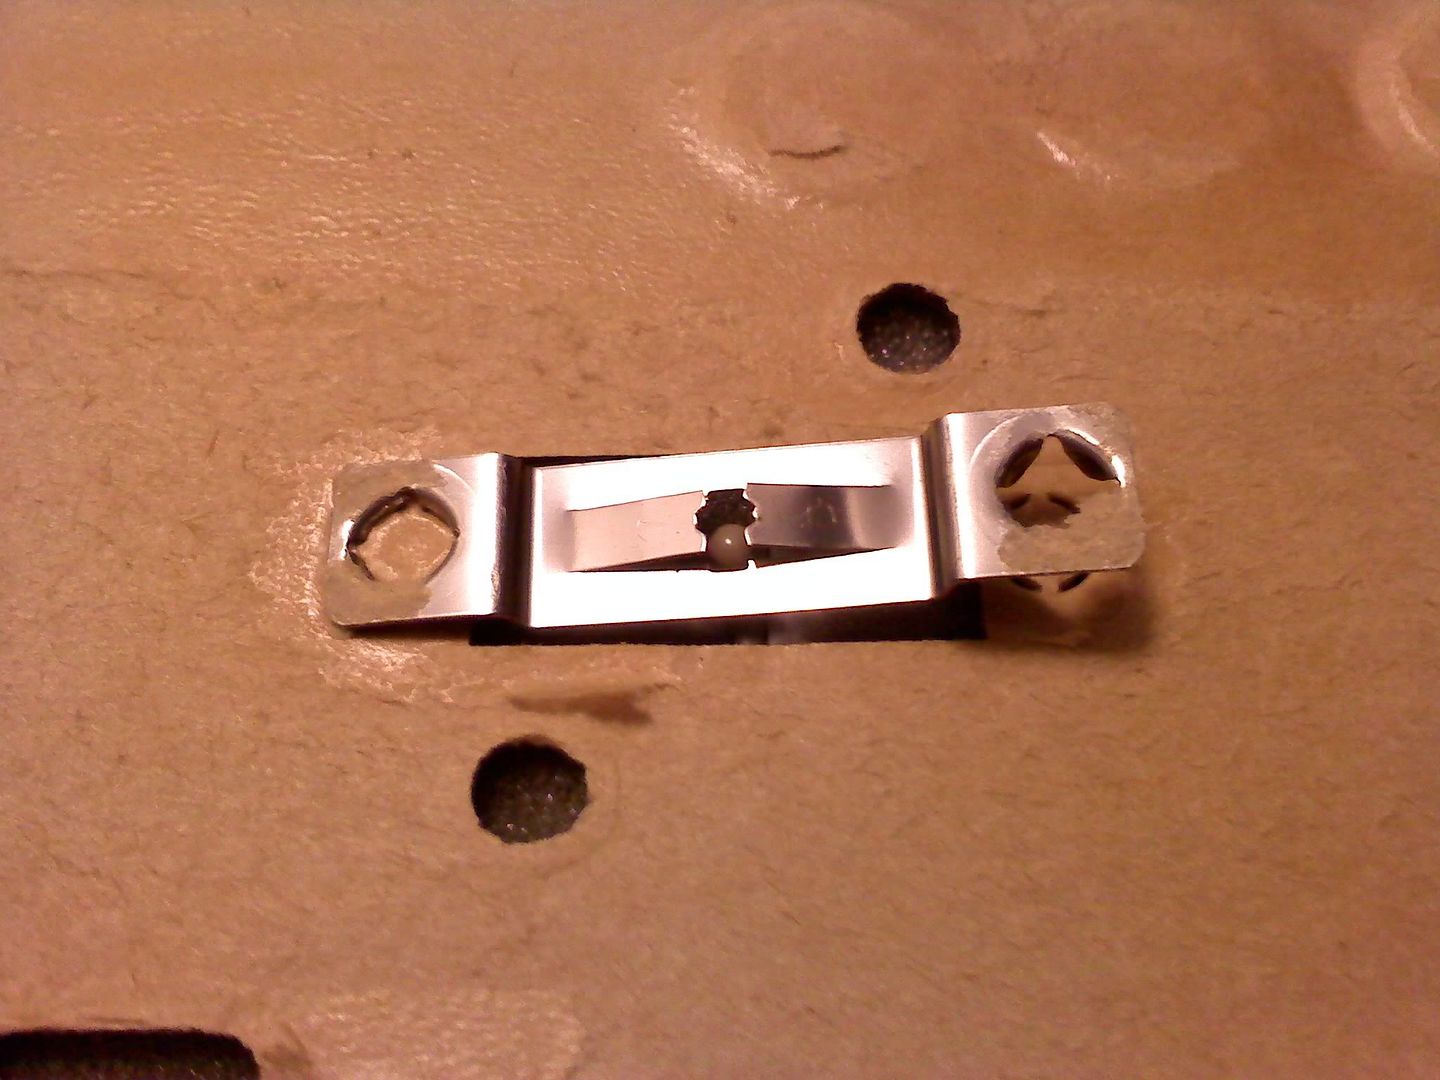
Then just tilt the mirror up at the bottom and pull down.
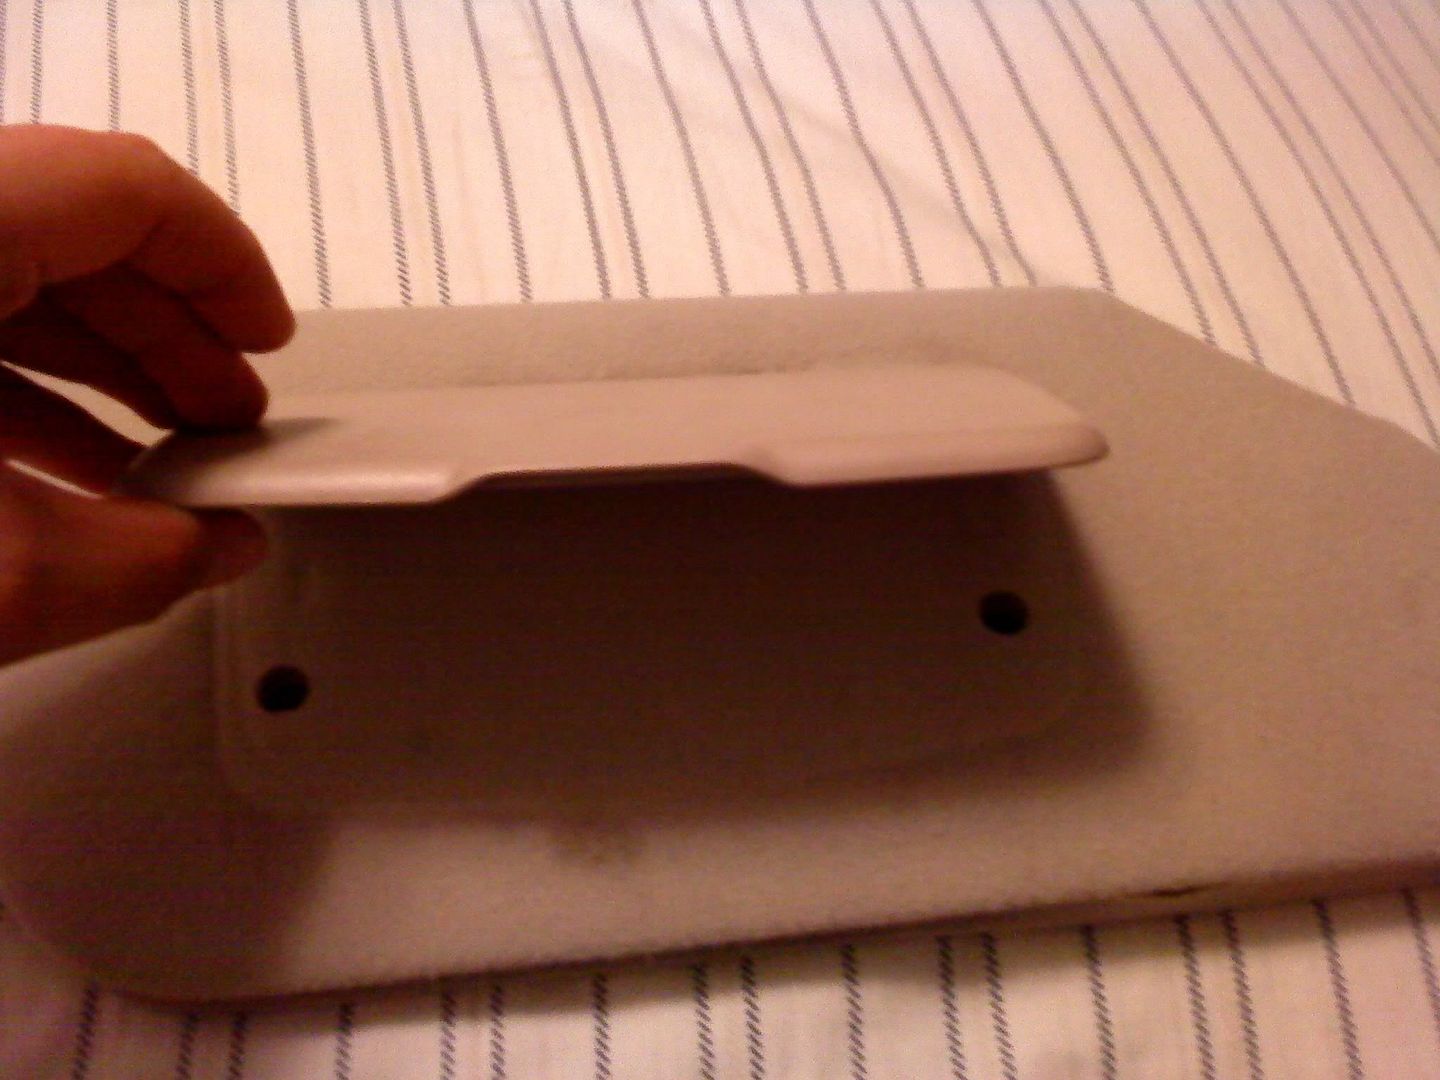

You have a couple options for the mirror. You can leave it stock and put it back when you're done, you can separate the pieces out and paint them, or you can put something else on or nothing at all.
The disassembly for painting is super easy. The hardest part is getting the mirror out. You can take the lower tabs on the bottom of the back and either bend then or break them off and with a little bending, you can slide the mirror out.

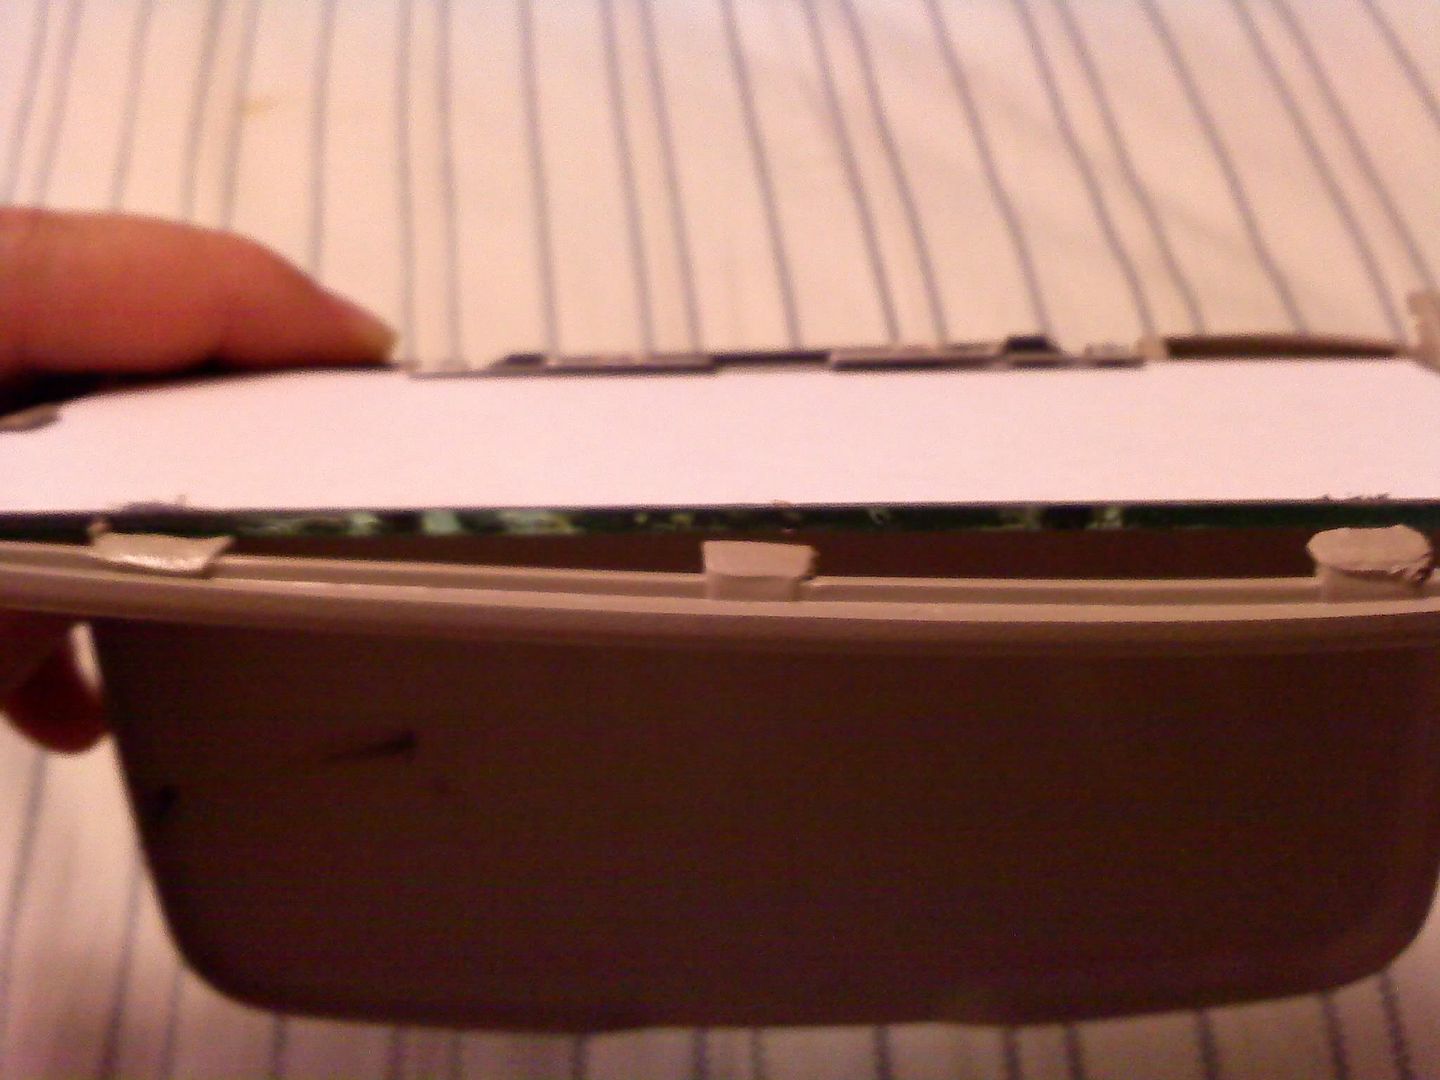
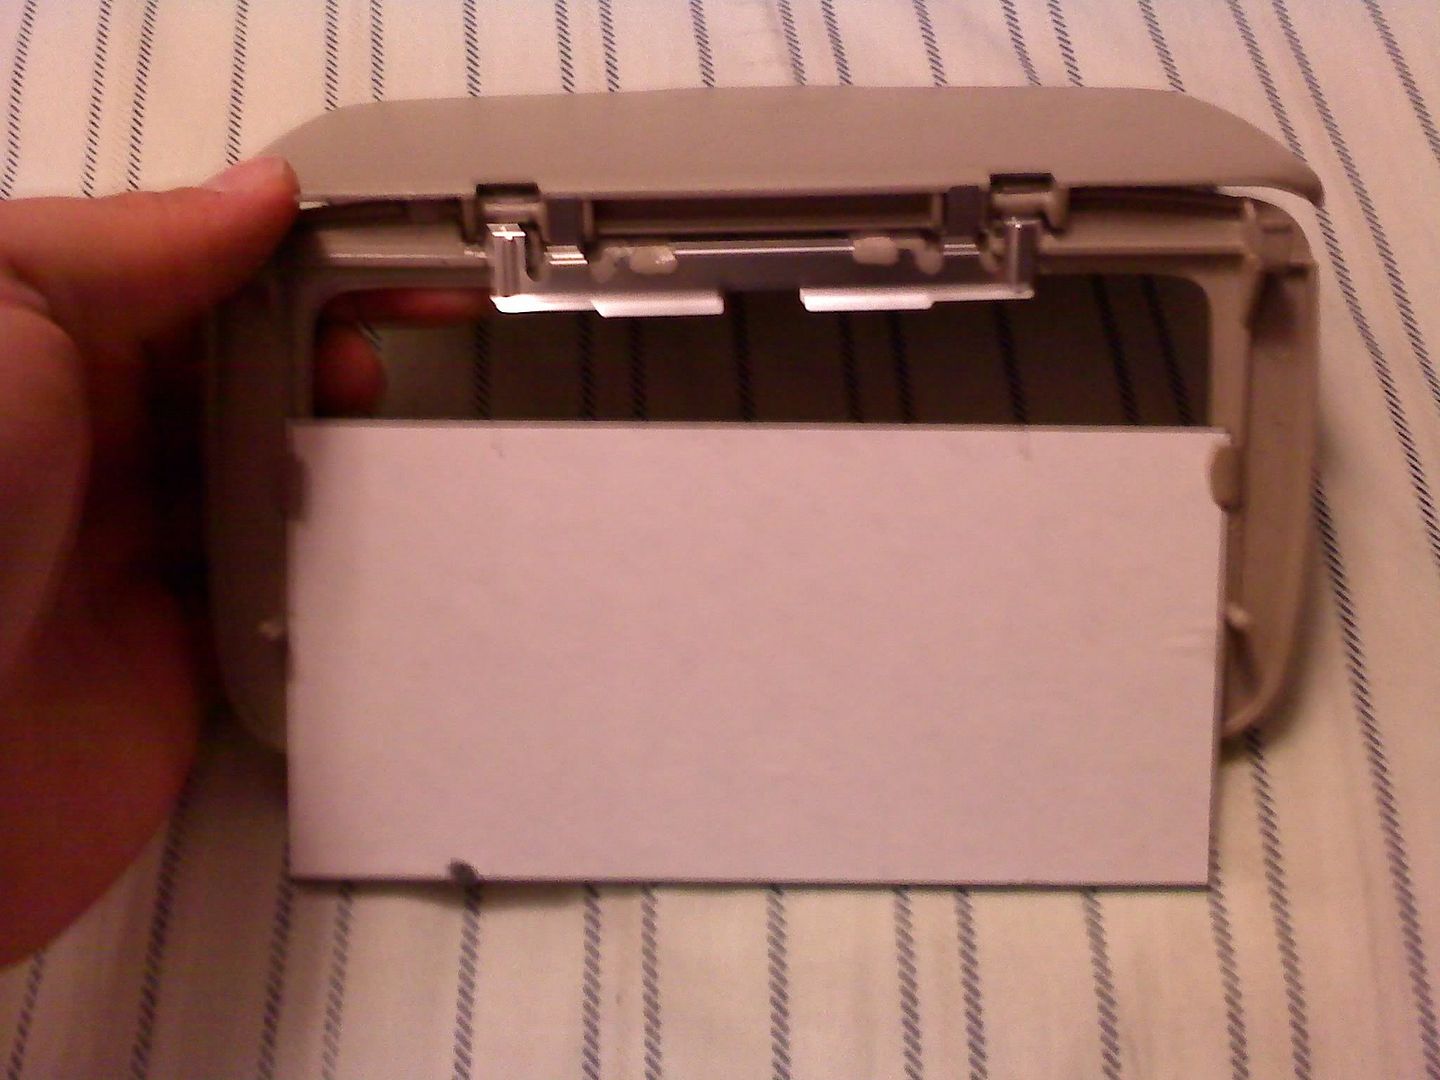
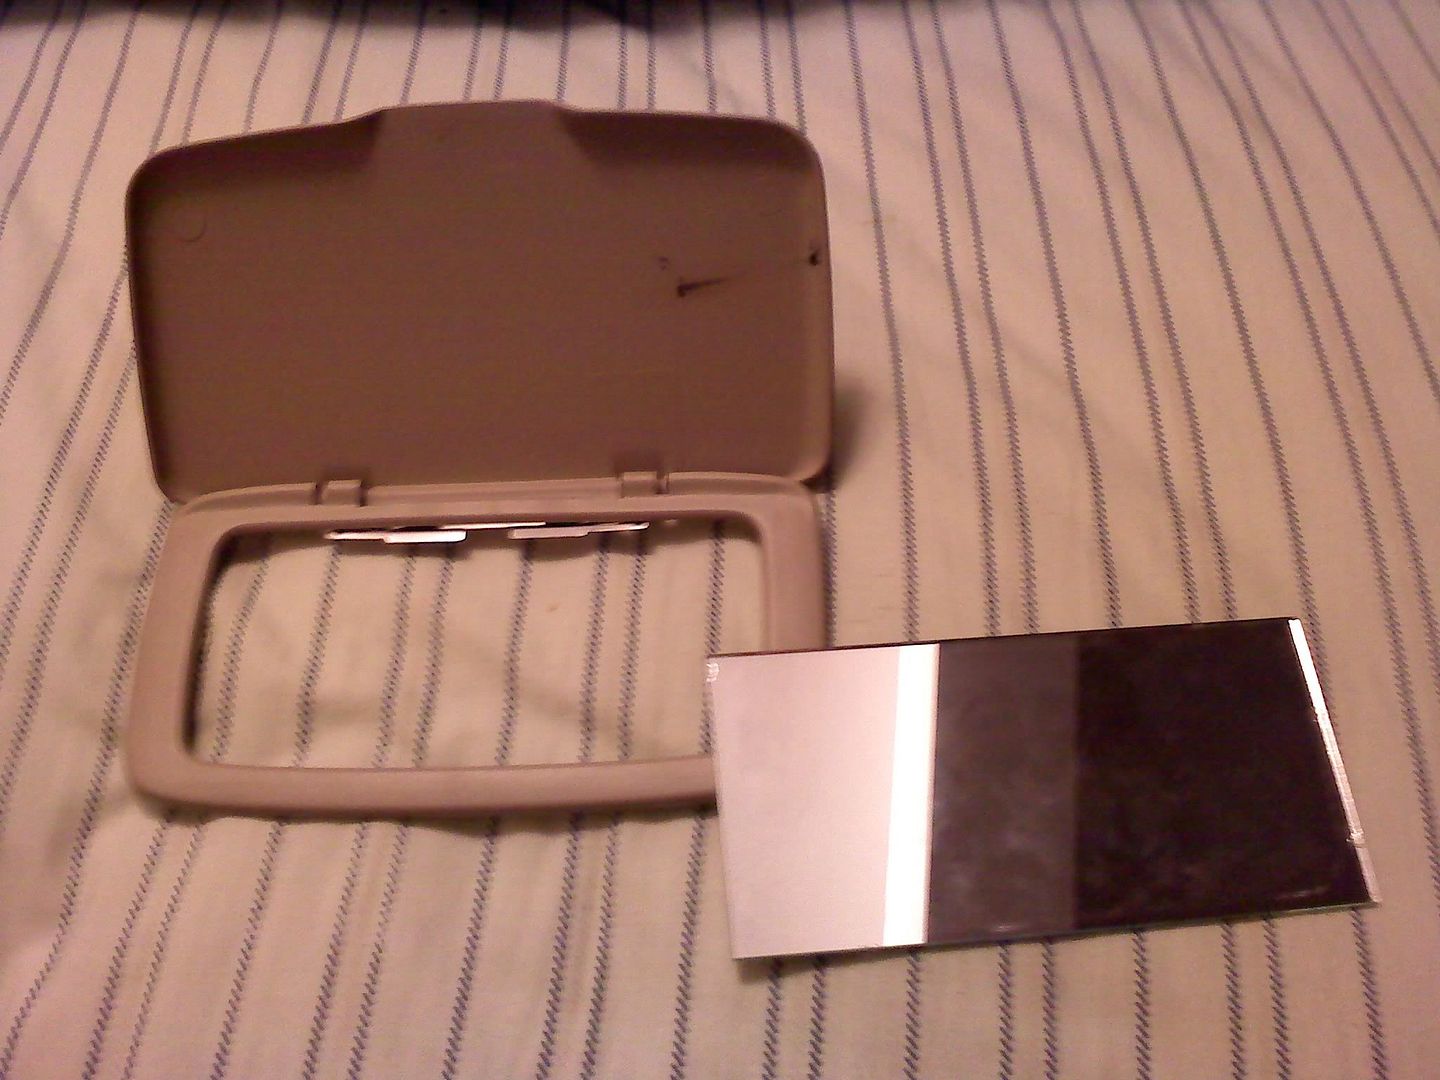
I did this all using another visor as template so the instructions after this will follow with that.
Take the visors that will be staying in your car and get them ready. DON'T PULL THE FABRIC OFF.
If you have an airbag sticker you should be able to leave it. I lucked out and one that I had pulled off easy and one I got most pulled off. If anything this just ensures there isn't any flat smooth places when you're all done.
Also, if any of the fabric is peeling off the cardboard you need to fix it now.
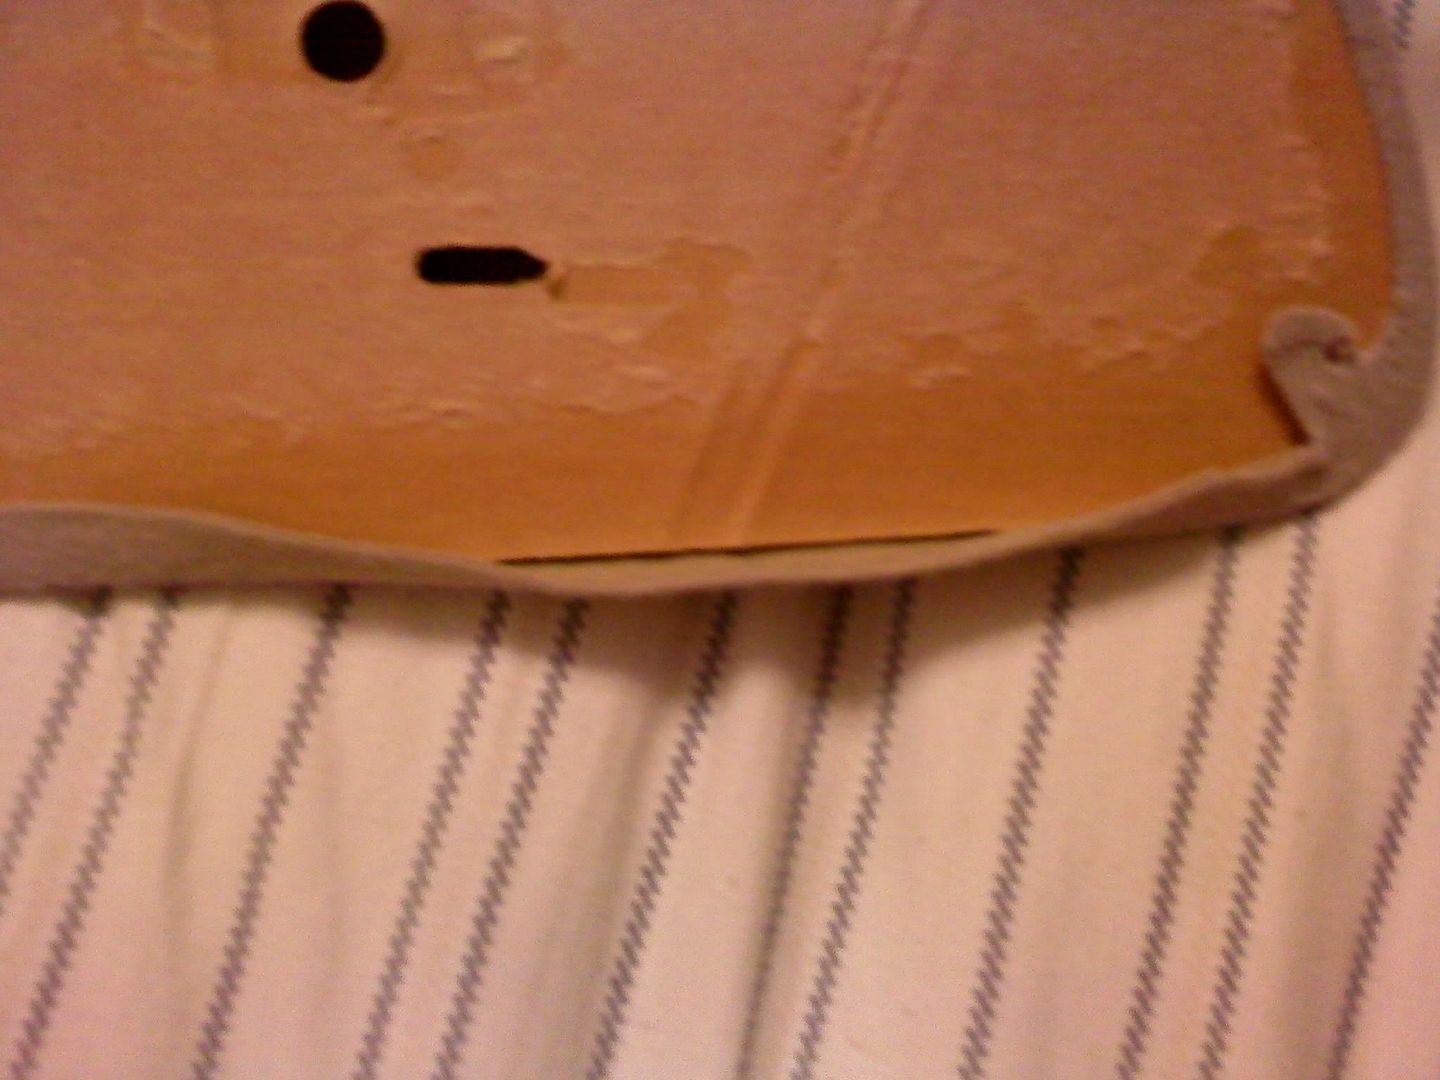
You can use hot glue or some of that spray glue (I just sprayed some onto a paper plate and applied with a popsicle stick). To dry, I use two popsicle sticks, one on each side, and small clamps to hold even pressure while it dries. It doesn't take long. Just make sure it isn't so saturated with glue that you end up gluing the popsicle stick to it also.

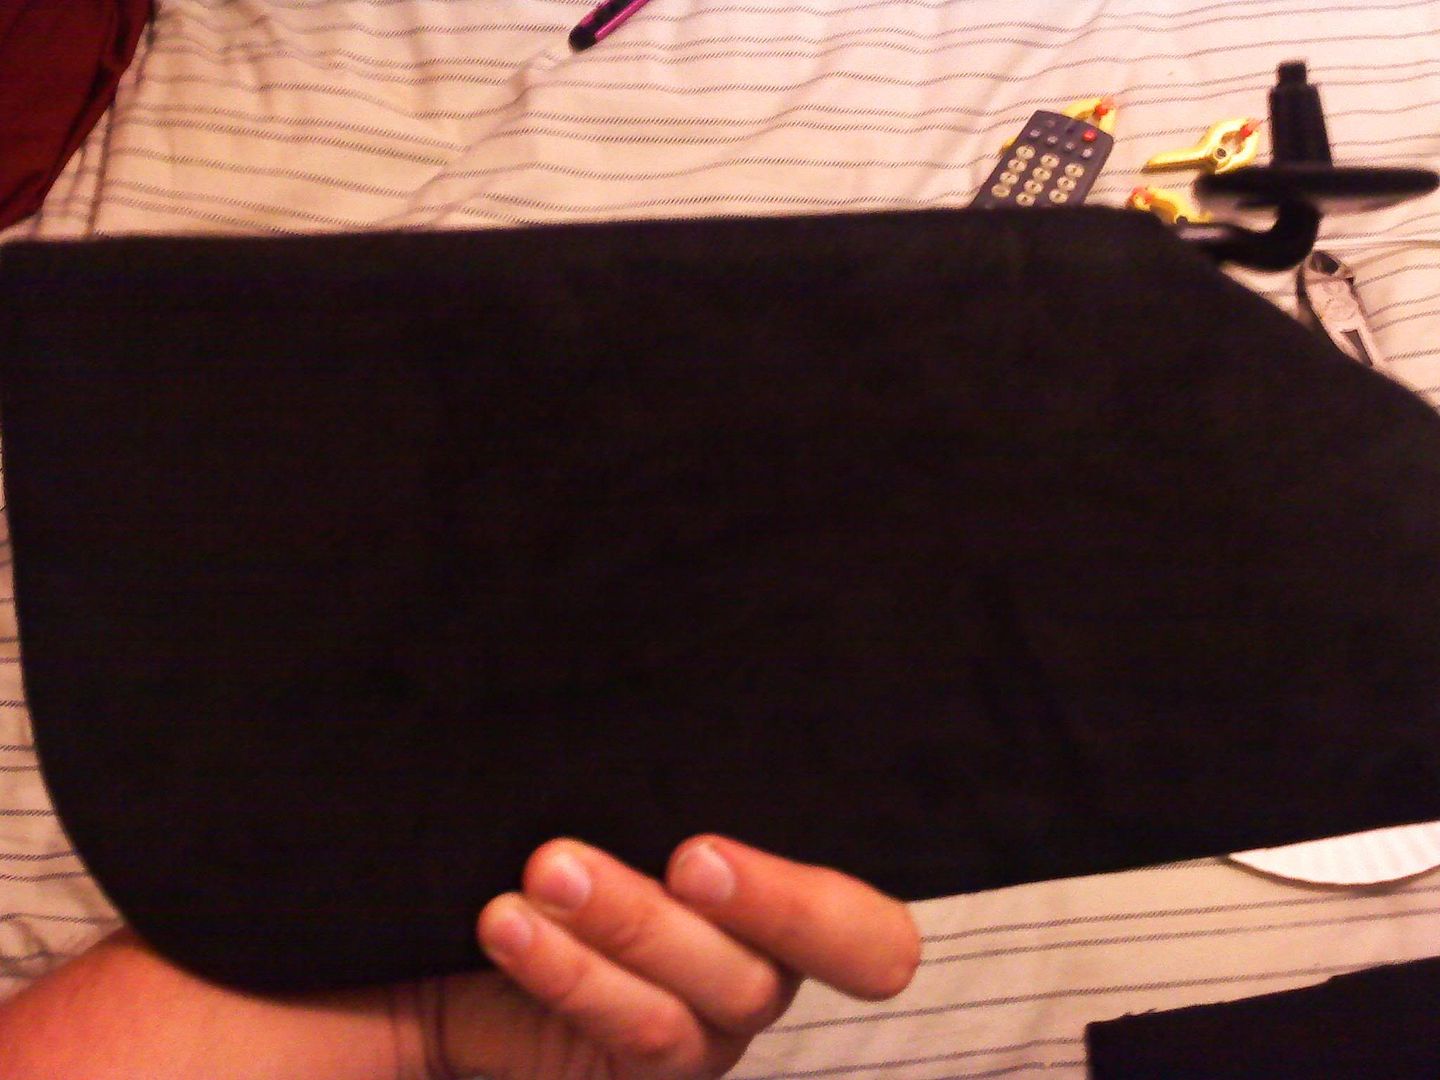
On your extra visor, pull the stock fabric off taking care not to stretch or rip the fabric. After you're done you will have a pattern.
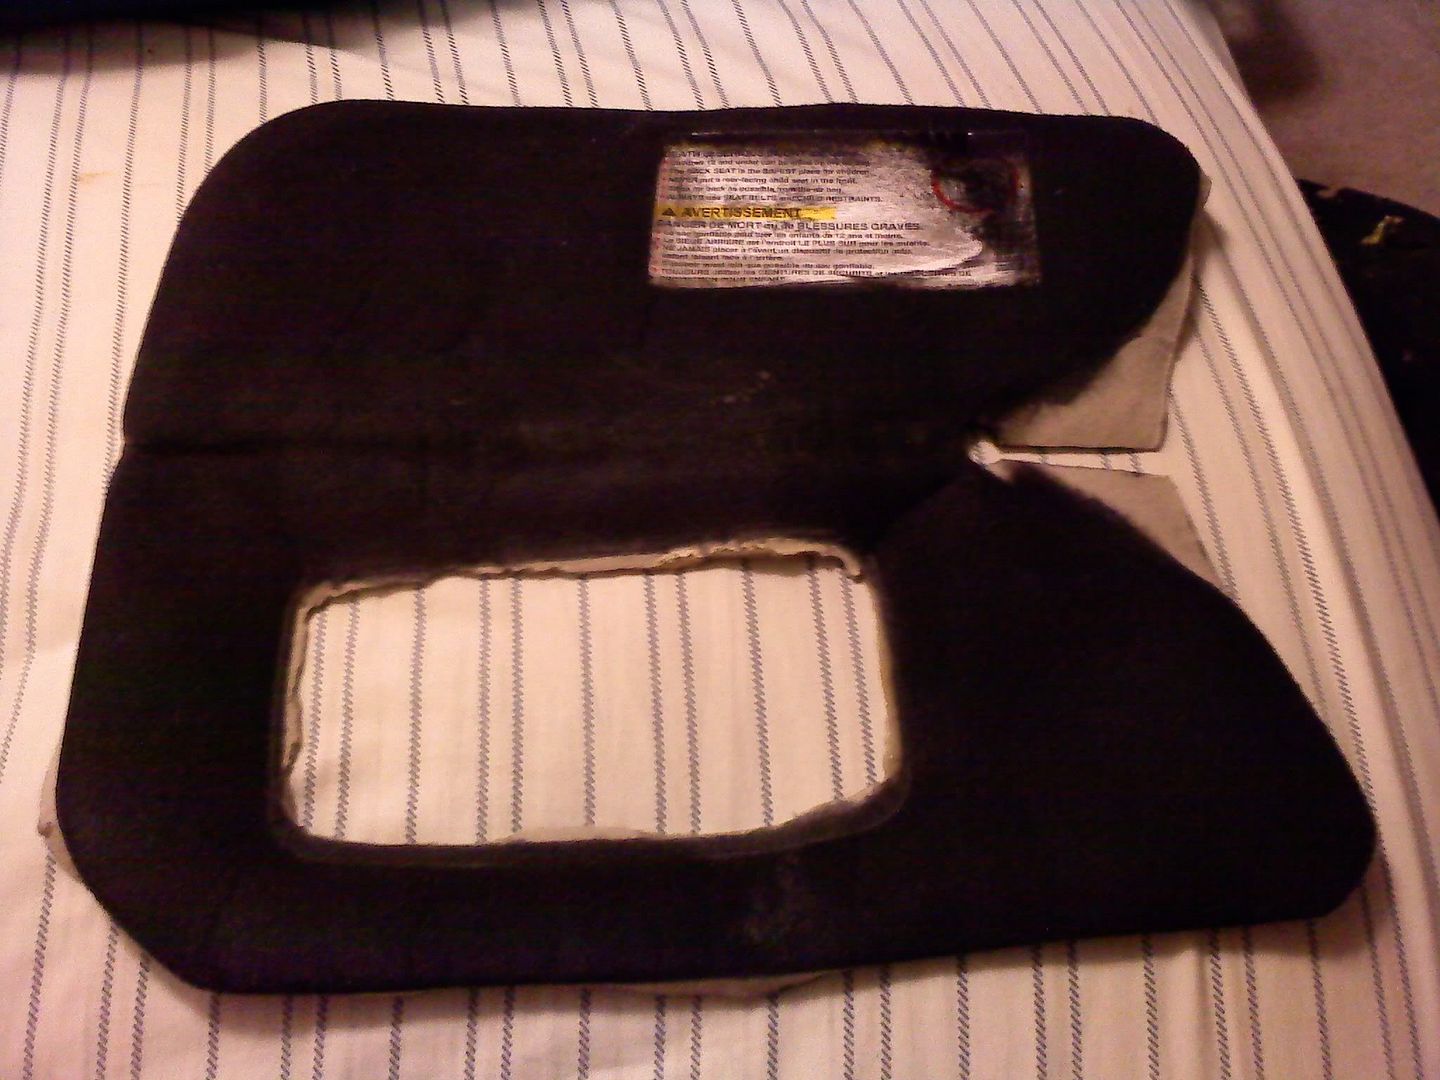

Now you need to transfer your pattern to your new fabric. I used a permanent marker on the back. For the most part it doesn't have to be perfect but it does need to be close.
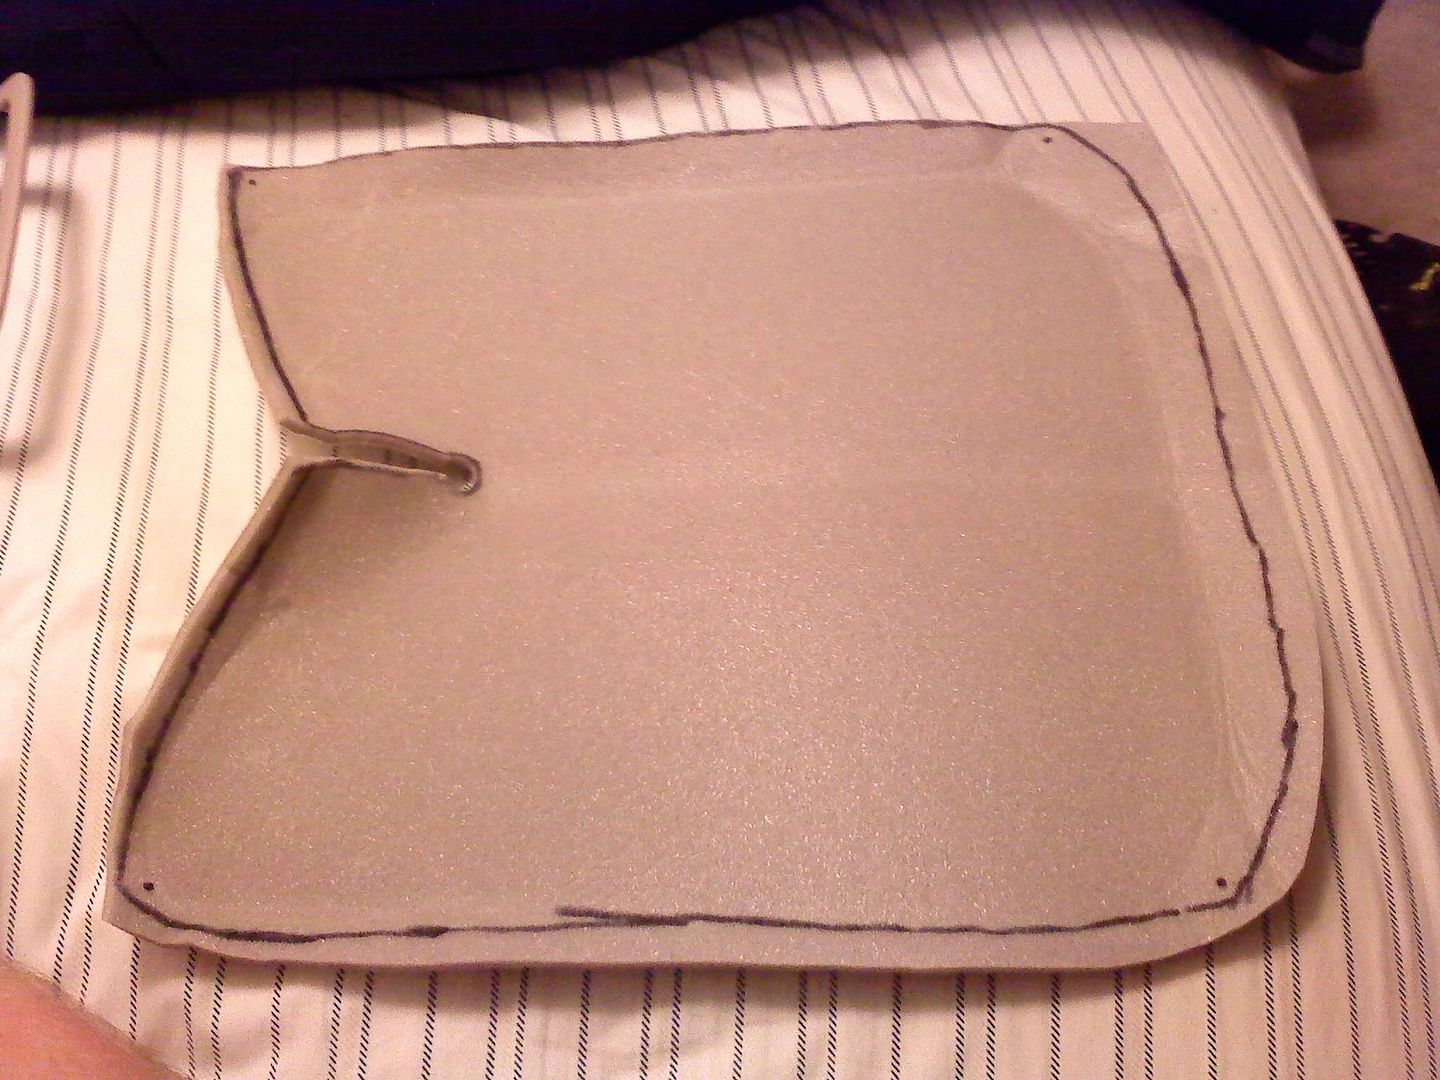
Cut out the shape taking care to leave about an extra 1/2" on every side.
The one place that does matter is this part.. Everything pretty much lines up with this so get it pretty accurate and cut it pretty close to the line.
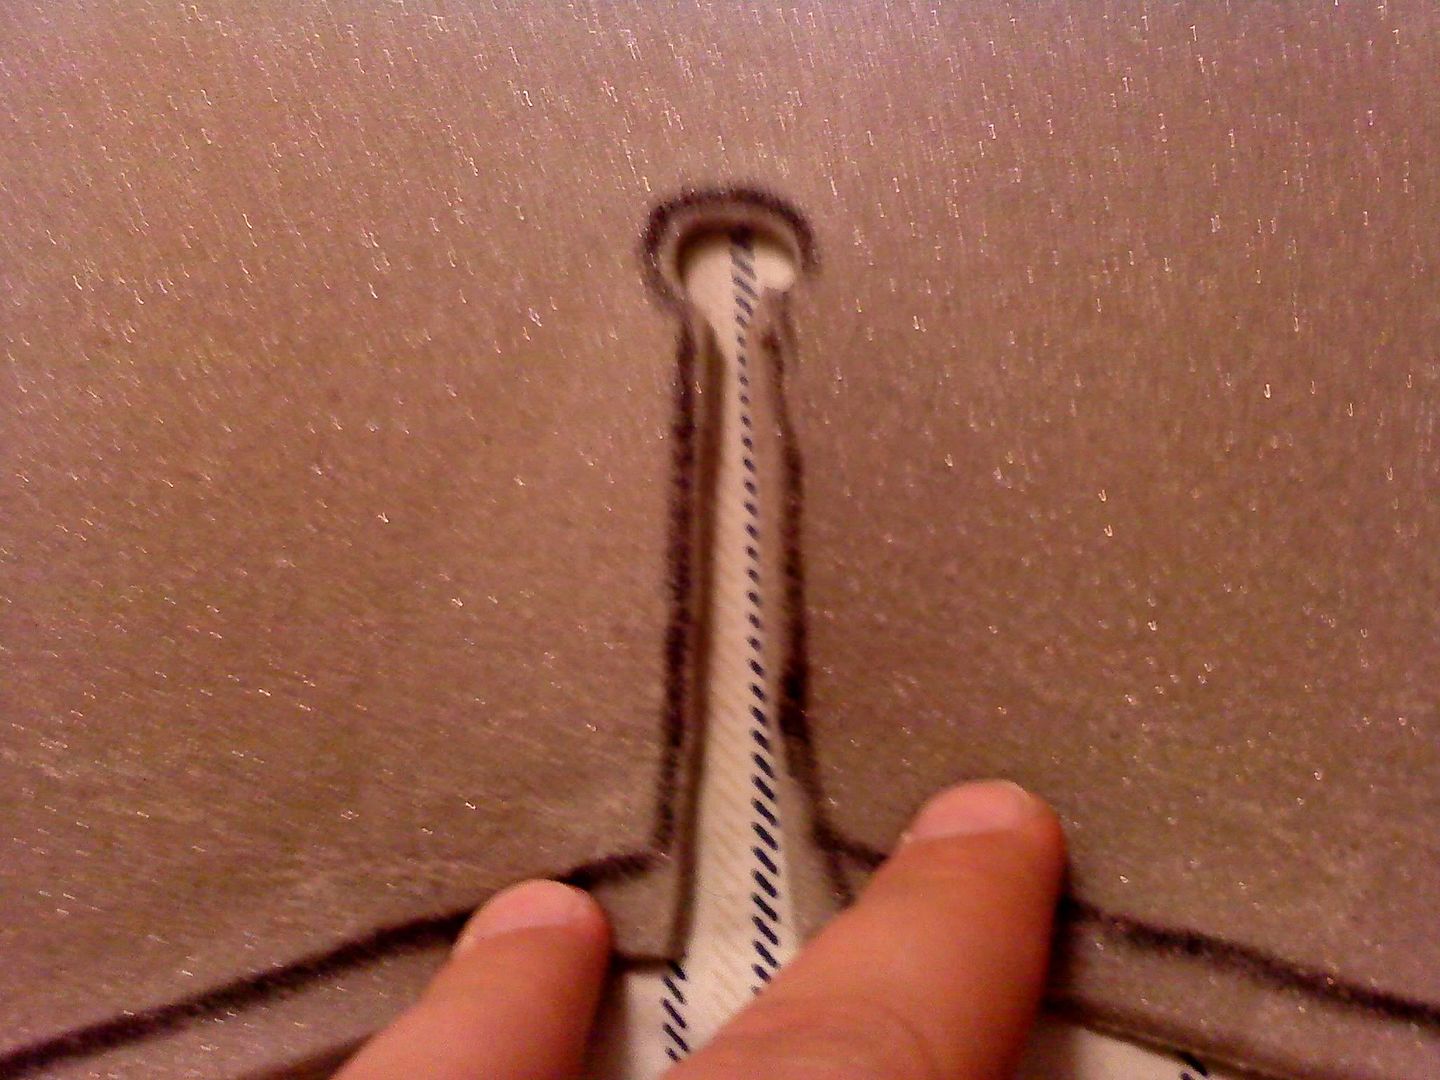
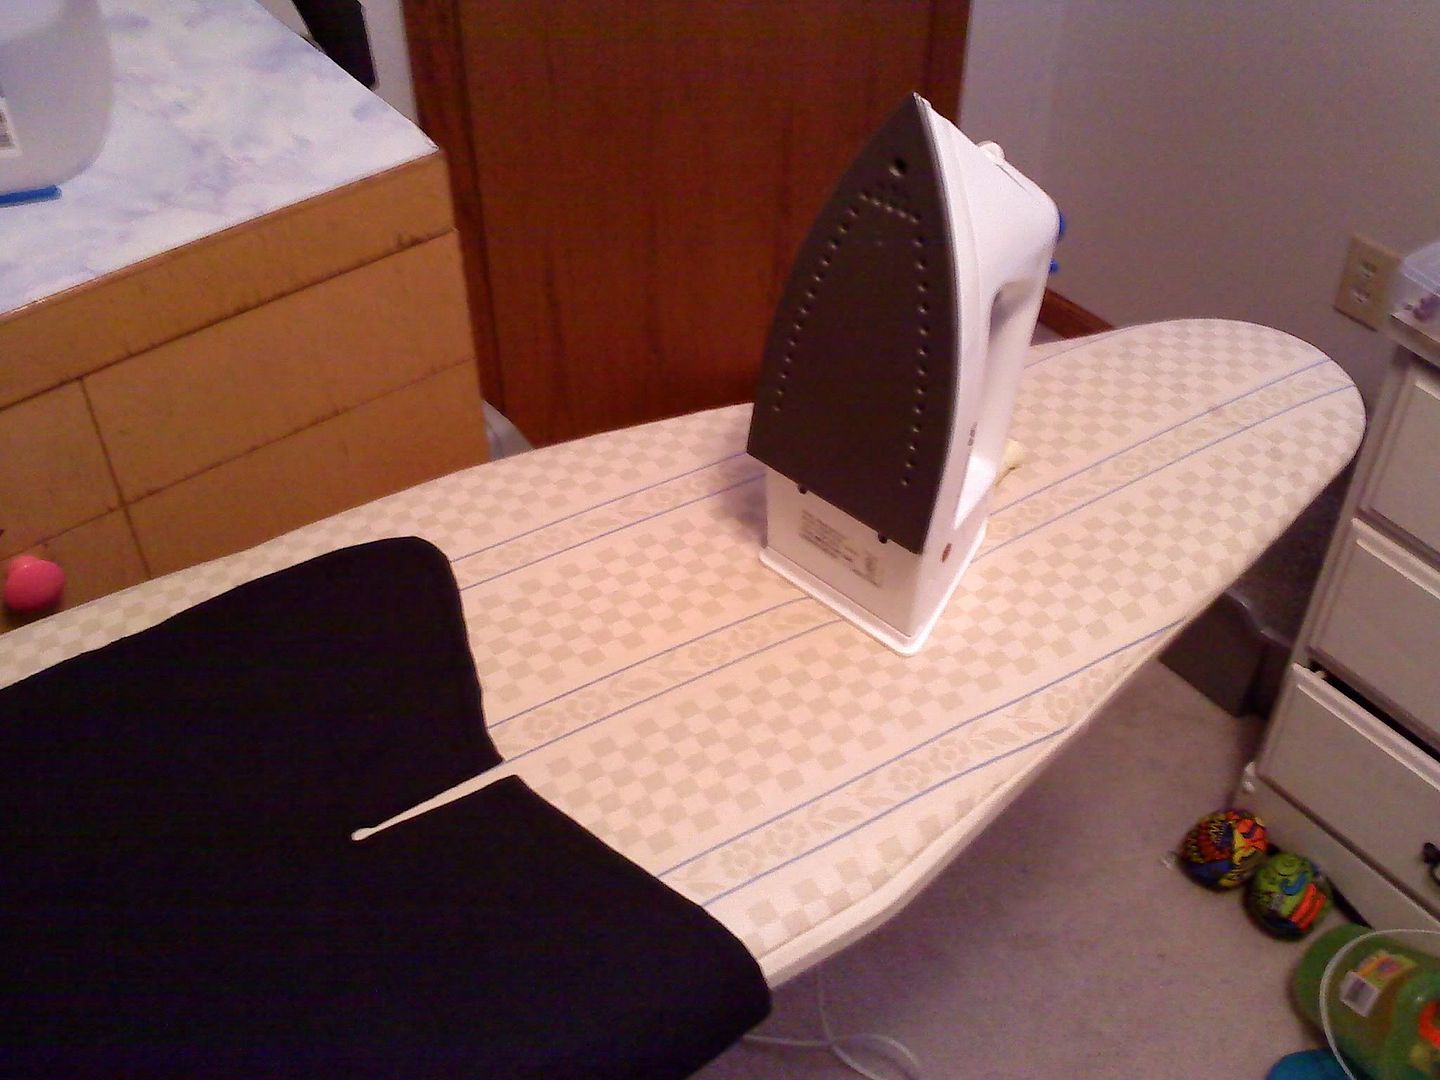
Now this next part many of you may need to find a lady friend...but you need to iron your fabric to get any and all wrinkles out before starting any further. I used a damp cloth over the top to keep the iron from burning the suede.

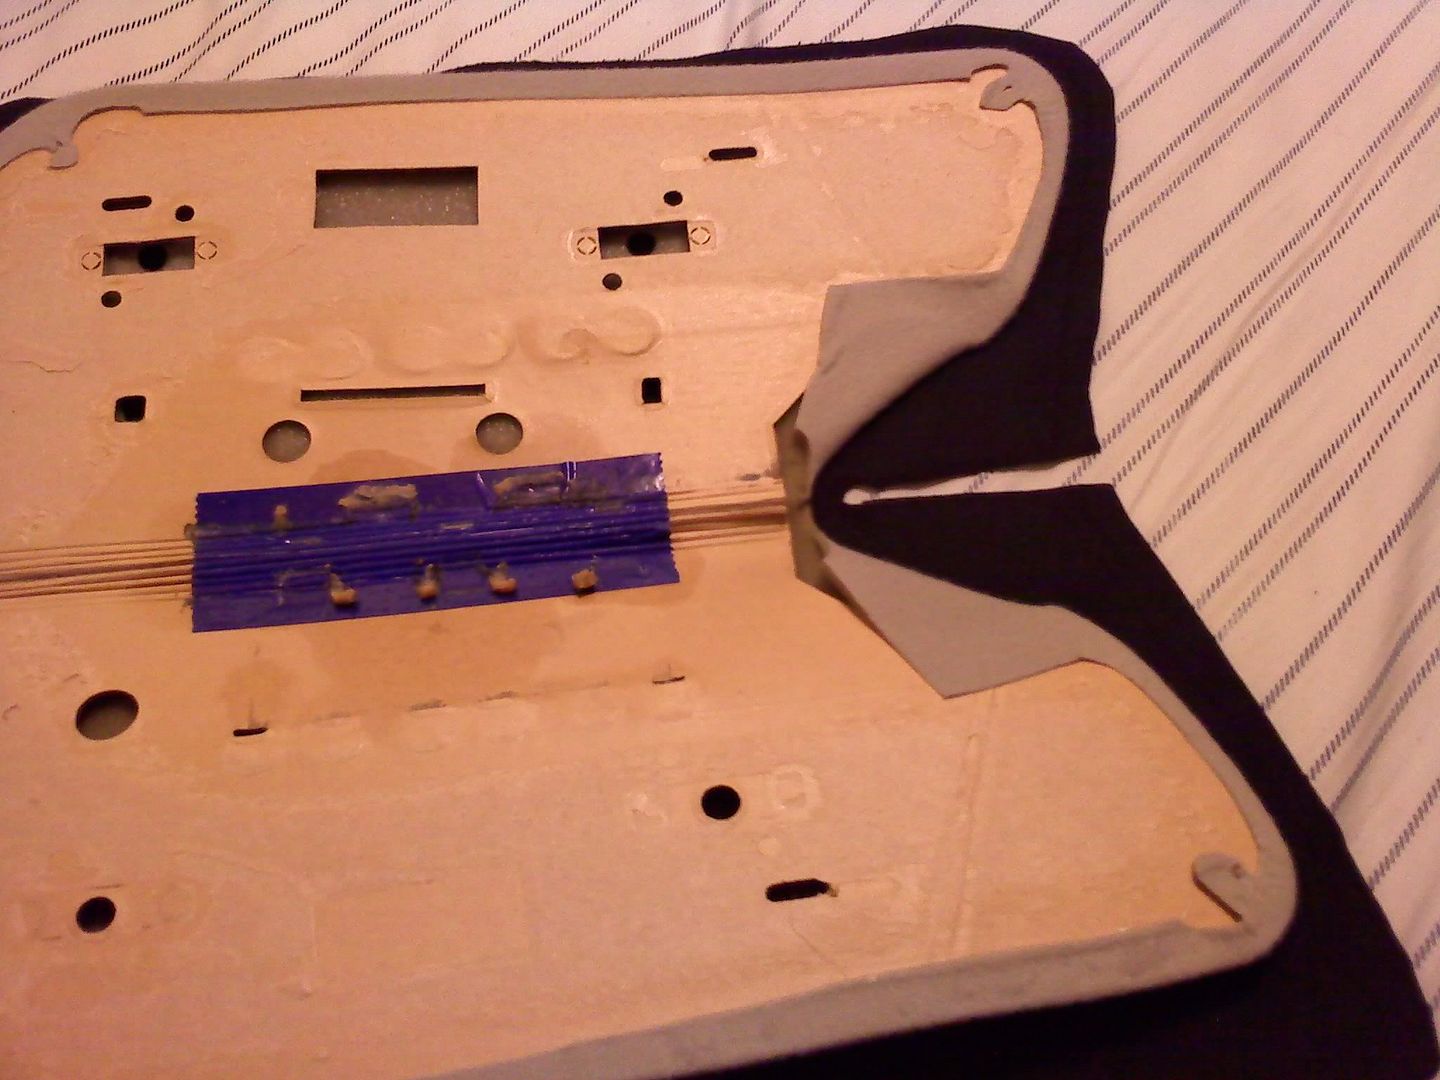
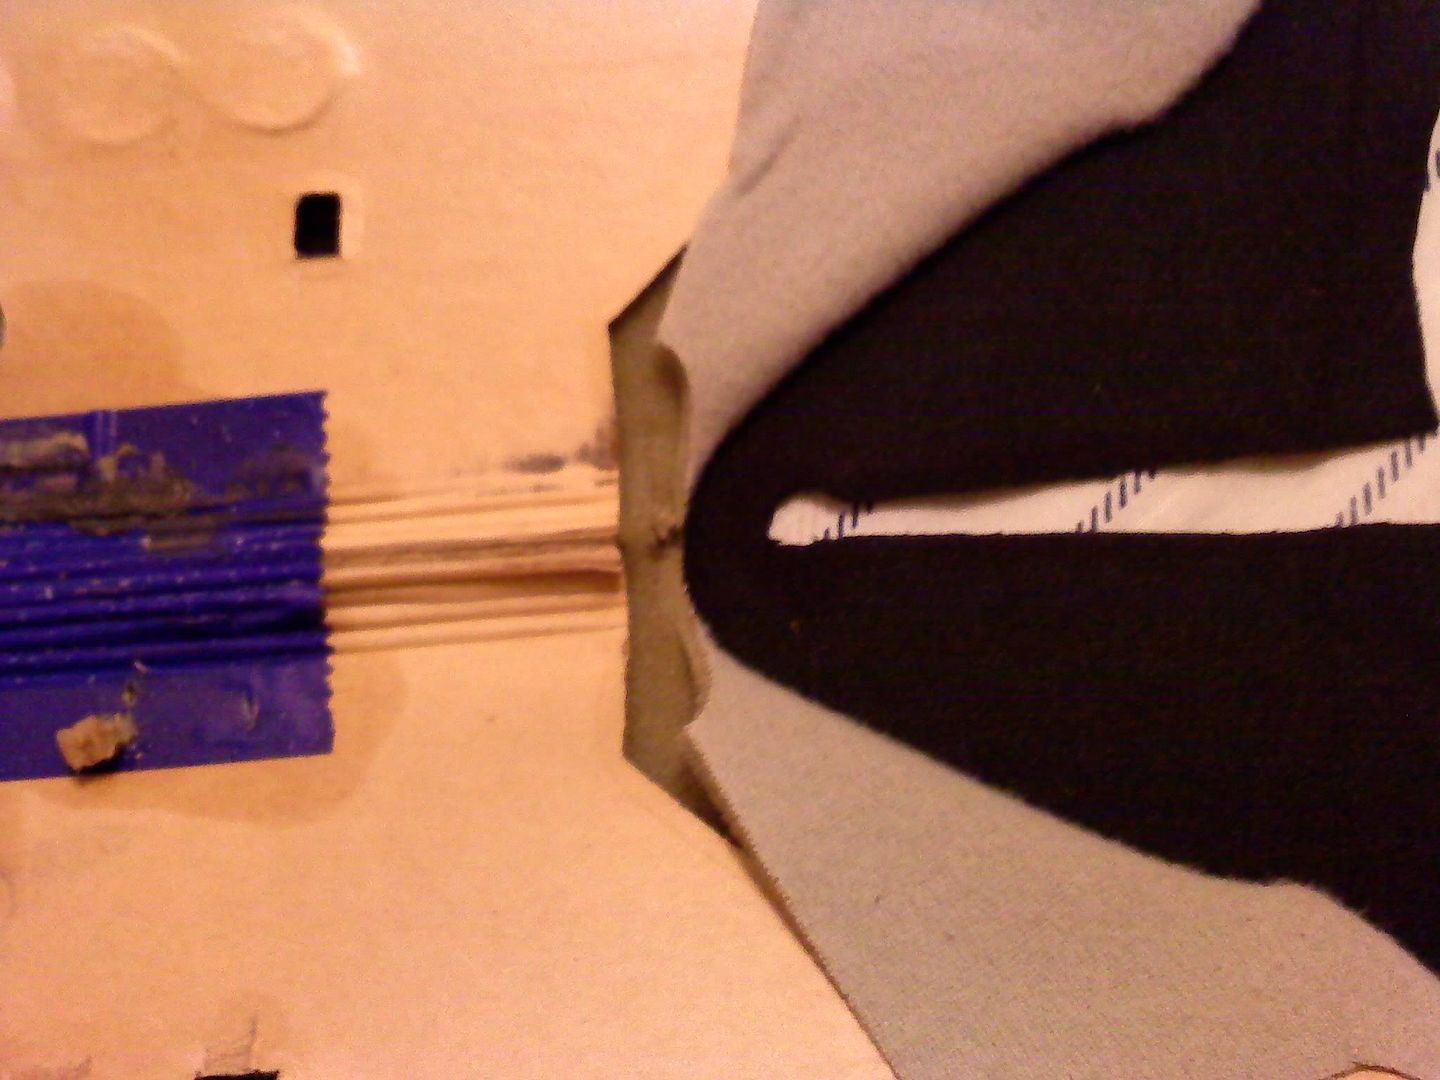
Now you can "test drive" the fabric. For the most part it needs to line up like this and allow you room to pull the fabric around on all edges. Now is also a good time to practice the corners.
This is the glue I used.
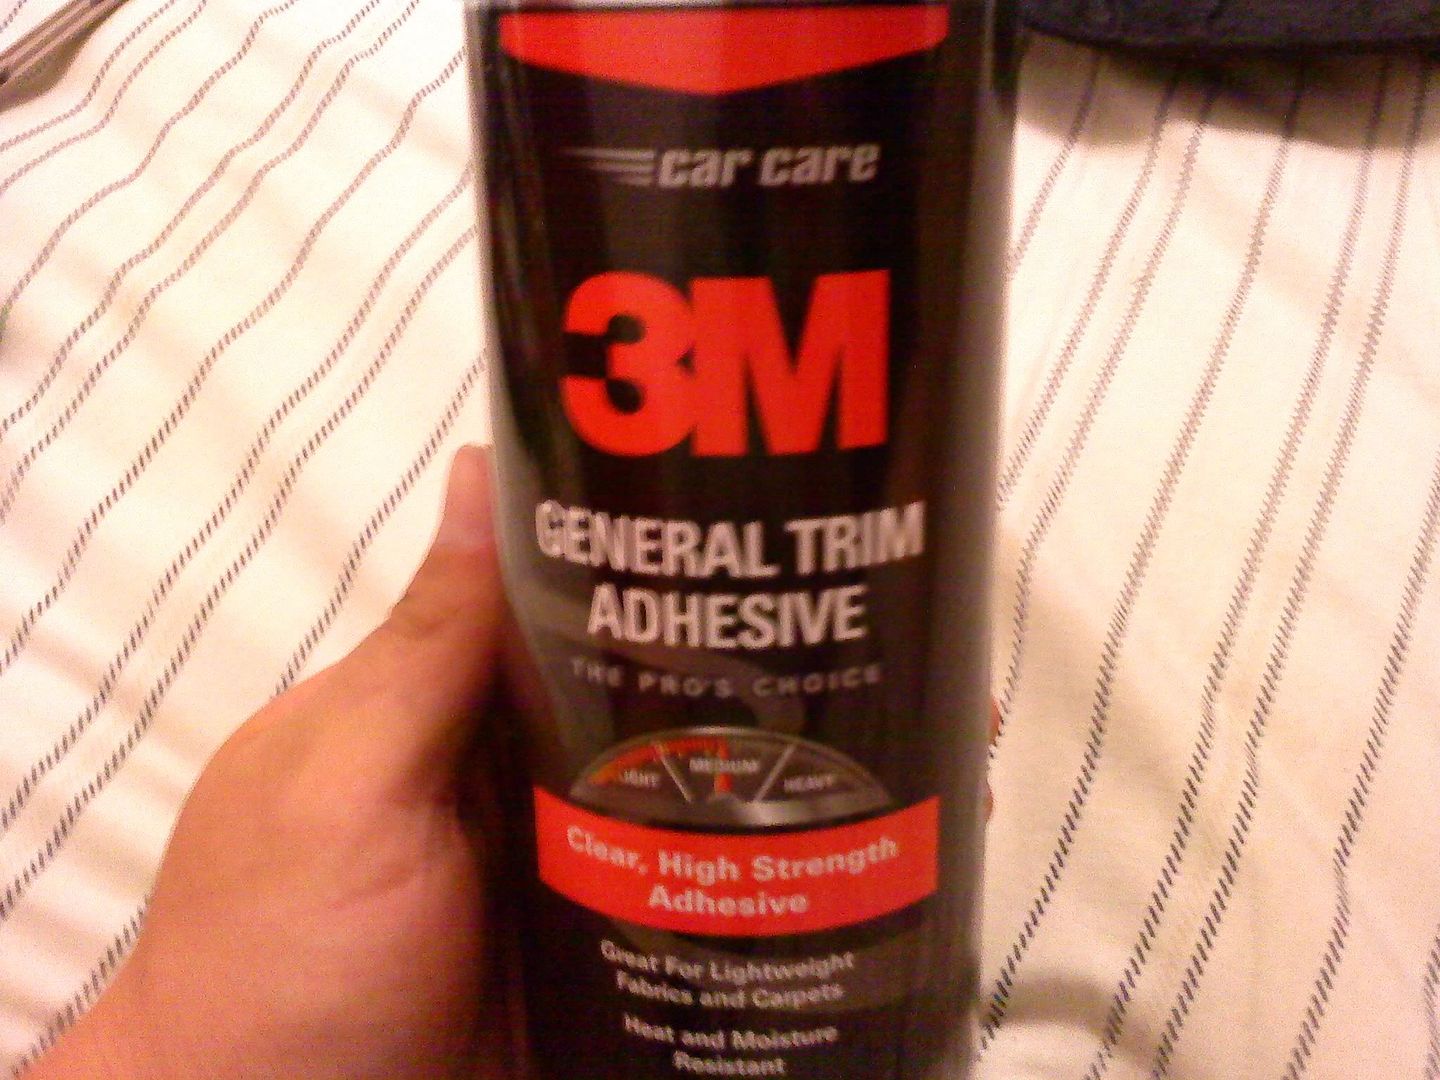
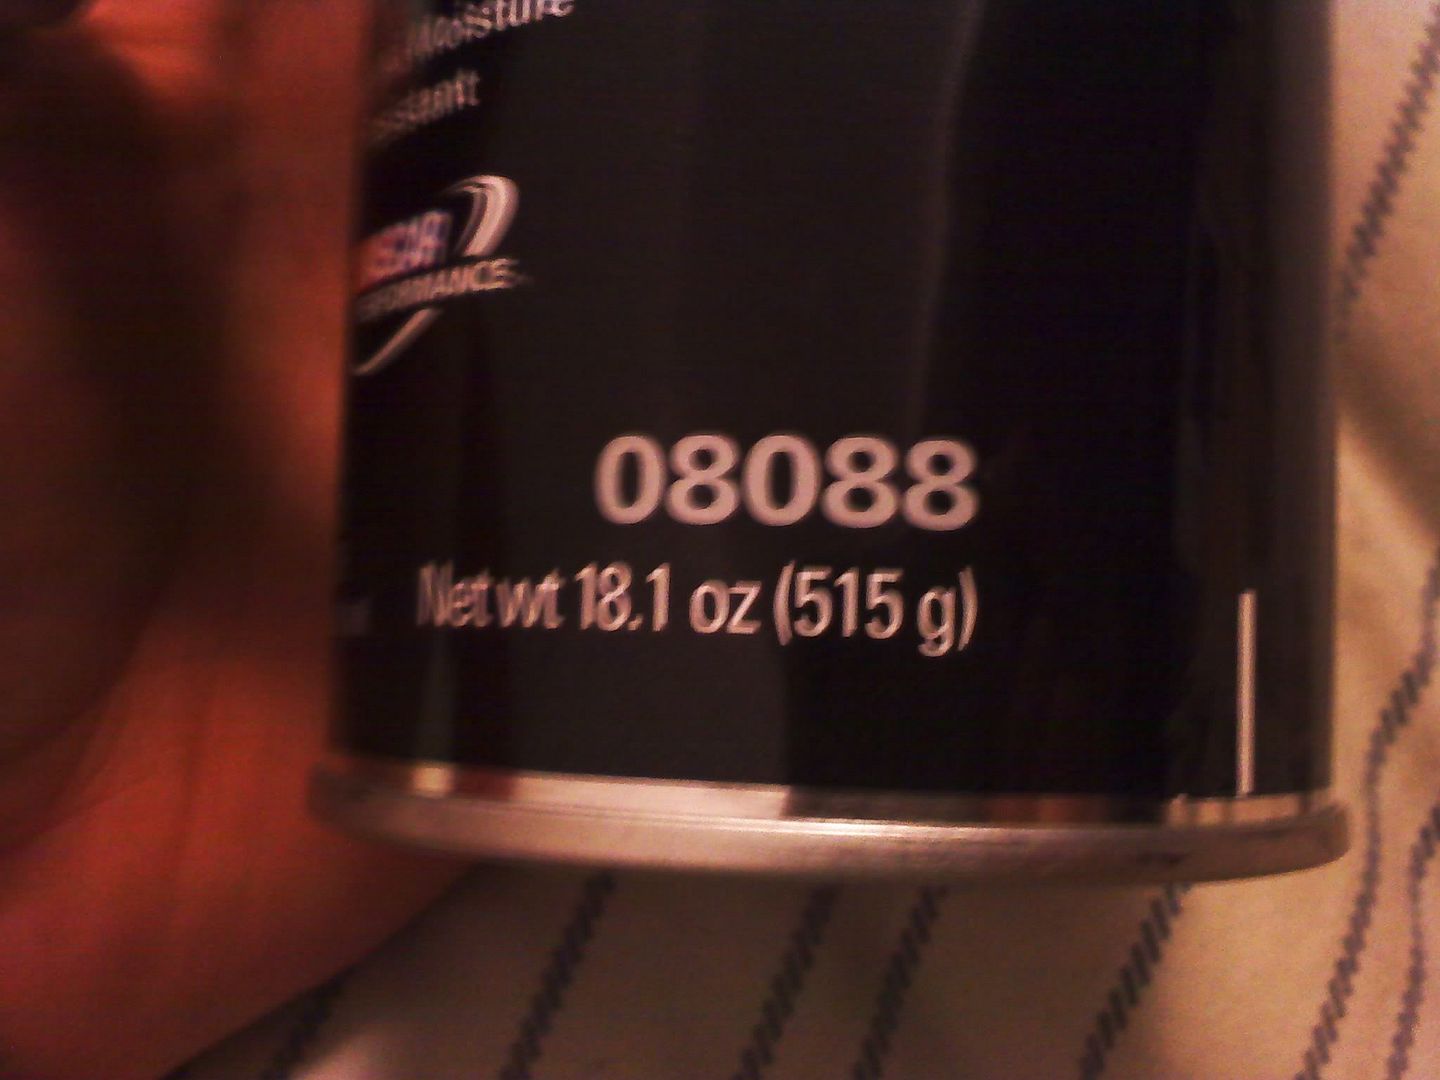
Follow the directions on the can for your spray glue and spray the parts.
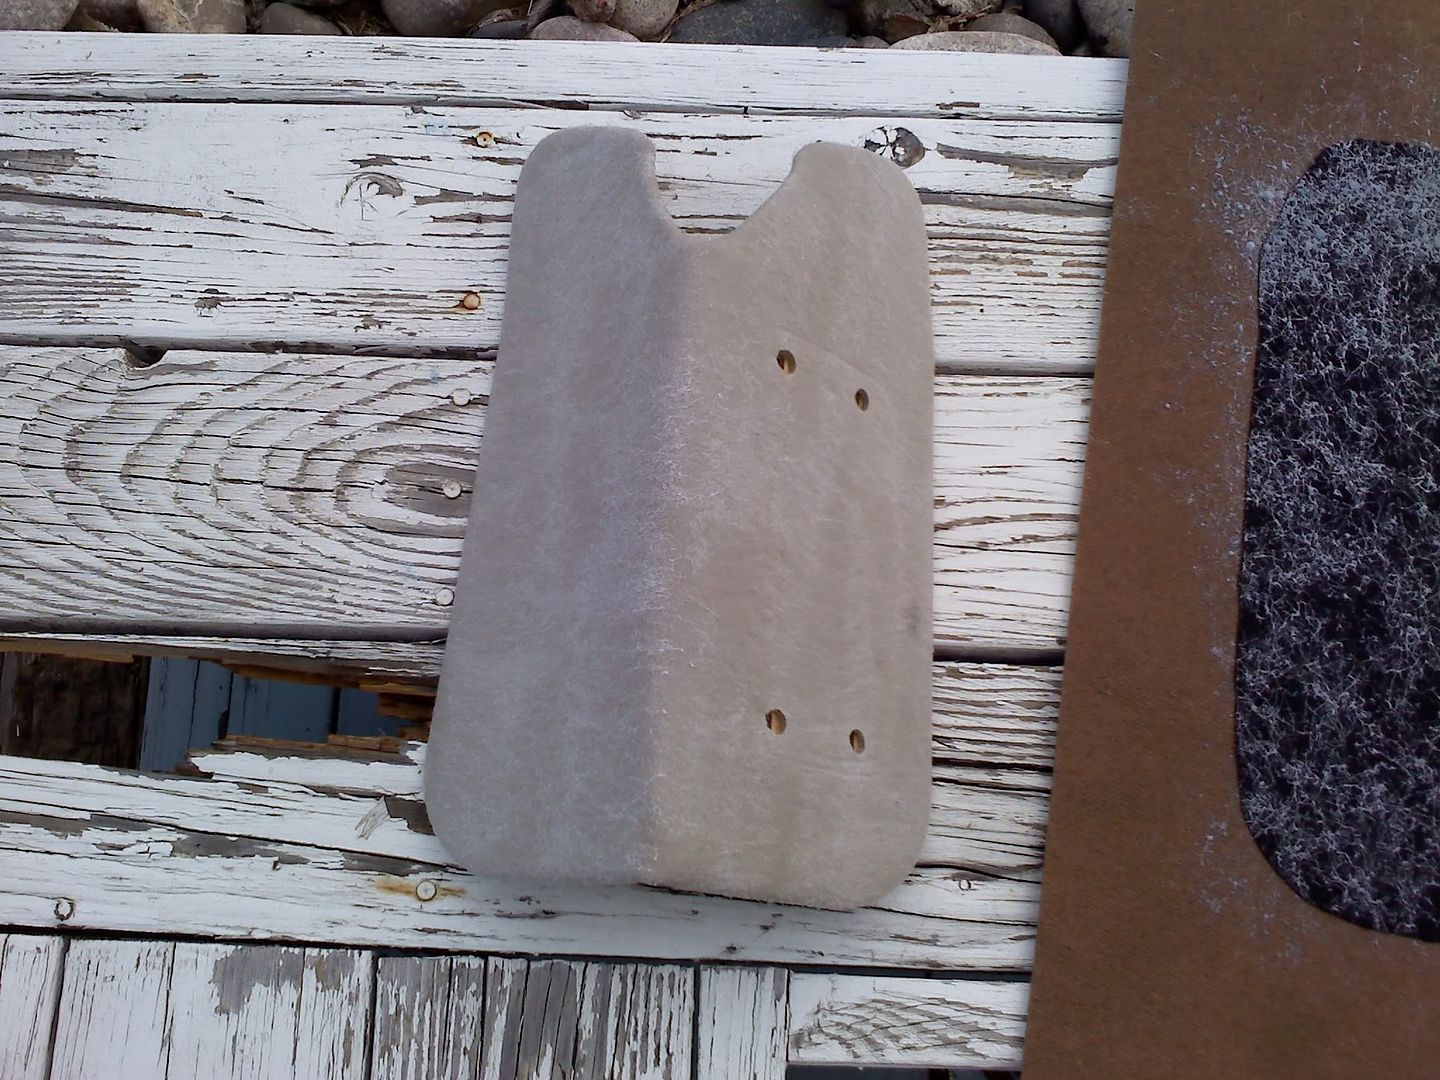
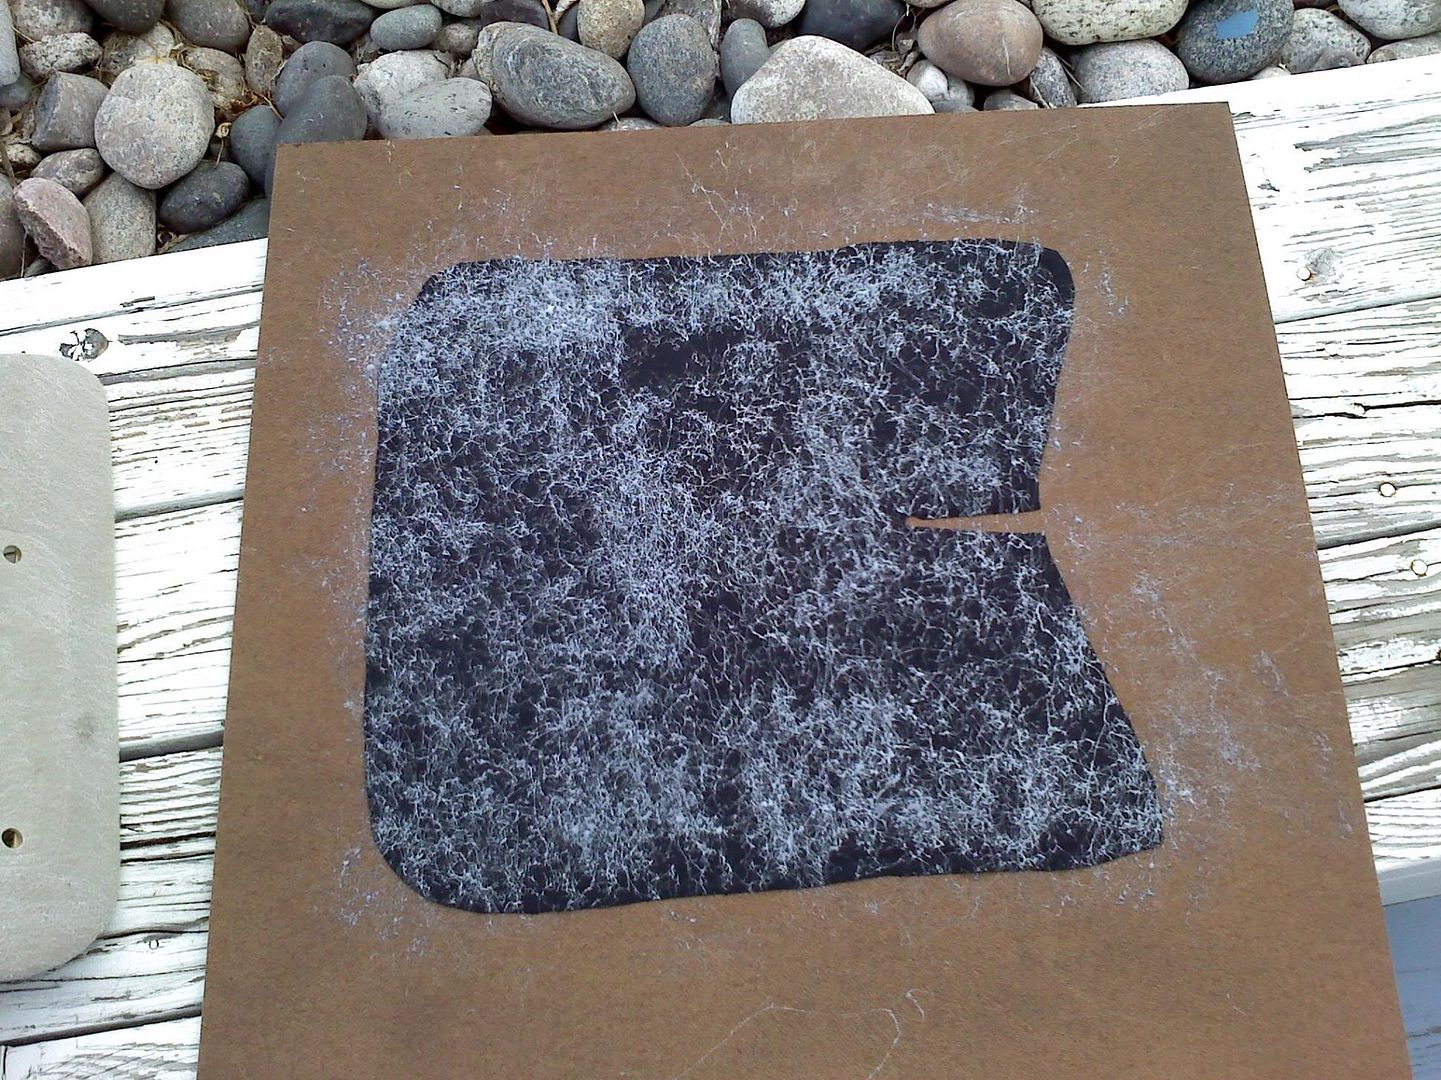
I didn't have time to take pics between spraying and fully wrapped because of the glue wanting to dry, but this is pretty much what you should end up with.


If the corners are too bulky you can just slice the bulges down with a razor blade, etc.
If you have anywhere that doesn't want to stick and stay down you can fix it exactly the same as before.
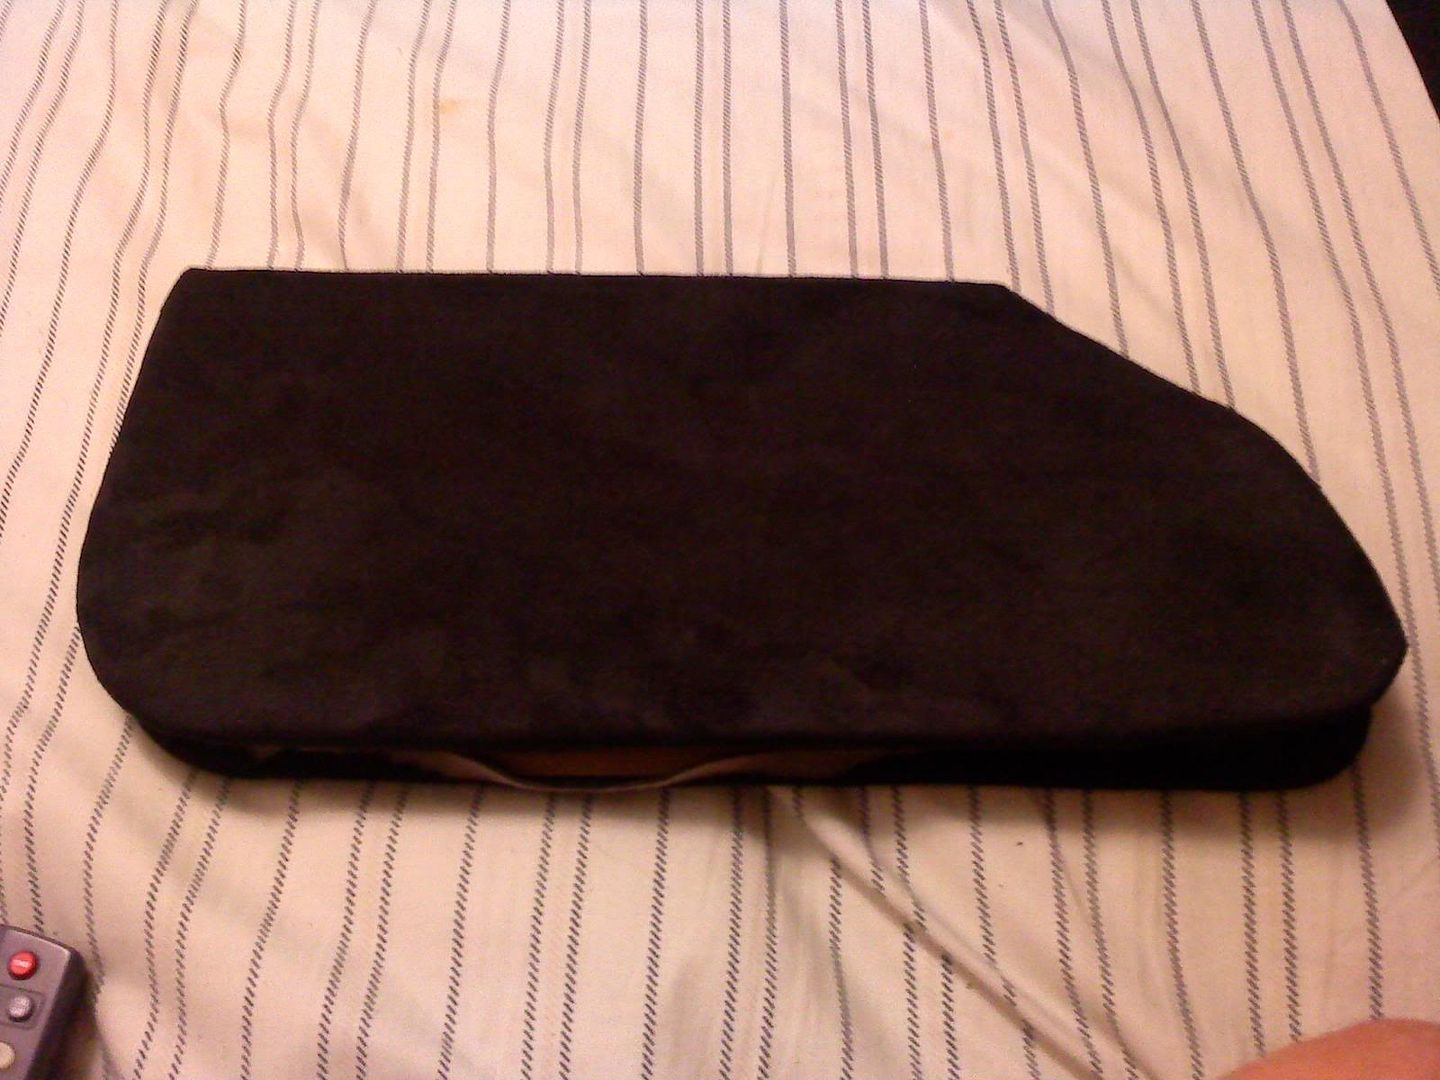
The hard part is done.
If you are putting the mirrors back on, take a razor blade etc. from the back and poke holes where the mirror attachments will go through.
Now just put the mirror back on, just reverse the order of taking them off. I opted to hot glue those clips as well as pushing them down just to make sure it didn't come off. Then put the swivel hinge thing back in.
Take and put a layer of hot glue around the edge of the visor, making sure none will show, and push the two halves together.
TADA!!
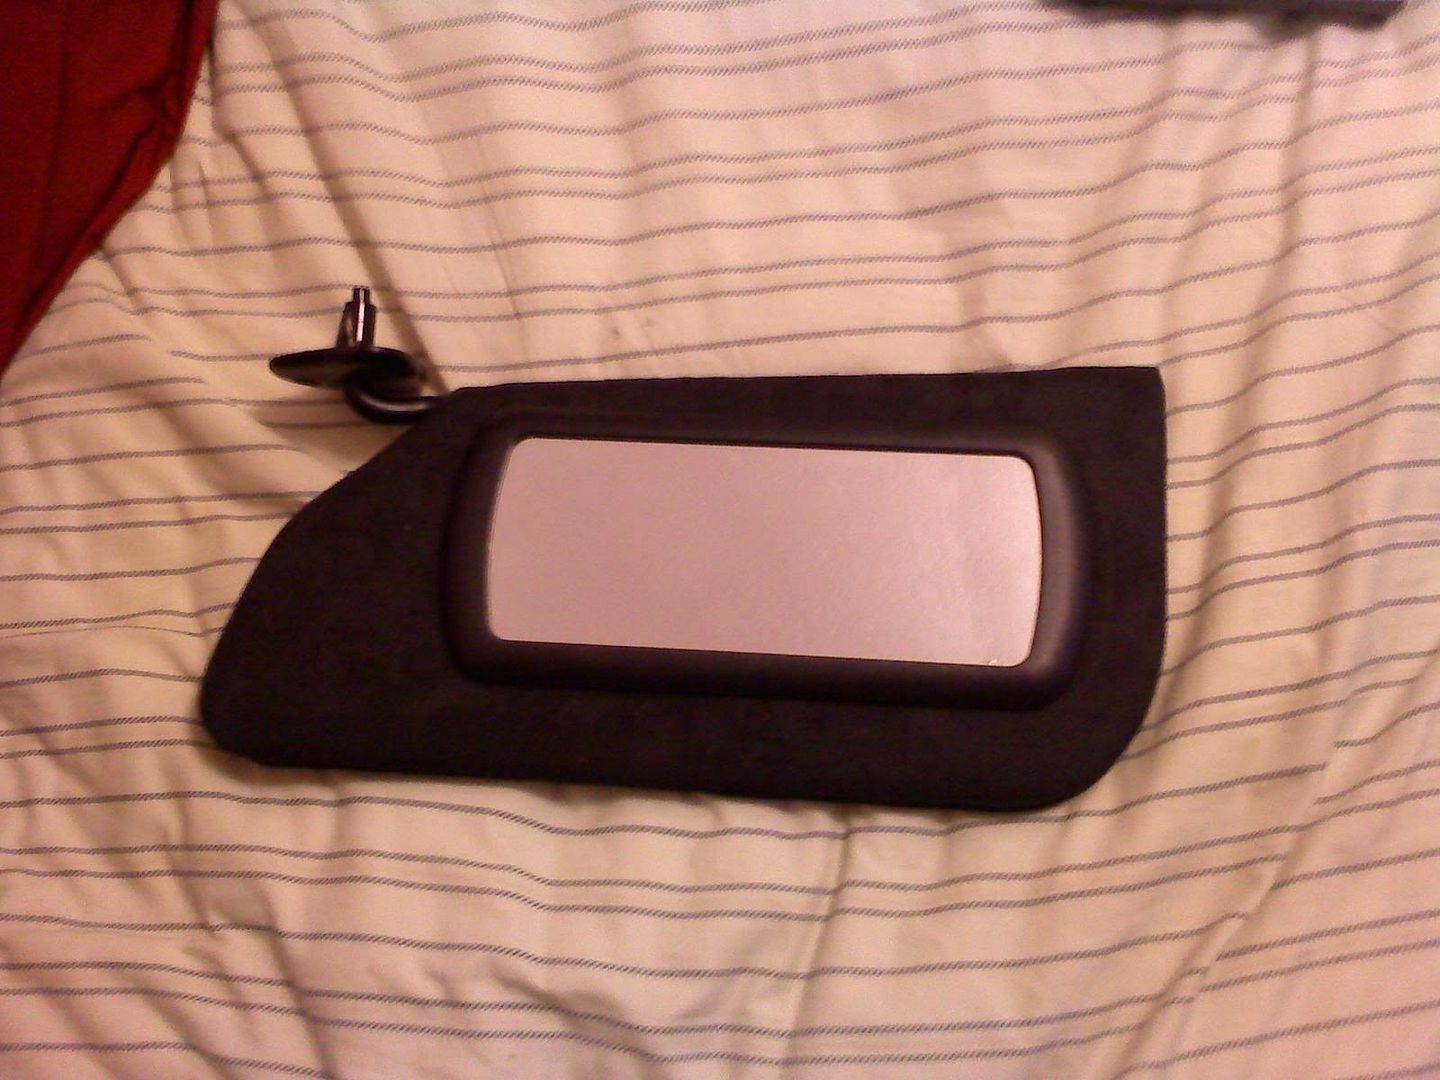
Hopefully this helps some people out!
-Seth
